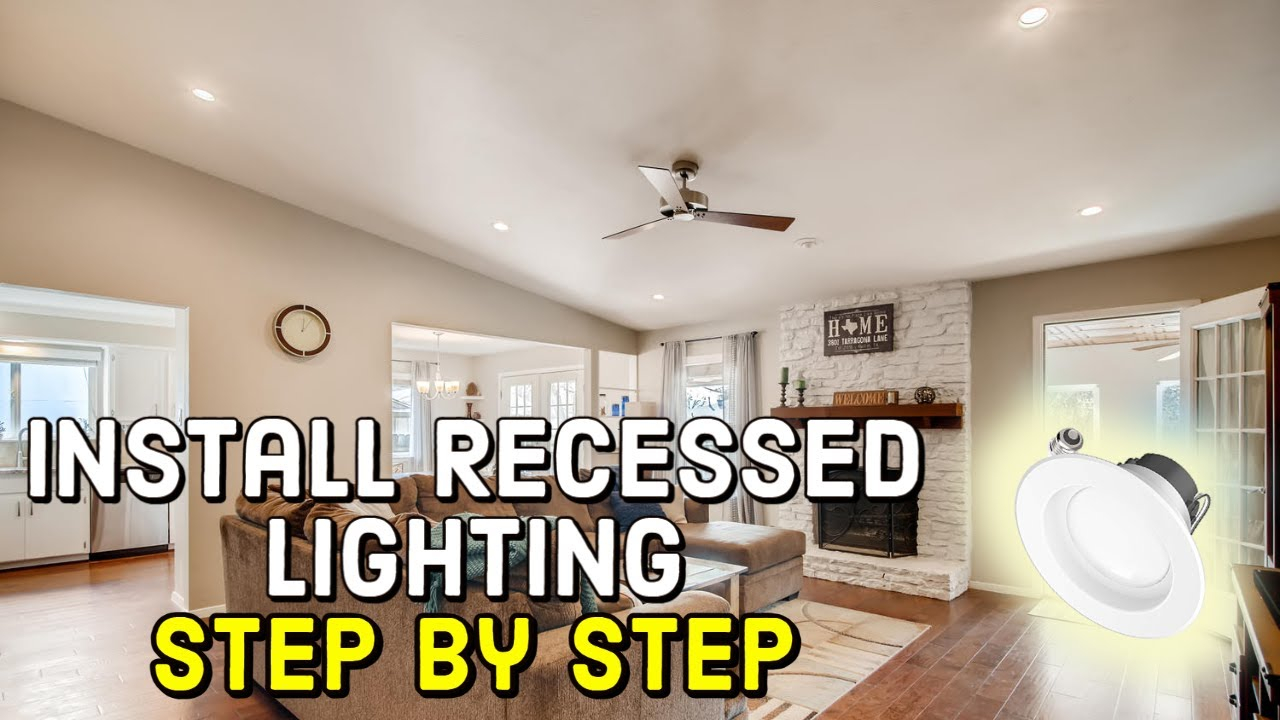
You walk into a friend’s house. The ceiling looks clean. No bulky chandeliers hanging low, no awkward track lighting screaming for attention. Just smooth, even light washing down the walls and pooling gently on the coffee table. It feels modern. It feels expensive. You think, "I need that."
But here is the thing nobody tells you until you are standing in the hardware aisle with a hole saw in one hand and a sinking feeling in your gut: recessed lighting is deceptively simple. It looks easy on Pinterest. In reality, it is a mix of electrical code, geometry, and drywall surgery. Get it wrong, and you end up with a ceiling that looks like Swiss cheese or, worse, a fire hazard hiding above your head.
Before you cut a single hole, you need to know what you are getting into. This isn’t just about buying bulbs. It is about understanding your ceiling, your wiring, and your limits. Let’s break it down, so you don’t regret it later.
Knowing Your Ceiling Type and Structure
First things first. You have to know what is above your head. Literally. Not all ceilings are created equal, and the type of ceiling you have dictates everything from the tools you need to the type of fixture you can buy. If you live in a newer home or an addition that hasn’t been finished yet, you have what pros call "new construction" access. This means the joists are exposed. You can see the wood framing. Life is good here. You can nail the light housings directly to the joists before the drywall goes up. It is secure, it is sturdy, and it is the easiest way to do it.
But most of us aren’t building new homes. We are remodeling existing ones. That means you are dealing with "remodel" or "retrofit" cans. These fixtures have clips that grab onto the back side of the drywall. You cut a hole, shove the light in, and tighten the clips. Sounds simple, right? Well, it is, until you hit a joist where you didn’t expect one, or you realize your ceiling is plaster instead of drywall. Plaster is brittle. It cracks. If you have lath and plaster ceilings from the 1950s or earlier, stop. Put the drill down. This is not a DIY weekend project unless you are prepared for a massive repair job.
Also, check your attic space. Do you have insulation up there? Is it loose-fill fiberglass? Blown-in cellulose? Or is it spray foam? This matters because heat builds up in light fixtures. Old halogen cans got hot. Really hot. If you bury a non-IC rated fixture in insulation, you are asking for trouble. Even with LEDs, which run cooler, you need to make sure the housing is rated for contact with insulation (IC-rated). If it isn’t, you need to build a box around it to keep the insulation away. Ignoring this step is a shortcut that leads to melted wires or, in worst-case scenarios, fires. Don’t skip the check.
Planning the Layout and Spacing
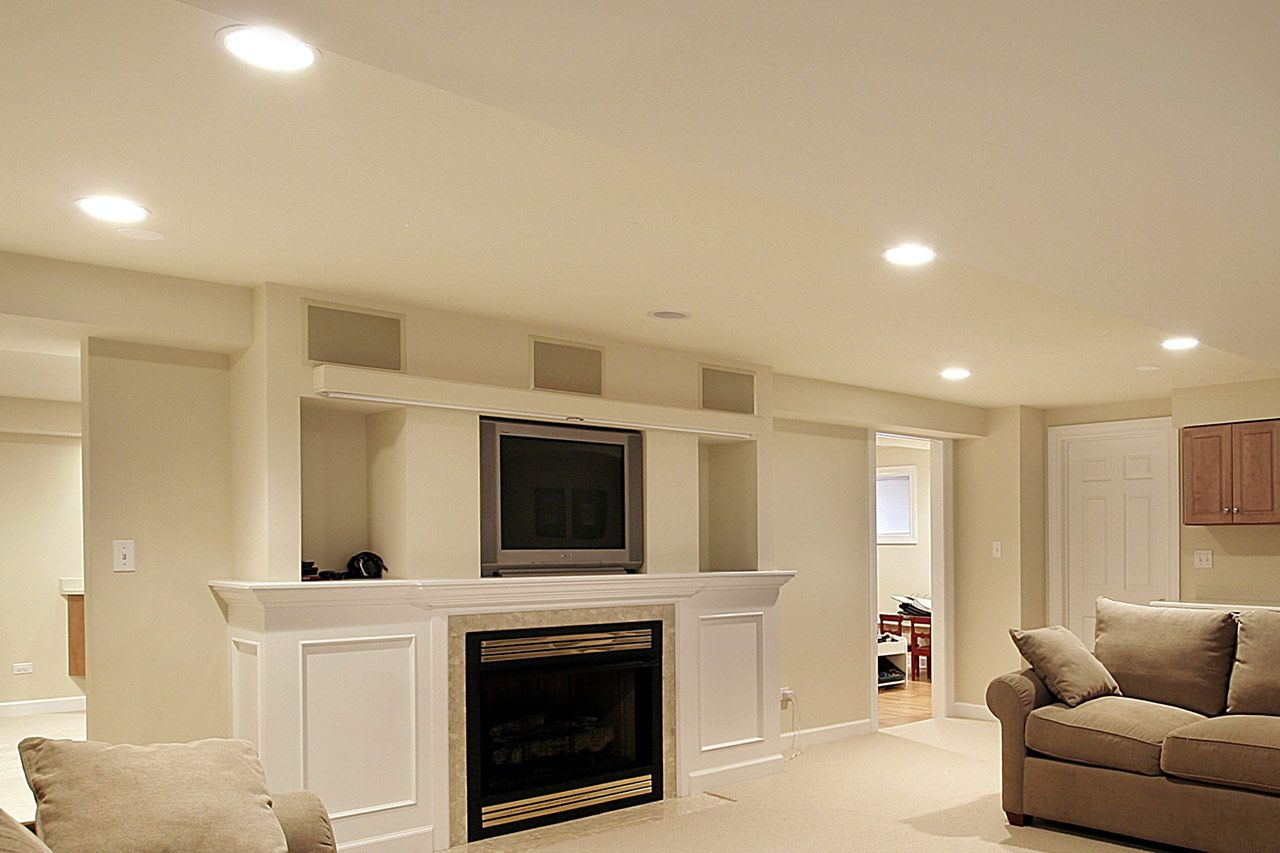
Okay, so you know your ceiling can handle the lights. Now, where do they go? This is where most people mess up. They guess. They put one light in the center of the room and call it a day. Or they line them up like soldiers without thinking about what the light actually does. Bad lighting makes a room feel cold, clinical, or weirdly shadowed. Good lighting disappears. You just feel like the room is bright and inviting.
The golden rule for spacing is the "half-the-height" trick. Take the height of your ceiling and divide by two. That is roughly how far apart your lights should be. So, if you have an 8-foot ceiling, space your lights about 4 feet apart. For a 10-foot ceiling, aim for 5 feet. This is a starting point, not a law. You also need to think about walls. Don’t put lights too close to the wall, or you will get ugly scalloping effects—those weird semi-circles of light and shadow that look dated. A good rule of thumb is to keep the center of the light about 2 to 3 feet away from the wall.
But wait. What are you lighting? Are you trying to illuminate a kitchen island? A piece of art? A reading nook? General ambient lighting is different from task lighting. For a kitchen, you want light on the countertops, not just in the middle of the floor where nobody stands. Measure your counters. Place the lights so the beam hits the edge of the counter, not the backsplash. If you are lighting a dining table, make sure the lights are centered over the table, not the room. If you move the table later, your lighting will look off. Think about how you use the space. Draw it out on paper. Use a tape measure. It takes ten minutes now and saves you from hating your ceiling for the next decade.
And dont forget about dimmers. Seriously. If you install recessed lights without a dimmer switch, you are missing half the benefit. Harsh overhead light at 100% brightness at 9 PM is unpleasant. Being able to dial it down to 30% creates mood. It makes the room usable at different times of day. Just make sure your LED bulbs and your dimmer switch are compatible. Not all LEDs play nice with old dimmers. Buy a dimmer made for LEDs. It costs a few dollars more and saves you from flickering lights that drive you crazy.
Choosing the Right Fixtures and Bulbs
Walk into a lighting store in 2026, and you will be overwhelmed. There are thin wafer lights, traditional cans, adjustable eyeballs, and smart lights that connect to your phone. What do you actually need? For most homeowners, the trend has shifted heavily toward "wafer" or "slim" LED integrated fixtures. These are super thin, often less than an inch deep. They are great for shallow ceilings where you don’t have much room above the drywall. They are also easier to install because the light source and the trim are one unit. No separate bulb to screw in. No worrying about the bulb sticking out too far.
However, traditional housings still have their place. If you want to be able to change the color temperature later, or if you want a specific beam angle, a traditional can with a separate trim and bulb offers more flexibility. You can swap out a floodlight for a spot light if you decide to highlight a sculpture next year. With integrated wafers, you are stuck with what you bought. So, think long term. Do you like flexibility? Go traditional. Do you want simplicity and a ultra-modern look? Go wafer.
Then there is the issue of color temperature. This is measured in Kelvins (K). Lower numbers mean warmer, yellower light. Higher numbers mean cooler, bluer light. For living rooms and bedrooms, stick to 2700K or 3000K. It feels cozy. It mimics incandescent bulbs. For kitchens and bathrooms, 3000K to 3500K is better. It is cleaner and helps you see true colors when chopping vegetables or applying makeup. Avoid anything above 4000K in a home setting unless you are working in a garage workshop. It feels like a hospital. And please, check the CRI (Color Rendering Index). You want a CRI of 90 or higher. This means colors look natural under the light. Low CRI lights make food look gray and skin tones look sickly. Spend the extra couple bucks for high CRI. Your eyes will thank you.
One last thing on fixtures: airtight ratings. If you live in a climate with extreme heat or cold, buy airtight fixtures. Regular recessed lights leak air. Your conditioned air escapes into the attic, and outside air comes in. Over a year, that adds up on your energy bill. Airtight cans seal the gap between the fixture and the drywall. It is a small detail that makes your home more efficient. In 2026, with energy costs still being a concern, this is a no-brainer upgrade.
Understanding the Electrical Requirements
Here is the part where you need to be honest with yourself. Do you know how to work with electricity? I mean, really know? Not just "I changed a light switch once," but do you understand circuits, load calculations, and wire gauges? Recessed lighting usually requires running new cable from a power source to each light, or daisy-chaining them together. This involves fishing wires through walls and attics. It involves making connections inside junction boxes. It involves working near live wires if you don’t shut off the main breaker (which you must always do).
If you are adding lights to an existing circuit, you need to make sure that circuit can handle the extra load. LEDs draw very little power, so you can usually put many more lights on a single circuit than you could with old incandescent bulbs. A standard 15-amp circuit can handle a lot of LED wattage. But you still need to do the math. Add up the wattage of all the devices on that circuit—including outlets, fans, and other lights. If you are close to the limit, you might need to run a new circuit from the panel. This is not fun. It involves opening up your electrical panel and possibly hiring a pro anyway.
Also, consider the switch location. Are you adding a new switch? That means cutting into the wall, running wire down to the switch height, and patching drywall. It is messy. Sometimes it is easier to tie into an existing switch if it controls the right area. But if that switch is halfway across the room, you might end up with weird control zones. Think about convenience. Do you want a three-way switch setup? That allows you to turn the lights on from two different places, like at both ends of a hallway. Wiring three-way switches is more complex than single-pole switches. Make sure you have the right diagram and the right wire (you need an extra traveler wire).
Safety codes vary by location. In some places, homeowners are allowed to do their own electrical work. In others, it is illegal. Even if it is legal, your insurance company might have something to say about it if a fire starts. Always pull a permit if required. It costs a little money, but it ensures an inspector checks your work. They will catch mistakes you might miss, like improper grounding or loose connections. It is peace of mind. And if you are unsure, call a licensed electrician. There is no shame in paying for expertise when it involves fire and electricity.
The Installation Process Step-by-Step
Assuming you have the green light to proceed, let’s talk about the actual work. Step one is marking your holes. Use your layout plan. Measure twice. Cut once. Use a stud finder to locate joists. You want to avoid cutting into a joist. If you hit a joist, you will have to shift your light location or use a special offset mounting bracket, which is a hassle. Mark the center of your hole clearly. Then, use a hole saw attached to your drill. The size of the saw depends on your fixture. Most are 4 inches or 6 inches. Go slow. Let the saw do the work. If you push too hard, you will tear the drywall.
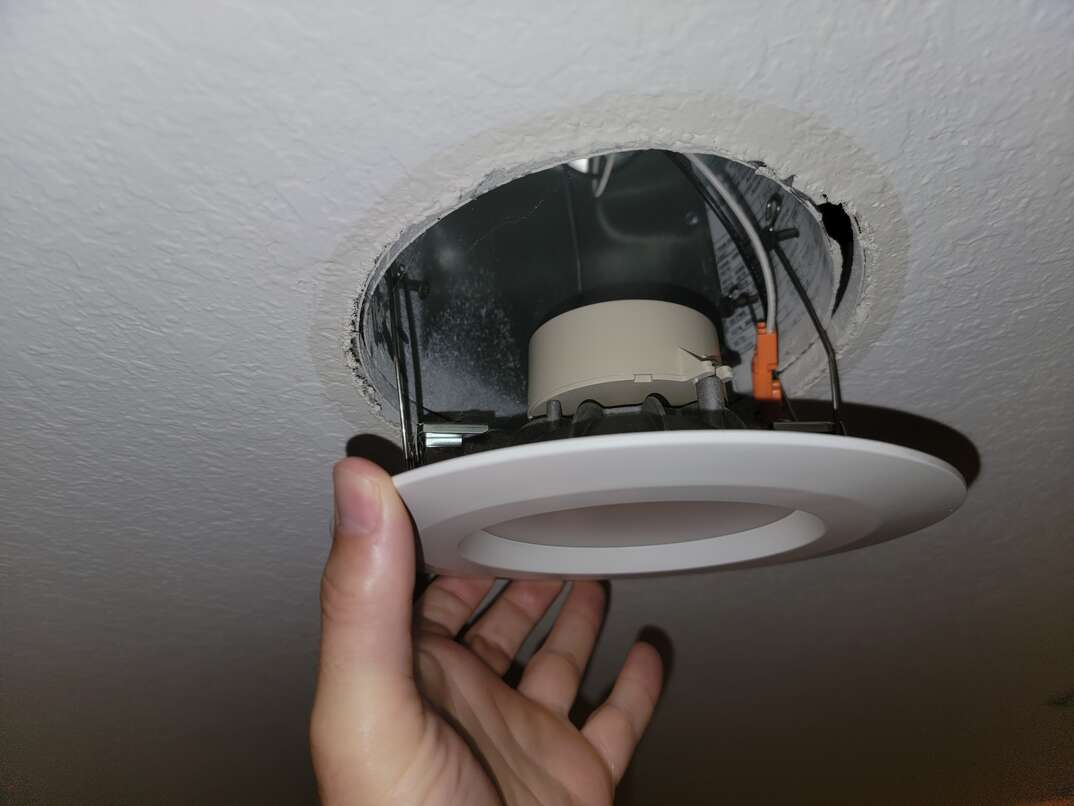
Once the hole is cut, fish the wire. If you have an attic, this is easy. Drop the wire down from above. If you don’t have attic access, you will need to use fish tapes or flexible rods to pull the wire through the wall cavity. This is the most frustrating part of the job. Walls have fire blocks, pipes, and other obstacles. Be patient. Use a magnet to help guide the fish tape if you get stuck. Once the wire is at the hole, strip the ends. Connect the fixture according to the manufacturer’s instructions. Usually, it is black to black (hot), white to white (neutral), and copper to copper (ground). Use wire nuts. Wrap them with electrical tape for extra security. Tuck the wires neatly into the housing.
Next, insert the housing into the hole. For remodel cans, squeeze the clips and push it up. Tighten the screws until the clips grab the drywall firmly. Do not overtighten, or you will crush the drywall. For wafer lights, you usually plug the driver into the junction box, then clip the light into the trim ring. Make sure the connection is secure. Give it a gentle tug. It shouldn’t move. Finally, install the bulb or the integrated LED module. Put on the trim. Turn the power back on at the breaker. Test it. If it works, celebrate. If it doesn’t, turn the power off and check your connections. 90% of the time, it is a loose wire or a tripped GFCI somewhere else in the house.
Clean up the mess. Drywall dust gets everywhere. Vacuum it up immediately. If you have carpet, you might need to shampoo it later. Patch any small gaps around the trim with a tiny bit of caulk if necessary, though most trims cover the edges well. Stand back. Look at the ceiling. Does it look level? Are the lights aligned? If one is crooked, adjust it now. It is much harder to fix later.
Let’s talk about regrets. The biggest regret people have is poor placement. Lights that are too far apart leave dark spots. Lights that are too close together create a "runway" effect. Avoid symmetry for symmetry’s sake. Just because a room is square doesn’t mean the lights have to form a perfect grid if the furniture arrangement doesn’t match. Light the room based on function, not geometry.
Another common mistake is ignoring the beam angle. A wide beam angle (like 60 degrees) spreads light out. It is good for general lighting. A narrow beam angle (like 25 degrees) focuses light. It is good for accenting art or architectural features. If you use narrow beams for general lighting, you will get harsh spots of bright light surrounded by darkness. It looks dramatic, but not in a good way for a living room. Mix and match if needed. Use wide beams for the main area and narrow beams for highlights.
Also, dont cheap out on the trim. The trim is the visible part of the light. It is what you see every day. Cheap plastic trims yellow over time. They look tacky. Invest in quality metal trims that match your decor. White is standard, but black trims are popular in modern homes for a high-contrast look. Bronze or nickel finishes work well in traditional spaces. The trim frames the light. Treat it like jewelry for your ceiling.
So, when do you call a pro? If you are uncomfortable with any part of the electrical process, call an electrician. If you have a vaulted ceiling with no attic access, call a pro. Fishing wires through vaulted ceilings is a nightmare for amateurs. If you have aluminum wiring (common in homes built in the late 60s and early 70s), call a pro. Aluminum wiring requires special connectors and handling. It is a fire risk if done incorrectly. And if you start the project and realize it is bigger than you thought, stop. There is no prize for finishing a dangerous job. Paying an expert is cheaper than fixing a fire or rewiring a botched job.
In the end, recessed lighting is one of the best upgrades you can make. It adds value. It improves daily life. It makes your home feel larger and cleaner. But it demands respect. Plan carefully. Choose quality materials. Work safely. And when in doubt, ask for help. Your ceiling will thank you. And so will your eyes.