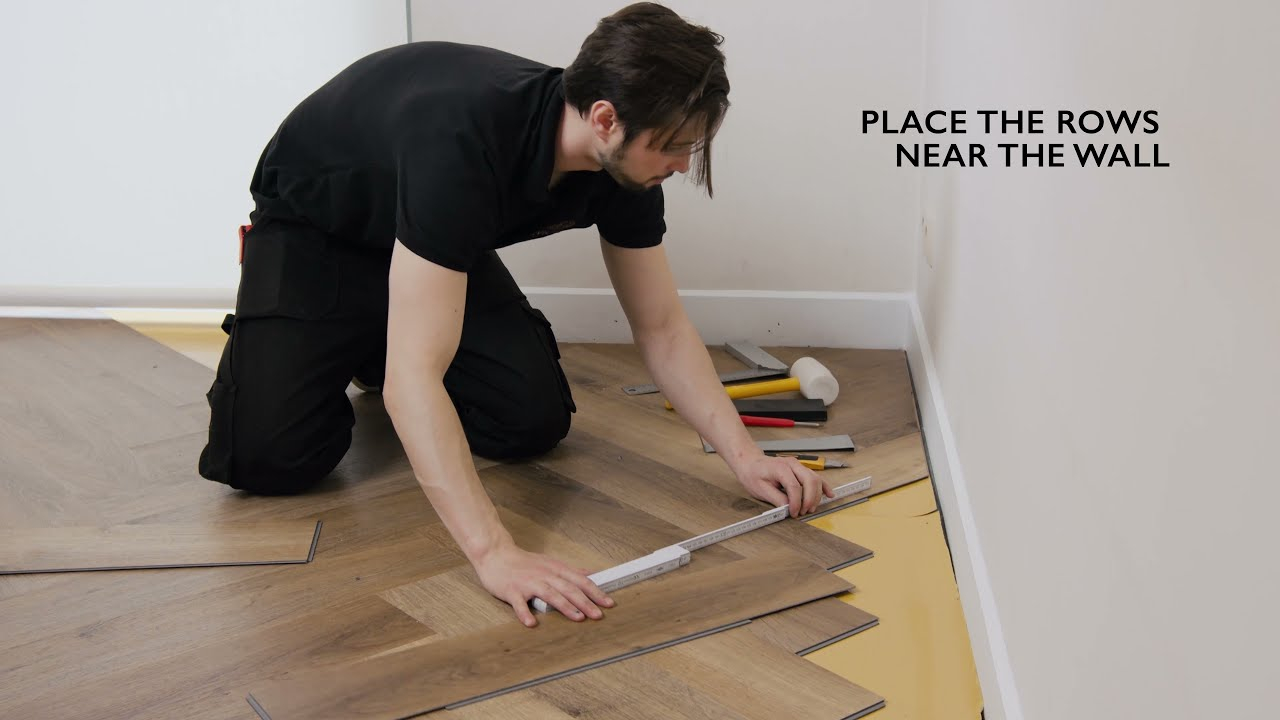
So, you bought the boxes. They’re stacked in your living room, looking heavy and promising a whole new vibe for your space. You’ve watched a few videos online, and it looks easy enough. Just click, right? Well, hold your horses. I’ve spent more weekends than I care to count on my knees, wrestling with planks that refuse to cooperate. And let me tell you, while click-lock vinyl (often called LVP or SPC) is a miracle material, it’s not magic. It doesn’t forgive sloppy prep. It doesn’t care if you’re tired. If you rush it, it’ll look rushed.
But here’s the good news. You don’t need a degree in carpentry to get this right. You just need patience, a sharp utility knife, and the willingness to listen to what the floor is telling you. In 2026, these floors are tougher and more realistic than ever, but the physics haven’t changed. This guide isn’t about selling you anything. It’s about saving you from that sinking feeling when a seam pops up three months later because you skipped a step. Let’s get into the nitty-gritty of doing it once, and doing it right.
The Boring Stuff That Actually Matters: Prep and Acclimation
Most people want to skip straight to the clicking part. Don’t. Seriously. The number one reason floors fail isn’t bad locking mechanisms; it’s a bad subfloor or ignored acclimation. Before you even open a box, you need to look at what’s underneath. Is it concrete? Is it plywood? Is it old tile? Whatever it is, it needs to be flat. Not "kinda" flat. Flat. We’re talking no more than 3/16th of an inch deviation over a ten-foot span. If you can rock a plank on the subfloor, you’ve got a problem. That high spot will eventually crack the lock or cause a visible hump. Use a long level or a straight edge to check. If it’s concrete, you might need a self-leveling compound. It’s messy, sure, but it’s cheaper than ripping out a ruined floor next year.
Then there’s the waiting game. Acclimation. I know, you want to start now. But those planks have been sitting in a warehouse or a truck, likely at a different temperature and humidity than your home. If you install them cold and they warm up, they expand. If they expand against a wall with no room to move, they buckle. It’s simple physics. Bring the boxes into the room where they’ll be installed. Stack them flat—don’t lean them against a wall, they can warp. Let them sit there for at least 48 hours. Keep your house at normal living temps, around 65 to 80 degrees Fahrenheit. It feels like wasted time, but it’s actually the most important step in the whole process. Trust me on this one.
Oh, and check for moisture. If you’re going over concrete, use a moisture meter. Concrete holds water like a sponge, and that water wants to go somewhere. If it goes up into your vinyl, you’ll get mold or adhesive failure (if you used glue, though click-lock usually floats). Most manufacturers recommend a vapor barrier if moisture levels are high. It’s a thin sheet of plastic, but it’s your insurance policy. Don’t skimp on it. A little bit of prep now saves a whole lot of headache later. It’s the difference between a floor that lasts decades and one that looks like a disaster zone in six months.
Tools of the Trade: What You Actually Need
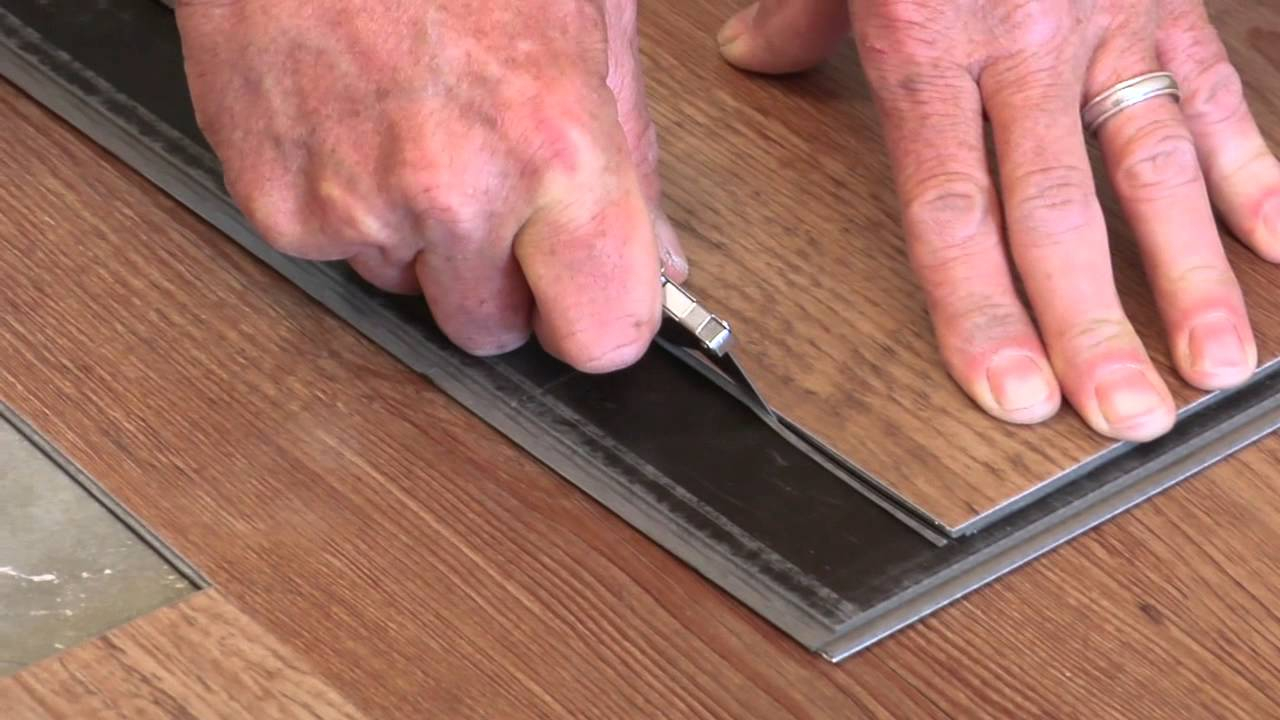
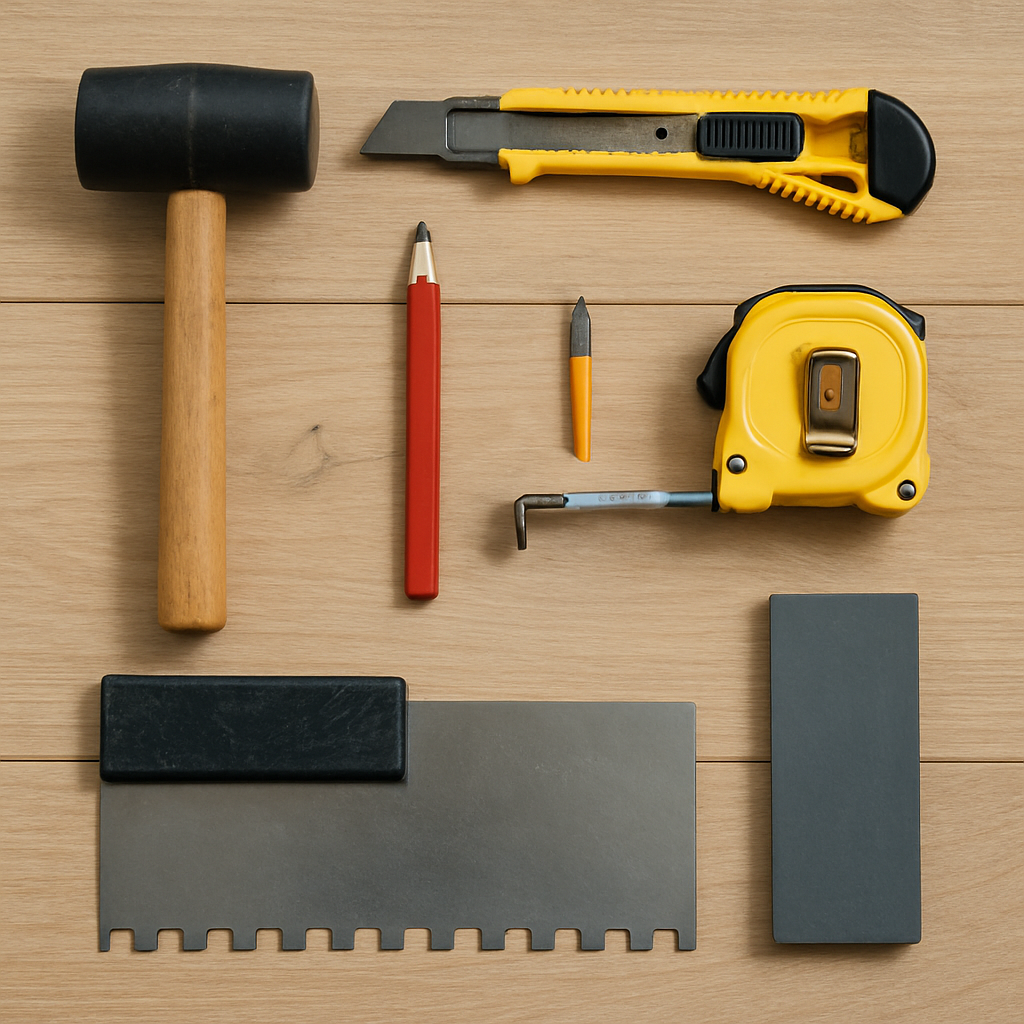
You don’t need a shop full of expensive power tools. That’s the beauty of click-lock vinyl. It’s designed for DIYers. But you do need the right hand tools. First, a good utility knife. Not the cheap ones that break after two cuts. Get one with a sturdy handle and plenty of fresh blades. You’ll be changing blades often. Dull blades tear the vinyl instead of cutting it, leaving jagged edges that won’t sit flush. Second, a tapping block. You can buy one, or you can make one from a scrap piece of the flooring itself. Never hit the plank directly with a hammer. You’ll dent the edge, and the lock won’t engage properly. A rubber mallet is also key. It provides the thud you need without the damage.
Spacers are non-negotiable. These are little wedges you put between the wall and the first row of planks. Why? Because vinyl expands and contracts with temperature changes. If you butt it right up against the wall, it has nowhere to go. It will buckle in the middle of your room. Leave about a quarter-inch gap all the way around the perimeter. The baseboards or quarter-round molding will cover this gap later. It’s invisible, but it’s critical. You can use coins or scraps of wood if you lose the spacers, just keep the gap consistent.
Lastly, a pull bar. When you get to the last row against the wall, you won’t have room to angle the plank in or use a tapping block. A pull bar hooks onto the edge of the plank and lets you tap it tight against the previous row using your mallet. Without it, you’re stuck trying to pry things into place with a screwdriver, which usually ends in tears and damaged walls. Oh, and a chalk line. Keeping your lines straight is harder than it looks, especially in older houses where walls aren’t square. Snap a line to guide your first row. It keeps everything honest. Don’t rely on the wall being straight. It probably isn’t.
Layout Logic: Avoiding the Sliver Trap
Here’s where amateurs mess up. They start laying planks in the corner and just go for it. By the time they reach the other side of the room, they end up with a tiny, sliver-thin strip of flooring that looks terrible and is impossible to lock in properly. To avoid this, you need to measure the width of your room. Divide that number by the width of your planks. Look at the remainder. If the last row is going to be less than two or three inches wide, you need to adjust your starting point. Cut the first row of planks lengthwise to make them narrower. This shifts the layout so that both the first and last rows are roughly equal in width. It looks balanced and professional.
Staggering the seams is another big deal. You don’t want the end joints to line up like a ladder. It’s weak structurally and looks awful. Most manufacturers recommend staggering end joints by at least six to eight inches. Some say more. Check the box instructions. A good rule of thumb is to use the offcut from the previous row to start the next one, as long as it’s longer than the minimum stagger requirement. This reduces waste and keeps the pattern random and natural. If you’re using a multi-width pack (planks of different widths), mix them up well. Don’t clump all the narrow ones together. Throw them in randomly to mimic the look of real hardwood.
Also, consider the direction of the light. Generally, you want to run the planks parallel to the main source of natural light. This helps hide seams and makes the room feel larger. If you have multiple light sources, pick the dominant one. Or, run them perpendicular to the longest wall. There’s no hard law here, but standing in the room and visualizing it helps. Take a few unopened boxes and lay them out dry (without clicking) to see how the pattern looks. It takes ten minutes and can save you from regretting the direction halfway through. Once you click them in, there’s no going back. So, plan it out. Measure twice, cut once, right?
The Click: Technique and Troubleshooting
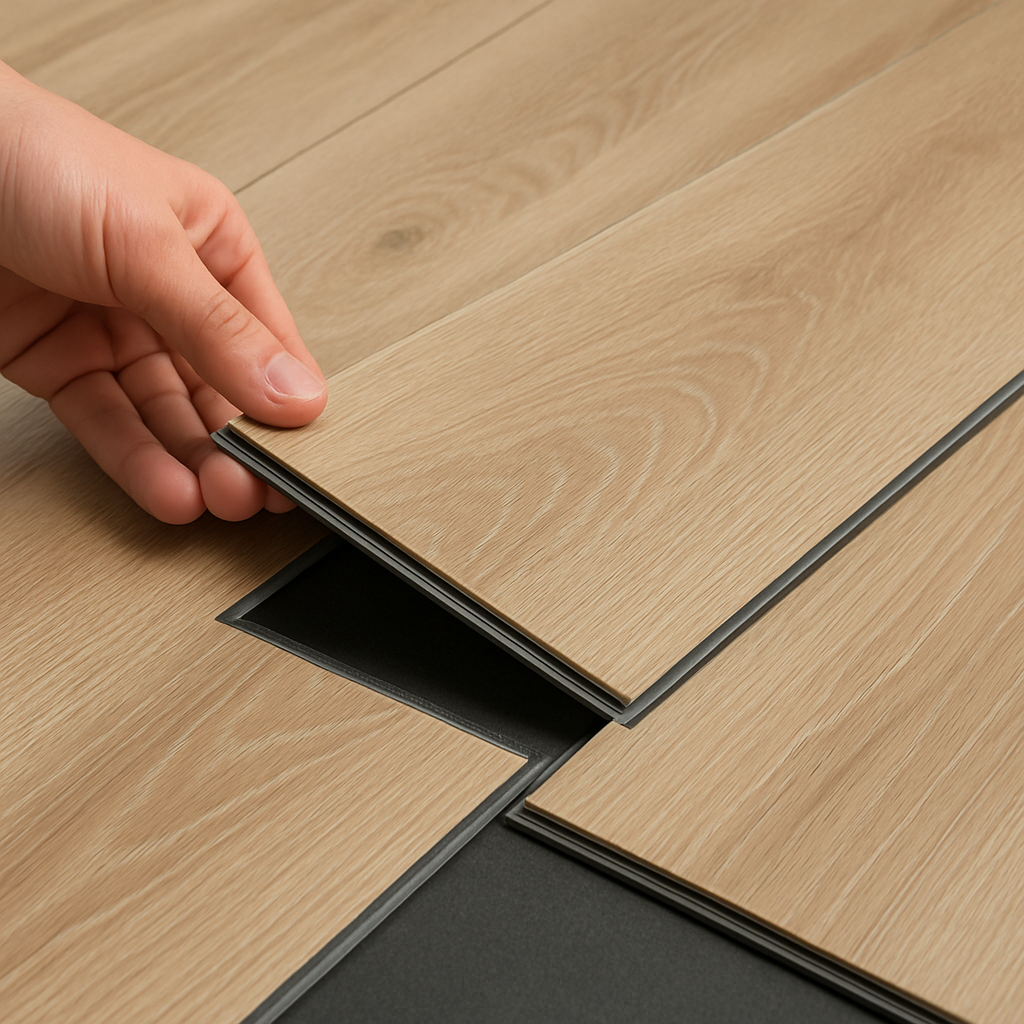
Okay, the prep is done. The layout is planned. Now we click. The basic motion is simple: angle the plank up, insert the tongue into the groove, and lower it down until it snaps. But there’s nuance. Make sure the plank is clean. Dust or debris in the groove prevents a tight seal. Wipe it down if needed. When you angle it, don’t force it. If it resists, stop. Check for obstructions. Sometimes the lock is slightly malformed from the factory. A little wax lubricant (specifically made for flooring) on the tongue can help, but use it sparingly. Too much wax attracts dirt.
What if it won’t click? This happens. Don’t hammer it into submission. You’ll break the lock. Instead, check the angle. Are you holding it at the right degree? Usually, it’s about 20 to 30 degrees. Try lifting it slightly higher or lower. Sometimes, gently wiggling it side-to-side while lowering helps seat it. If a plank is stubborn, swap it out. There’s always one bad apple in the box. Set it aside and use it for a cut piece later. Don’t fight a losing battle. And remember, you need to click the short end first, then the long side. Or vice versa, depending on the system. Most modern LVP allows you to angle the long side in, drop it, and then slide the next plank into the short end. Check your specific brand’s instructions. They vary.
Gaps are the enemy. As you work across the room, keep checking your seams. Run your finger over them. You shouldn’t feel a lip. If you see a gap, it means the lock isn’t fully engaged. Go back. Use your tapping block and mallet to gently tap the plank tighter. Don’t wait until the whole row is done. Fix it immediately. Also, keep your expansion gaps consistent. Check your spacers every few rows. It’s easy to knock them out of place when you’re moving around. If the gap closes up, the floor will buckle. It’s a constant balancing act. Stay mindful. Keep your knees padded. You’ll be down there for a while. Take breaks. Stretch. Your back will thank you.
Cutting Around Obstacles: Doors, Pipes, and Corners
Rooms aren’t empty boxes. They have doorways, heating vents, and toilet flanges. This is where the utility knife shines. For door jambs, don’t try to cut the plank to fit under the jamb. It’s nearly impossible to get a clean cut. Instead, undercut the jamb. Use a handsaw or an oscillating multi-tool to slice off the bottom of the door casing. Slide a spare plank under the jamb to use as a height guide. Saw through the wood, keeping the blade flat on top of the plank. Now, the new plank slides right underneath. It looks seamless and professional. No caulk needed. It’s a pro tip that makes a huge visual difference.
For pipes or irregular obstacles, you’ll need to make relief cuts. Measure carefully. Mark the spot on the plank. Cut a U-shape or a notch that’s slightly larger than the obstacle. Remember, you still need that quarter-inch expansion gap around the pipe. You can cover the gap later with a escutcheon plate (a fancy ring that goes around pipes). Don’t try to cut it perfectly tight. It won’t stay tight. For vents, same thing. Measure the opening, cut the hole, and leave a small gap. If the vent cover is large enough, it’ll hide the cut. If not, you might need to extend the vent boot.
Corner cuts are tricky if the walls aren’t square. Which they never are. Don’t assume a 90-degree angle. Measure from the previous plank to the wall at both the front and back of the plank. Transfer those measurements to your new plank. It might result in a trapezoid shape rather than a rectangle. That’s fine. Cut it carefully. Test fit it before you commit. If it’s too tight, shave off a little more. If it’s too loose, well, you can’t add material back. So, err on the side of caution. Take your time here. Rushed cuts lead to ugly gaps that caulk can’t fix. And please, don’t rely on caulk to hide bad cuts. It’s not a magic eraser. It’s a sealant. Use it for transitions, not for fixing measurement errors.
You’ve laid the last plank. You’re exhausted. But you’re not done. Now comes the cleanup and the trim. Remove all the spacers. Vacuum the floor thoroughly. Any dust left underneath will make noise when you walk on it. Crunchy floors are annoying. Inspect the entire surface. Look for any lifted edges or visible gaps. If you find a small gap along the wall, don’t panic. That’s what quarter-round molding is for. Nail it to the wall, not the floor. The floor needs to float. If you nail it to the floor, it can’t expand, and it will buckle. Use finish nails and a nail set to sink the heads. Fill the holes with wood filler that matches your trim.
Transitions between rooms are next. If you’re going from vinyl to carpet, tile, or another type of flooring, you need a transition strip. T-moldings for same-height floors, reducers for height differences. Measure the gap, cut the transition strip to size, and install it according to the manufacturer’s instructions. Some clip in, some screw down. Make sure it’s secure. You don’t want it tripping anyone. Also, check the doors. Did you undercut them? If not, you might need to trim the bottom of the door so it swings freely over the new floor height. Even a quarter-inch can make a door stick. Sand it down or plane it. It’s a small detail, but it matters.
Finally, give it a gentle clean. Use a manufacturer-recommended cleaner. Avoid steam mops. I repeat, avoid steam mops. The heat and moisture can seep into the seams and damage the core or the adhesive layer. Just damp mop with a mild solution. Enjoy the silence. No more creaky boards. No more cold tiles. Just a solid, quiet floor. Stand back and look at it. Notice the pattern. Notice how the light hits it. Feel proud. You did that. It wasn’t easy, but it wasn’t impossible. You followed the steps. You respected the material. And now, you have a floor that looks great and will last. Just don’t drag your furniture across it. Use felt pads. Your future self will appreciate it.