Have you ever walked into a room and wished the lighting felt just a bit softer, maybe more cozy? Standard flip switches are great for turning things on and off, but they leave your living space stuck in just one brightness mode. Swapping that outdated toggle for a smooth slider or a smart rotary dimmer completely changes the vibe of your home. It might feel a bit intimidating if you have never worked with household wiring before, yet it is a surprisingly straightforward weekend project.
Lighting plays a massive role in how our homes feel, especially as we spend more time indoors. Upgrading to a dimmer lets you set the exact mood you want while even saving a little energy along the way. You do not need to call an expensive electrician for this quick home improvement task. With a few basic tools and a steady focus on safety, you can tackle this job yourself this afternoon.
Gather Your Tools and Safety Gear
Before you touch anything on the wall, make sure you have everything ready nearby. You will need a standard flathead screwdriver, a Phillips screwdriver, and most importantly, a non-contact voltage tester. This little pen-shaped gadget is your best friend because it tells you if electricity is still flowing through the wires. Grab a roll of electrical tape and a smartphone to snap a quick photo before disconnecting anything.
Safety always comes first when dealing with home electrical systems. Never skip the step of verifying the power is completely cut off at the circuit breaker box. Walk over to your breaker panel, flip the switch that controls that specific room, and then test the wires at the wall box twice. Taking these extra seconds prevents nasty surprises and keeps you safe the entire time.
Turn Off the Power at the Main Breaker
Finding the right breaker can sometimes feel like a mini puzzle game. Turn on the light switch you plan to replace, then flip breakers until the light bulb finally goes dark. Do not just trust the labels on your breaker box because they are frequently wrong or outdated. Once the light goes off, head back to the room with your voltage tester and hold it near the switch plate.
If the tester beeps or lights up, power is still active, so you need to keep searching for the correct breaker. Only proceed once the tester remains completely silent near the wires. This guarantees you can work with total peace of mind. Double-checking takes barely any effort and protects you from accidental shocks.
Remove the Old Faceplate and Switch
Now that the electricity is completely off, you can unscrew the plastic faceplate surrounding your old switch. Gently pull the cover away and set the tiny screws aside in a safe spot so they do not roll away. Next, you will see two longer screws holding the actual metal switch body inside the electrical box in the wall. Unscrew those top and bottom mounting screws carefully.
Once those screws are loose, gently pull the switch outward by its mounting ears. You should see wires attached to the sides or the back of the switch. Do not disconnect anything just yet. Pull it out just far enough to get a clear look at how everything is currently wired up.
Snap a Photo and Disconnect the Wires
This is where your smartphone comes in handy. Take a clear, well-lit photo of the wires connected to your old switch. Trust us, having this visual reference later saves you from a lot of guessing. You want to see which wire goes to which terminal screw, especially if there are multiple wires involved.
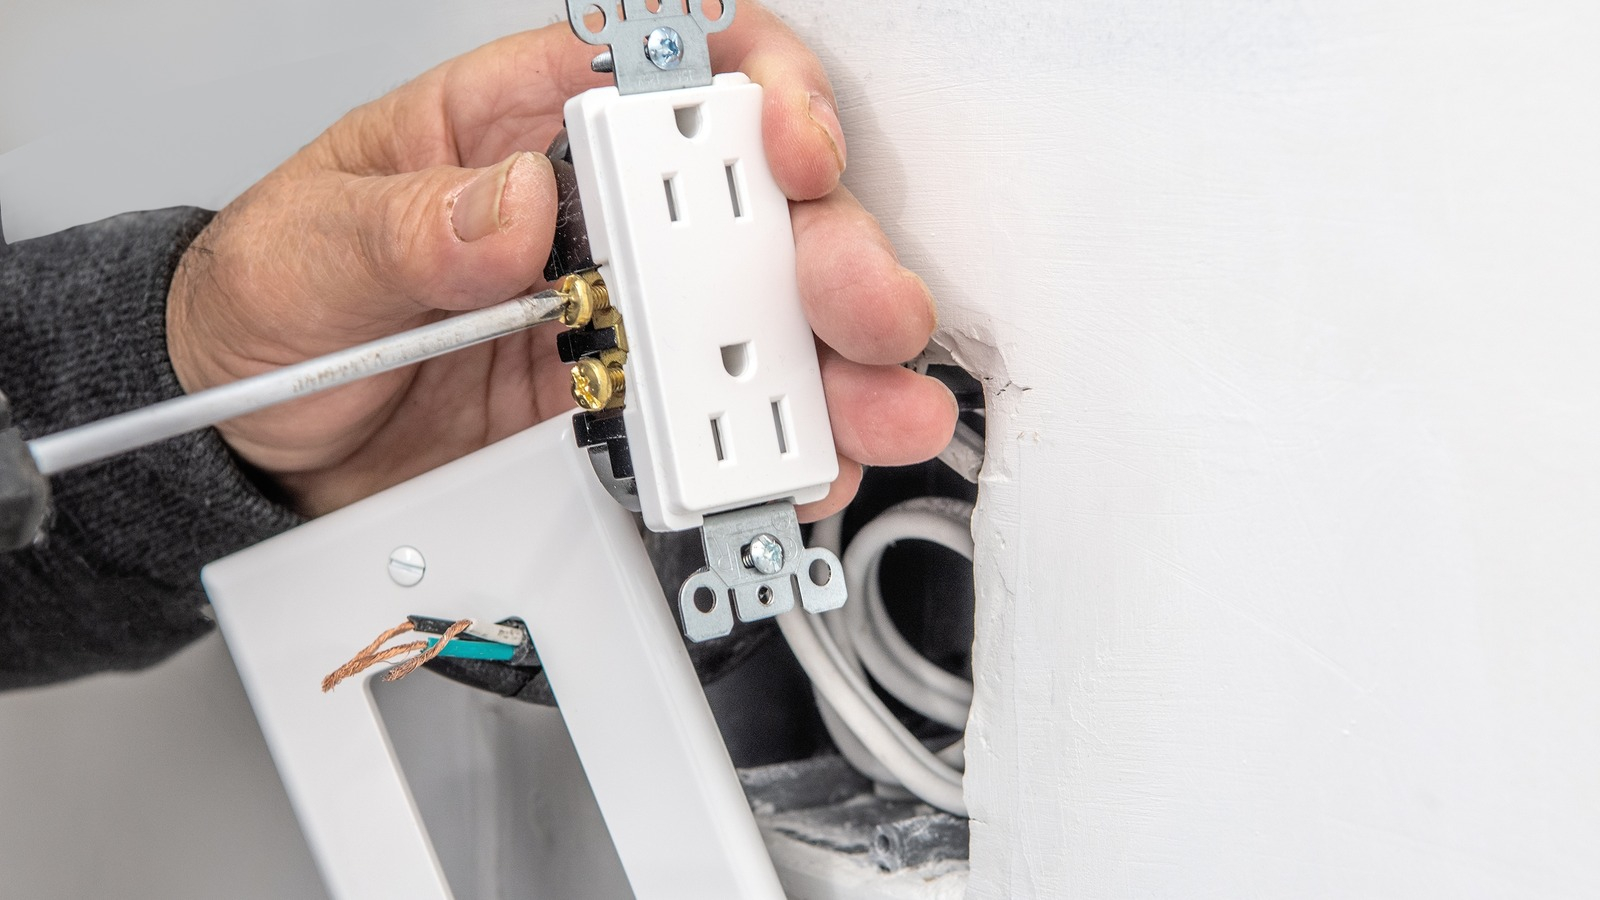
After taking your picture, loosen the terminal screws to release the copper wires. If the wires were pushed into push-in slots on the back, you might need to insert a small flathead screwdriver into the release slot or gently twist and pull them out. Straighten out any bent wire ends if needed so they will be ready to connect to your new dimmer. Ground wires, which are usually bare copper or green, should remain tied together if there is a bundle in the back.
Match and Wire Your New Dimmer
Modern dimmers usually have three or four wires coming out of them instead of screw terminals. You will typically see a ground wire, two black line-load wires, and sometimes a neutral wire depending on the model you bought. Match the green or bare copper ground wire from the dimmer to the bare copper ground wire coming from your wall box. Twist them together clockwise and secure them with a wire nut.
Next, connect the remaining dimmer wires to the house wires you freed earlier. It usually does not matter which black dimmer wire connects to which wall wire for standard single-pole setups. Twist the wire connectors on tightly and give each wire a gentle tug to ensure nothing slips out. Wrap a little electrical tape around the base of the wire nuts for an extra layer of secureness.
Carefully fold the connected wires back into the electrical box, making sure no bare copper is exposed. Push the dimmer body straight back into the wall box and line up the mounting holes. Screw in the top and bottom screws until the switch sits flat and firm against the wall. Snap or screw your new decorative faceplate over the front.
Head back to your main breaker panel and flip the circuit breaker back to the on position. Walk back to your newly installed dimmer and test it out. Slide or tap the control to verify the lights turn on smoothly and dim properly without any flickering. If everything works as expected, you have successfully completed your DIY lighting upgrade.
Taking control of your home lighting is a satisfying project that instantly boosts your living space. By following these careful steps, you managed a wiring upgrade without needing professional help. Enjoy your new ambiance and the satisfaction of knowing you did it entirely on your own.