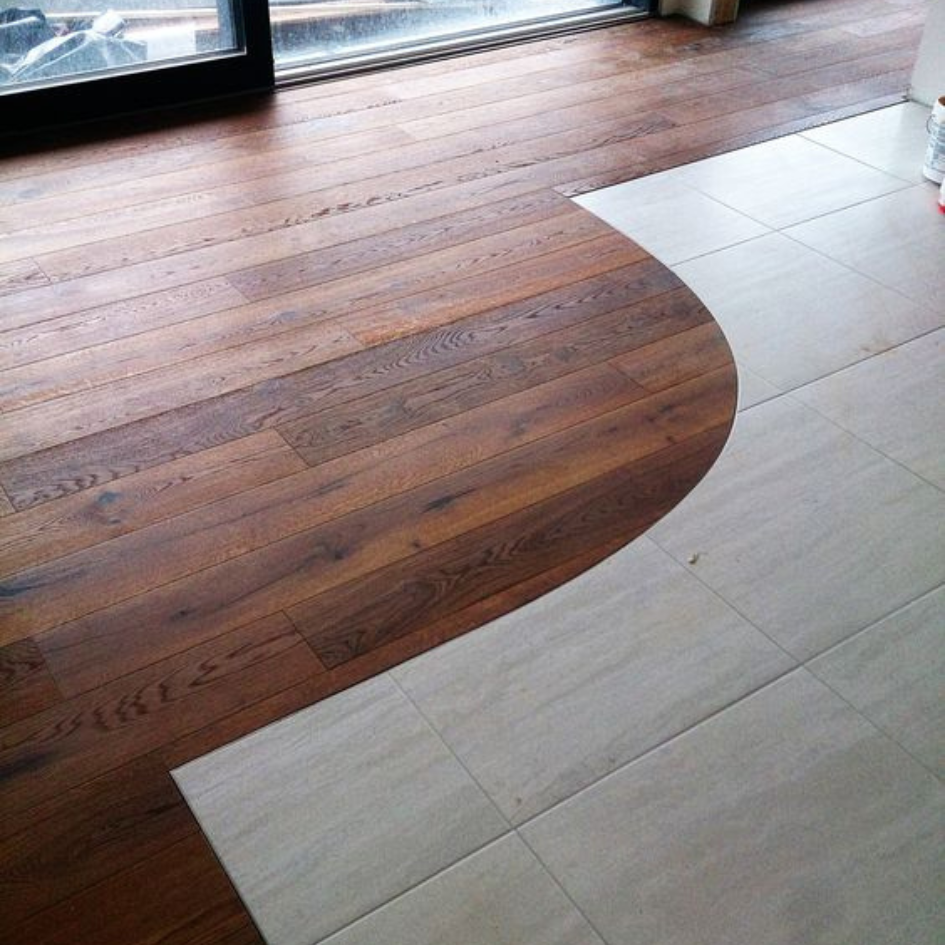
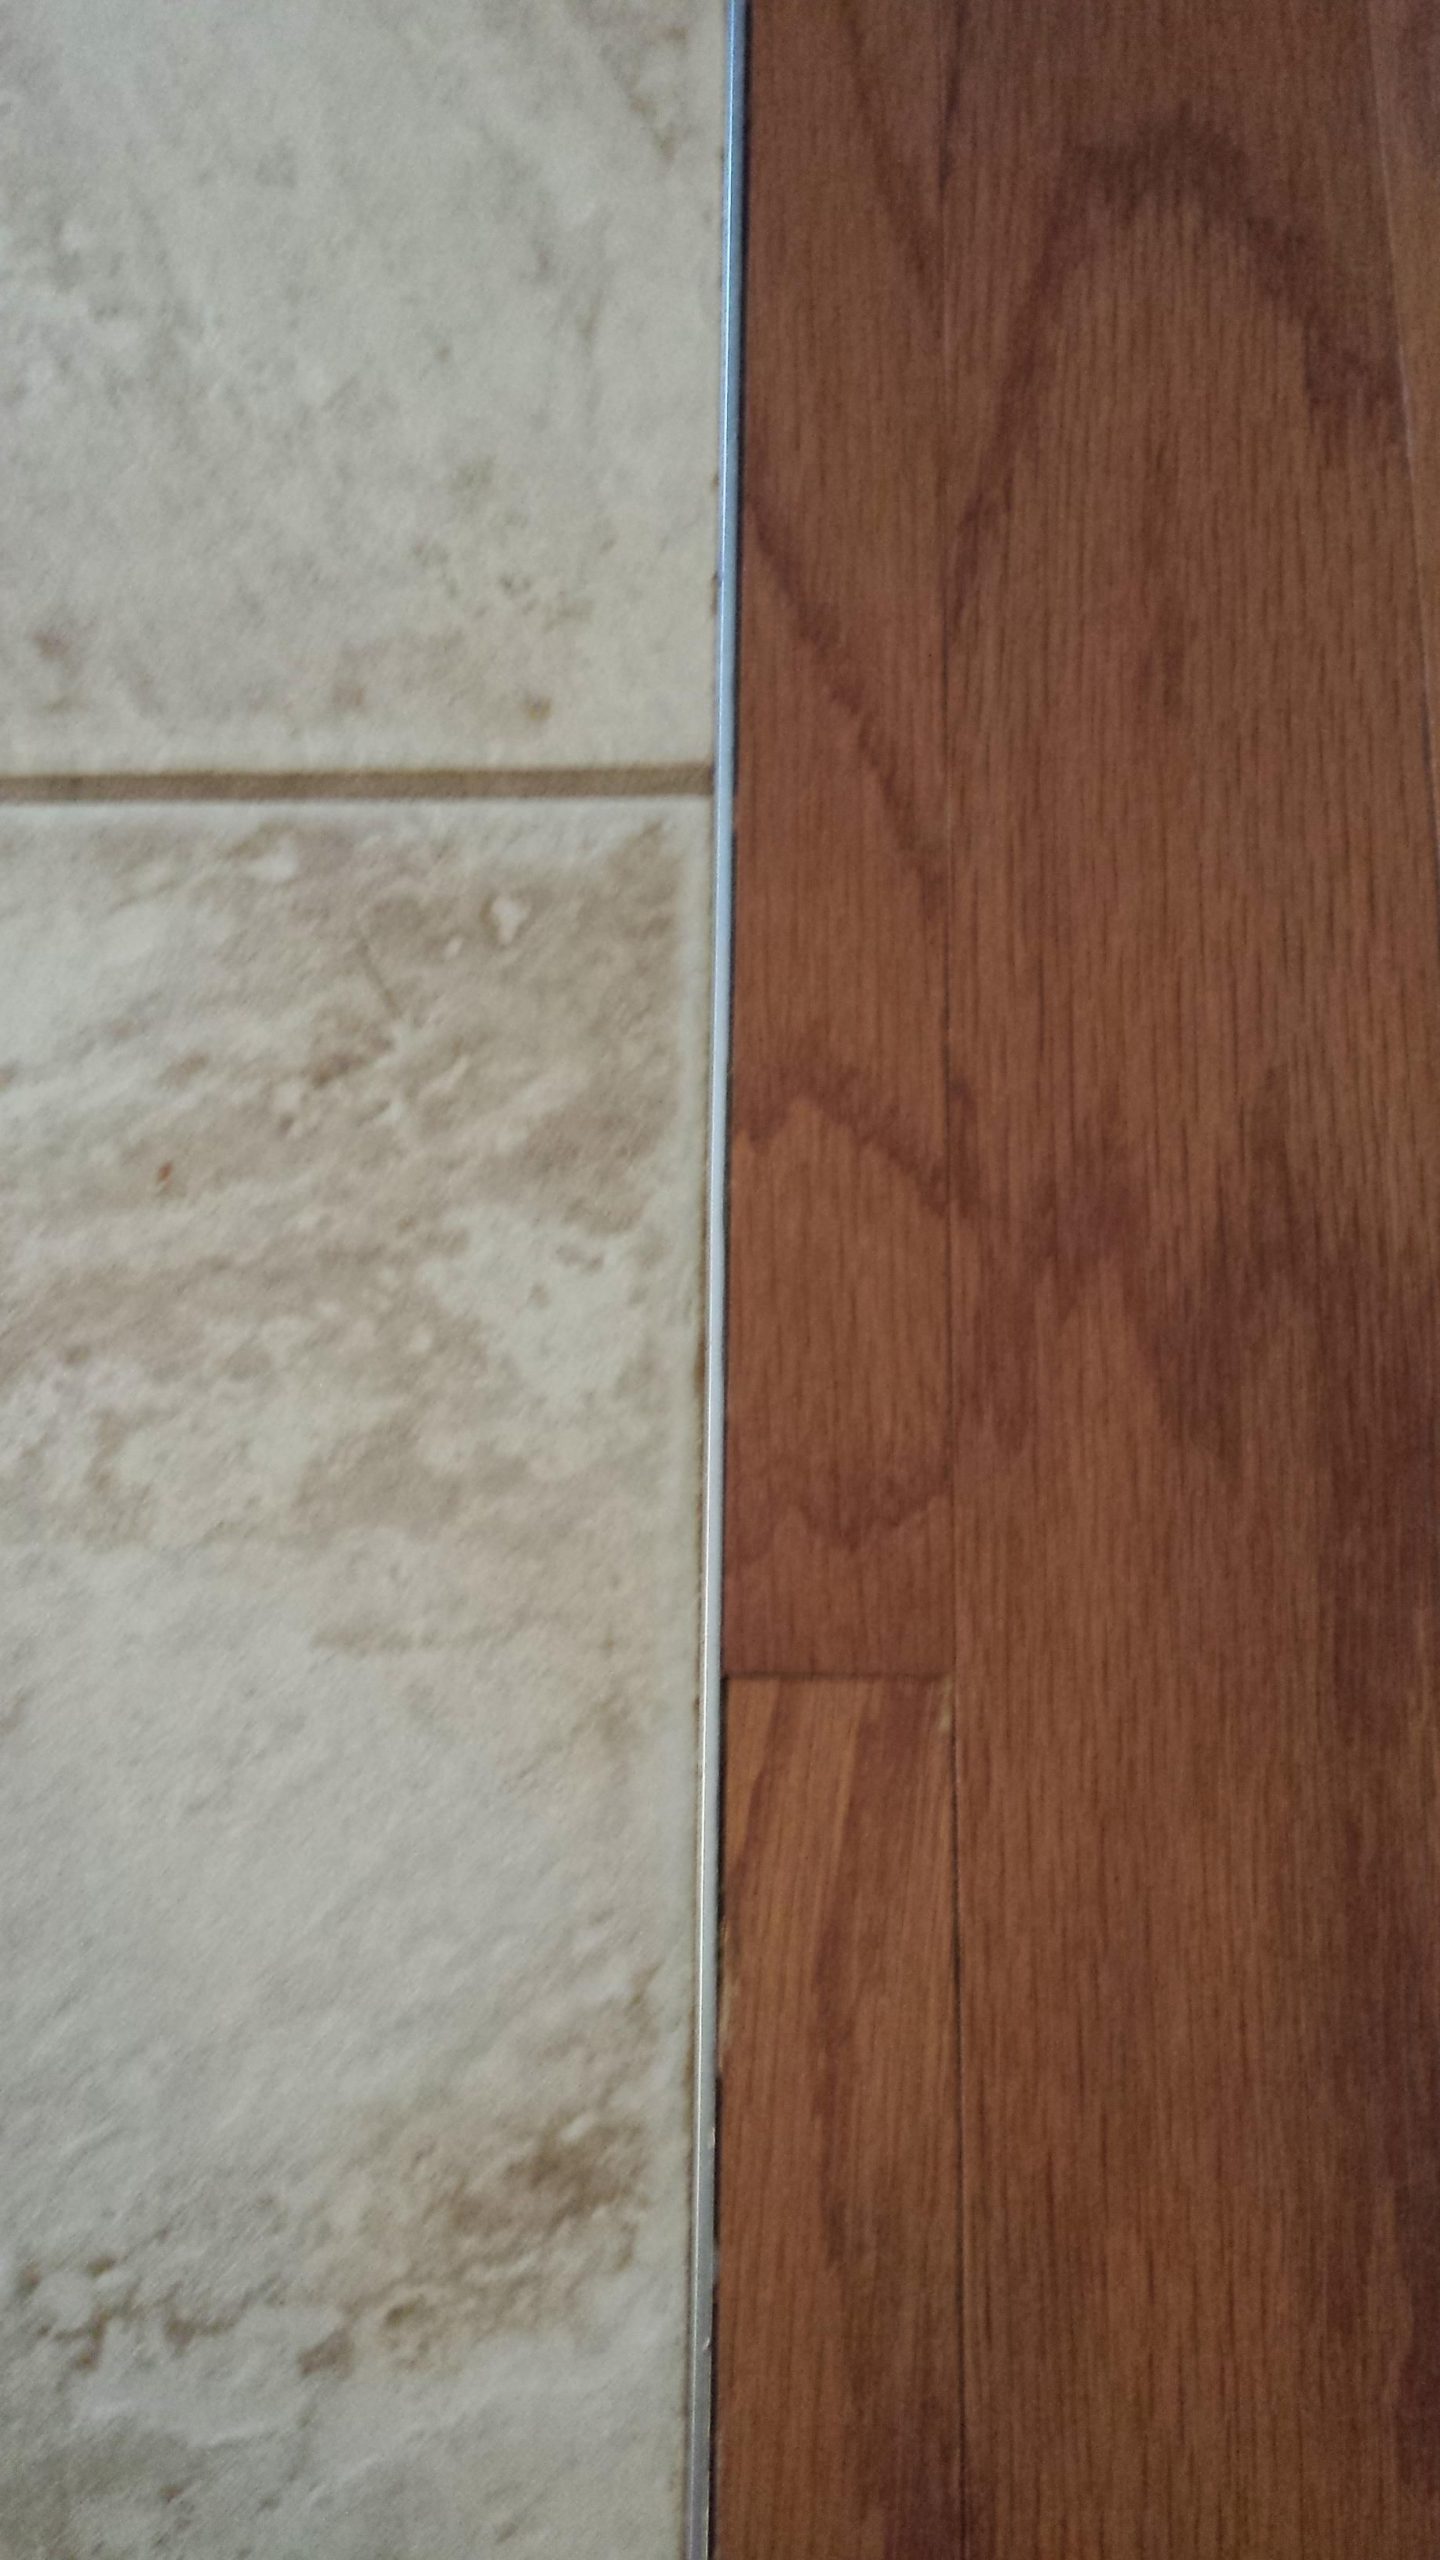
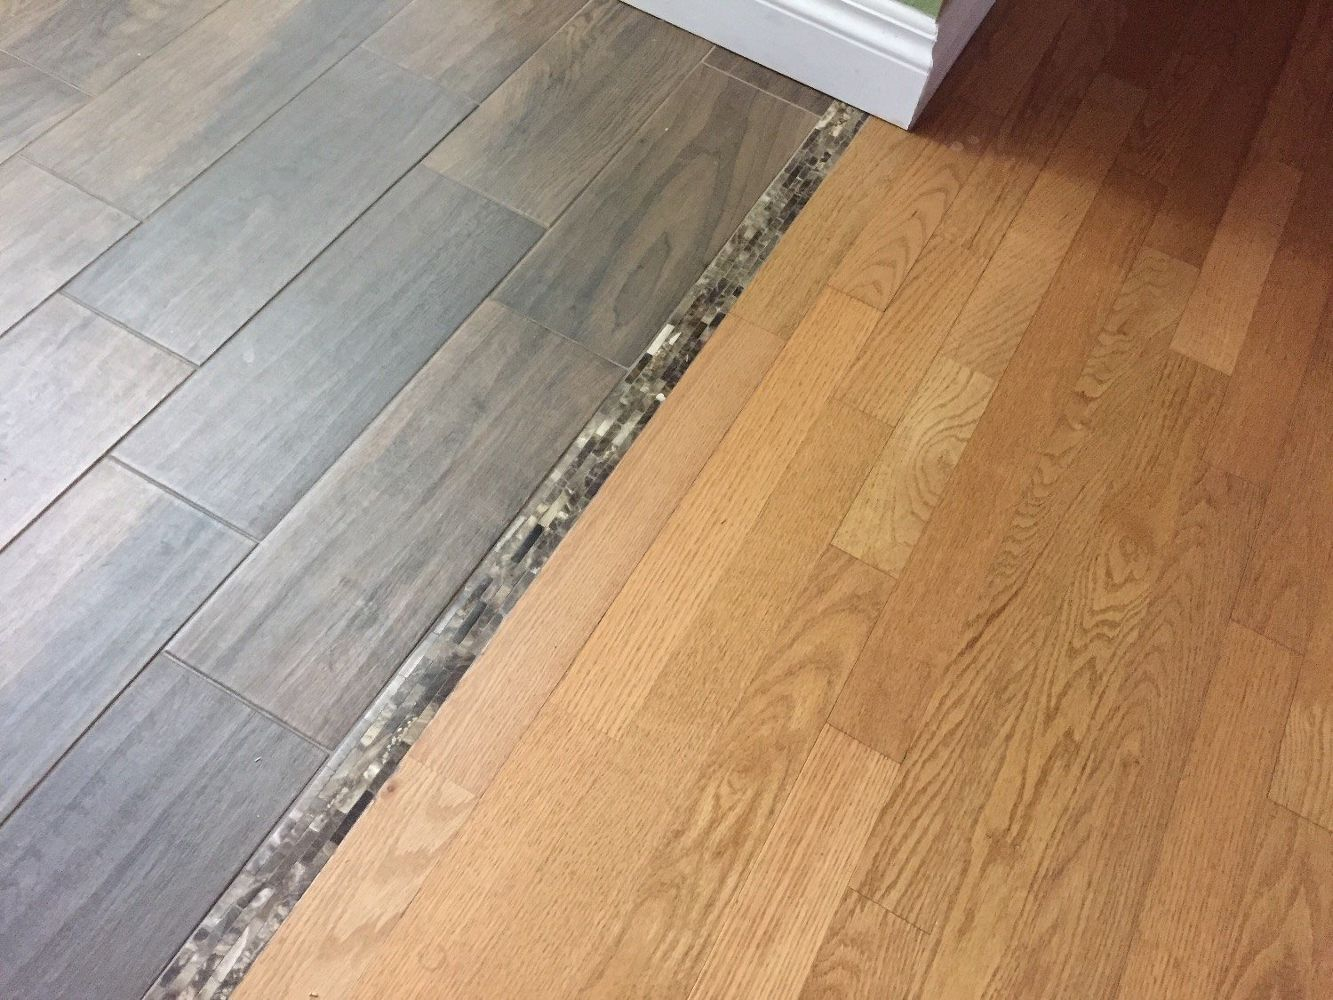
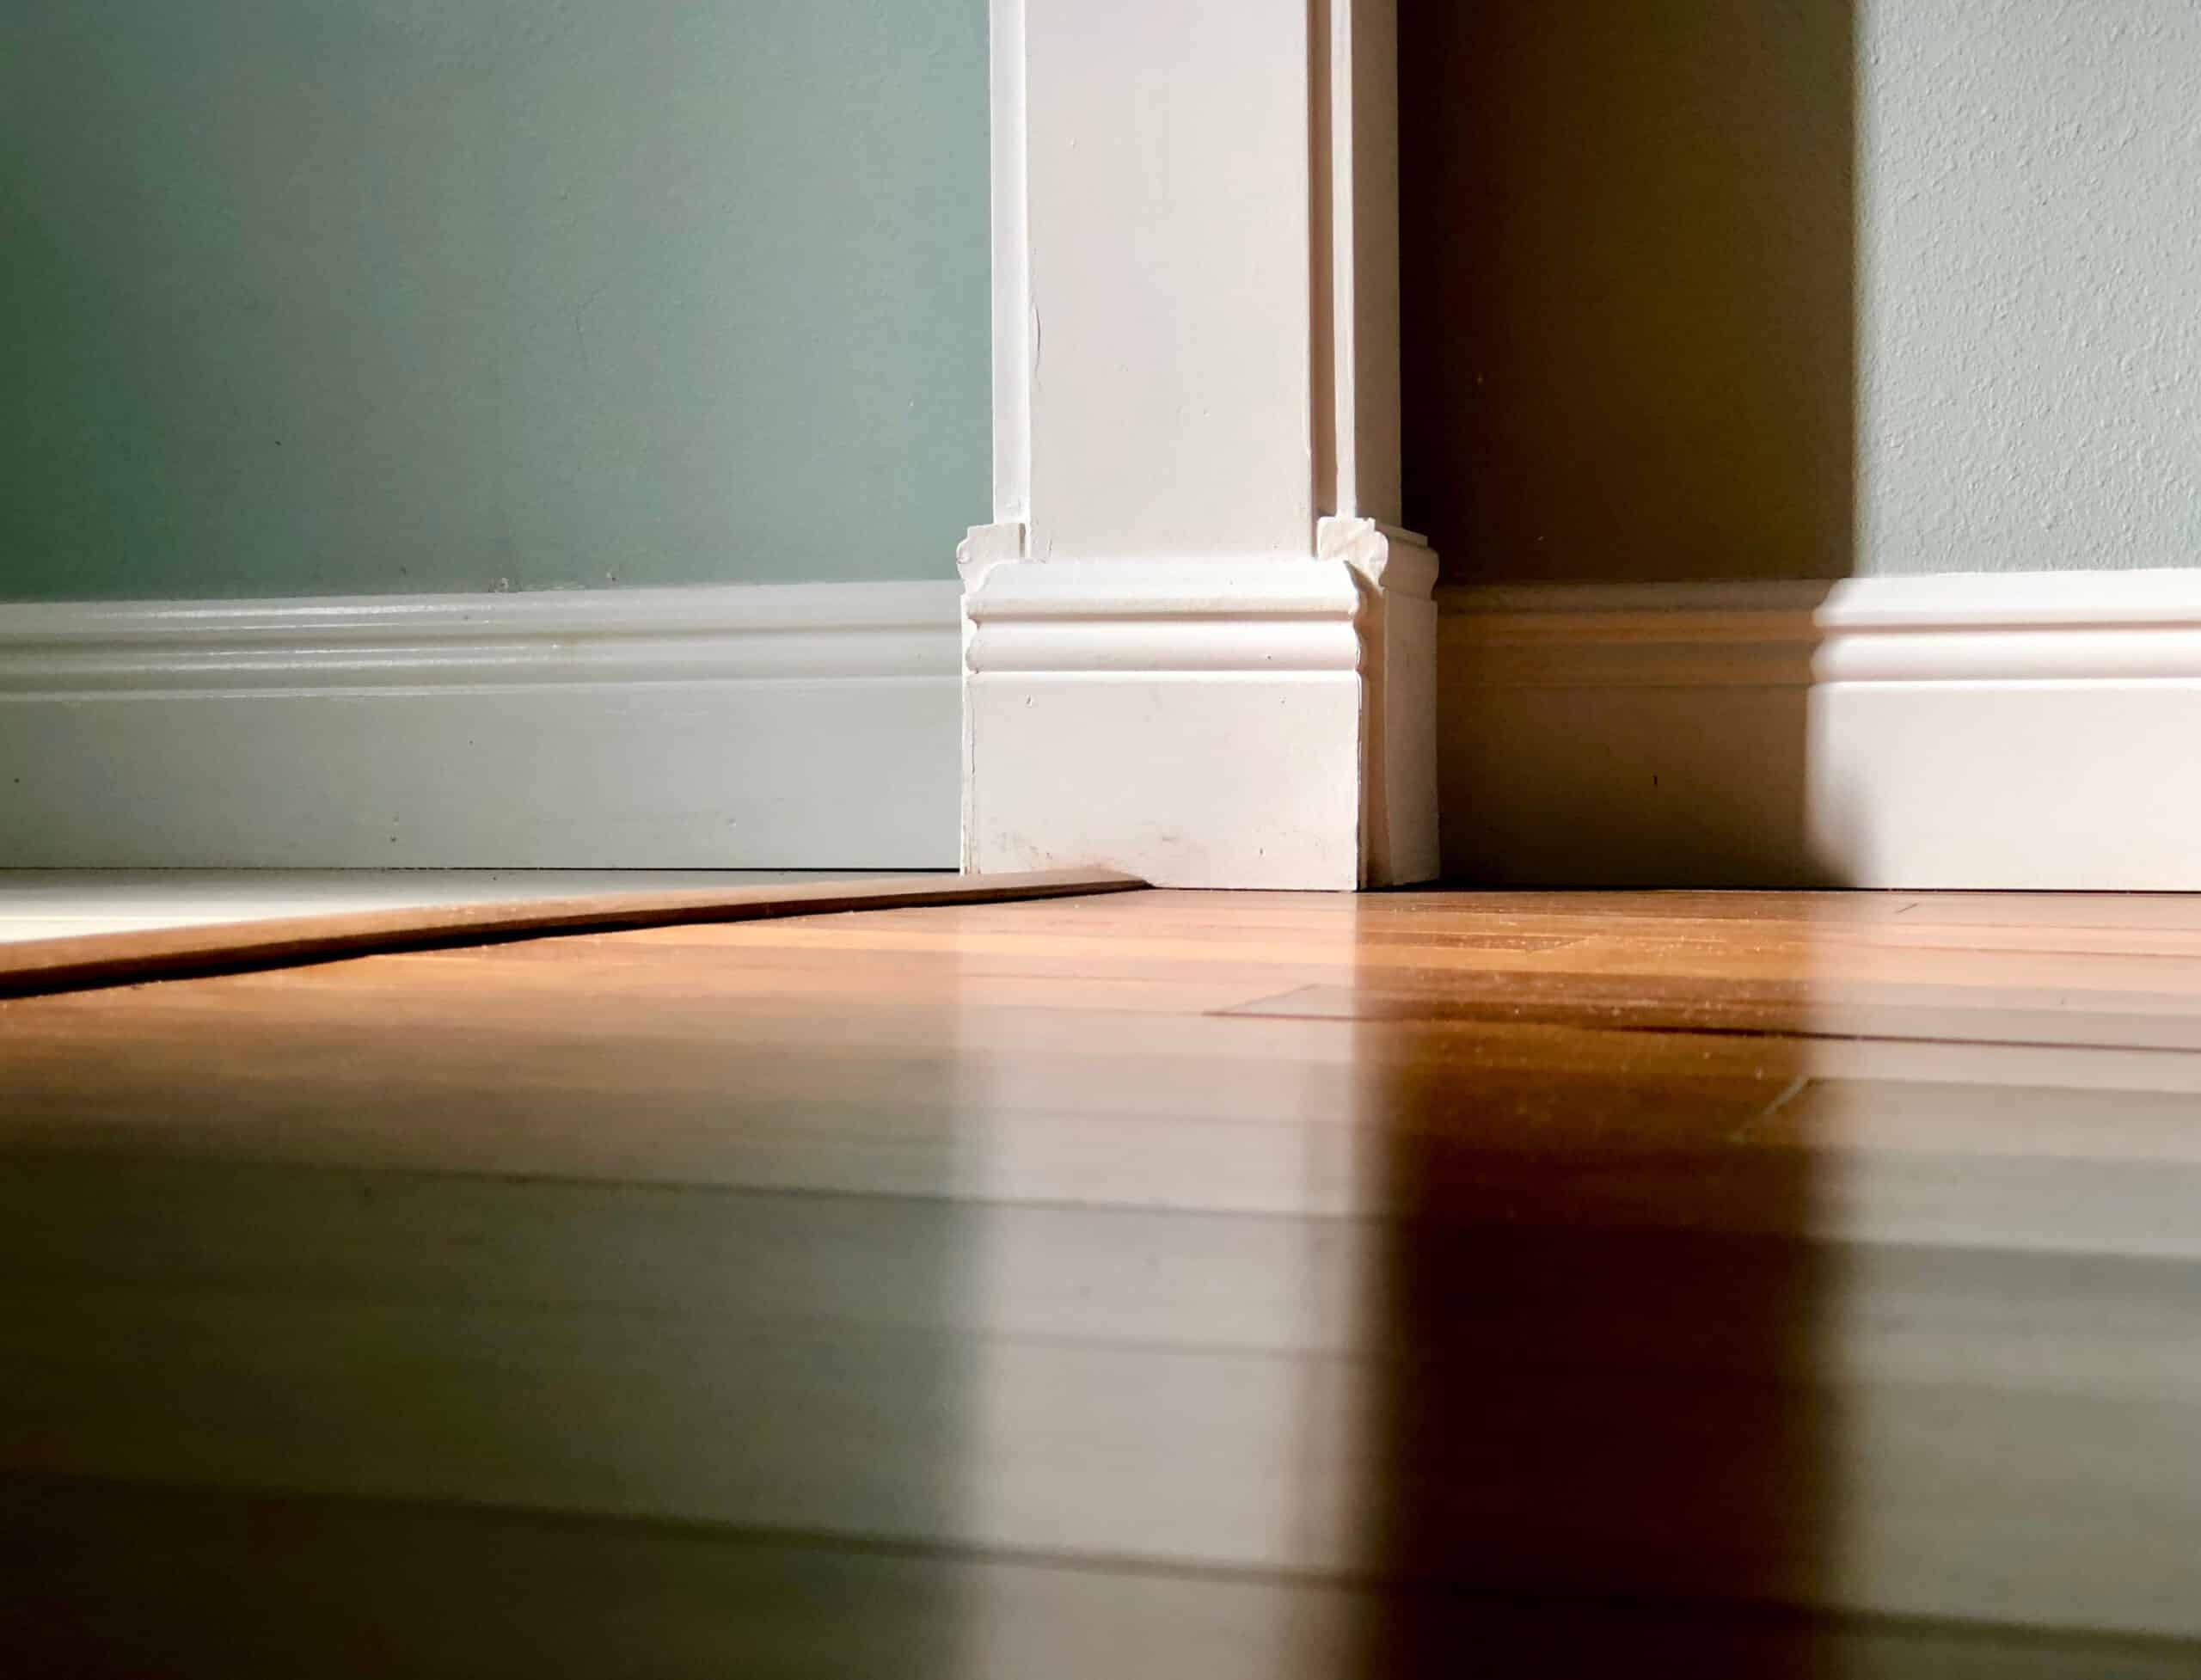
You walk into a room. The light hits the floor just right. It looks expensive. It feels solid. But then you take a step toward the hallway, and your toe catches on something. A tiny lip. A jagged edge where the hardwood meets the tile. Suddenly, that expensive feeling vanishes. It’s replaced by annoyance. Maybe even a stumble.
We spend hours picking out the perfect oak plank or the ideal slate-look porcelain. We debate colors. We worry about durability. Yet, we often toss the transition strip into the cart as an afterthought. Or worse, we skip it entirely, hoping the two floors will just "work it out" on their own. They won’t. In 2026, with tighter construction tolerances and a bigger focus on seamless living, that little strip of metal or wood is doing heavy lifting. It’s not just a cover-up. It’s the bridge that holds your whole flooring story together.
Think about it. When was the last time you noticed a good transition? Probably never. That’s the point. Good design is invisible. Bad design trips you up. Literally. This year, homeowners and designers are finally giving these small components the attention they deserve. And honestly? It’s about time.
More Than Just a Pretty Cover-Up
Let’s get one thing straight. Transition strips aren’t just there to hide the ugly gap between two different floors. Sure, that’s part of it. But if that were all they did, we’d just use duct tape and call it a day. These strips are functional powerhouses. They protect the edges of your flooring materials from chipping, fraying, or lifting. Without them, the raw edge of your laminate or the cut side of your tile is exposed to foot traffic, vacuum cleaners, and spilled drinks. That’s a recipe for disaster.
In 2026, we’re seeing a surge in multi-material flooring layouts. Open-concept living means your kitchen tile flows into the living room hardwood, which then meets the bedroom carpet. Each of those junctions is a potential weak spot. Moisture can seep under the edges. Debris gets trapped. Over time, this causes the flooring to warp or buckle. A proper transition strip seals that deal. It acts as a barrier, keeping the elements out and the structure intact. It’s like putting a frame around a painting. The painting might be beautiful, but the frame protects it and makes it look finished.
Consider the safety angle too. A tripping hazard isn’t just annoying; it’s dangerous. Especially for kids, seniors, or anyone carrying a load of laundry. A well-installed transition strip smooths out height differences. It creates a ramp-like effect rather than a sharp drop-off. This subtle change in geometry can prevent falls. It’s a small detail with big implications for how safe your home feels. So, when you’re looking at that tiny piece of trim, don’t see it as clutter. See it as insurance.
The Material Revolution: What’s Hot in 2026
Gone are the days when your only option was a clunky, brass-colored T-molding that screamed "1990s rental property." The market has exploded with choices. In 2026, it’s all about matching the vibe, not just covering the gap. Aluminum is still king for durability, but it’s getting a makeover. We’re seeing brushed finishes, matte blacks, and even powder-coated colors that match specific grout lines or wood stains. It’s sleek. It’s modern. It doesn’t shout for attention.
Then there’s the rise of flexible PVC and rubber composites. These are game-changers for curved walls or irregular doorways. Remember those awkward arched entries in older homes? Traditional rigid strips hate them. Flexible strips bend effortlessly, creating a smooth, continuous line that follows the architecture. It’s a huge win for renovation projects where you’re working with existing quirks. Plus, these materials are often more forgiving during installation, which is great for DIYers who might not have perfect precision.
Wood transitions are making a comeback too, but with a twist. Engineered wood strips allow you to match the exact species and finish of your hardwood floors. This creates a nearly invisible seam, making the transition feel intentional and high-end. However, wood moves with humidity. So, while it looks stunning, it requires a bit more care. If you live in a place with wild seasonal swings, you might want to stick with metal or composite options. They don’t expand or contract the same way. Choosing the right material isn’t just about looks; it’s about how your home breathes.
Solving the Height Difference Dilemma
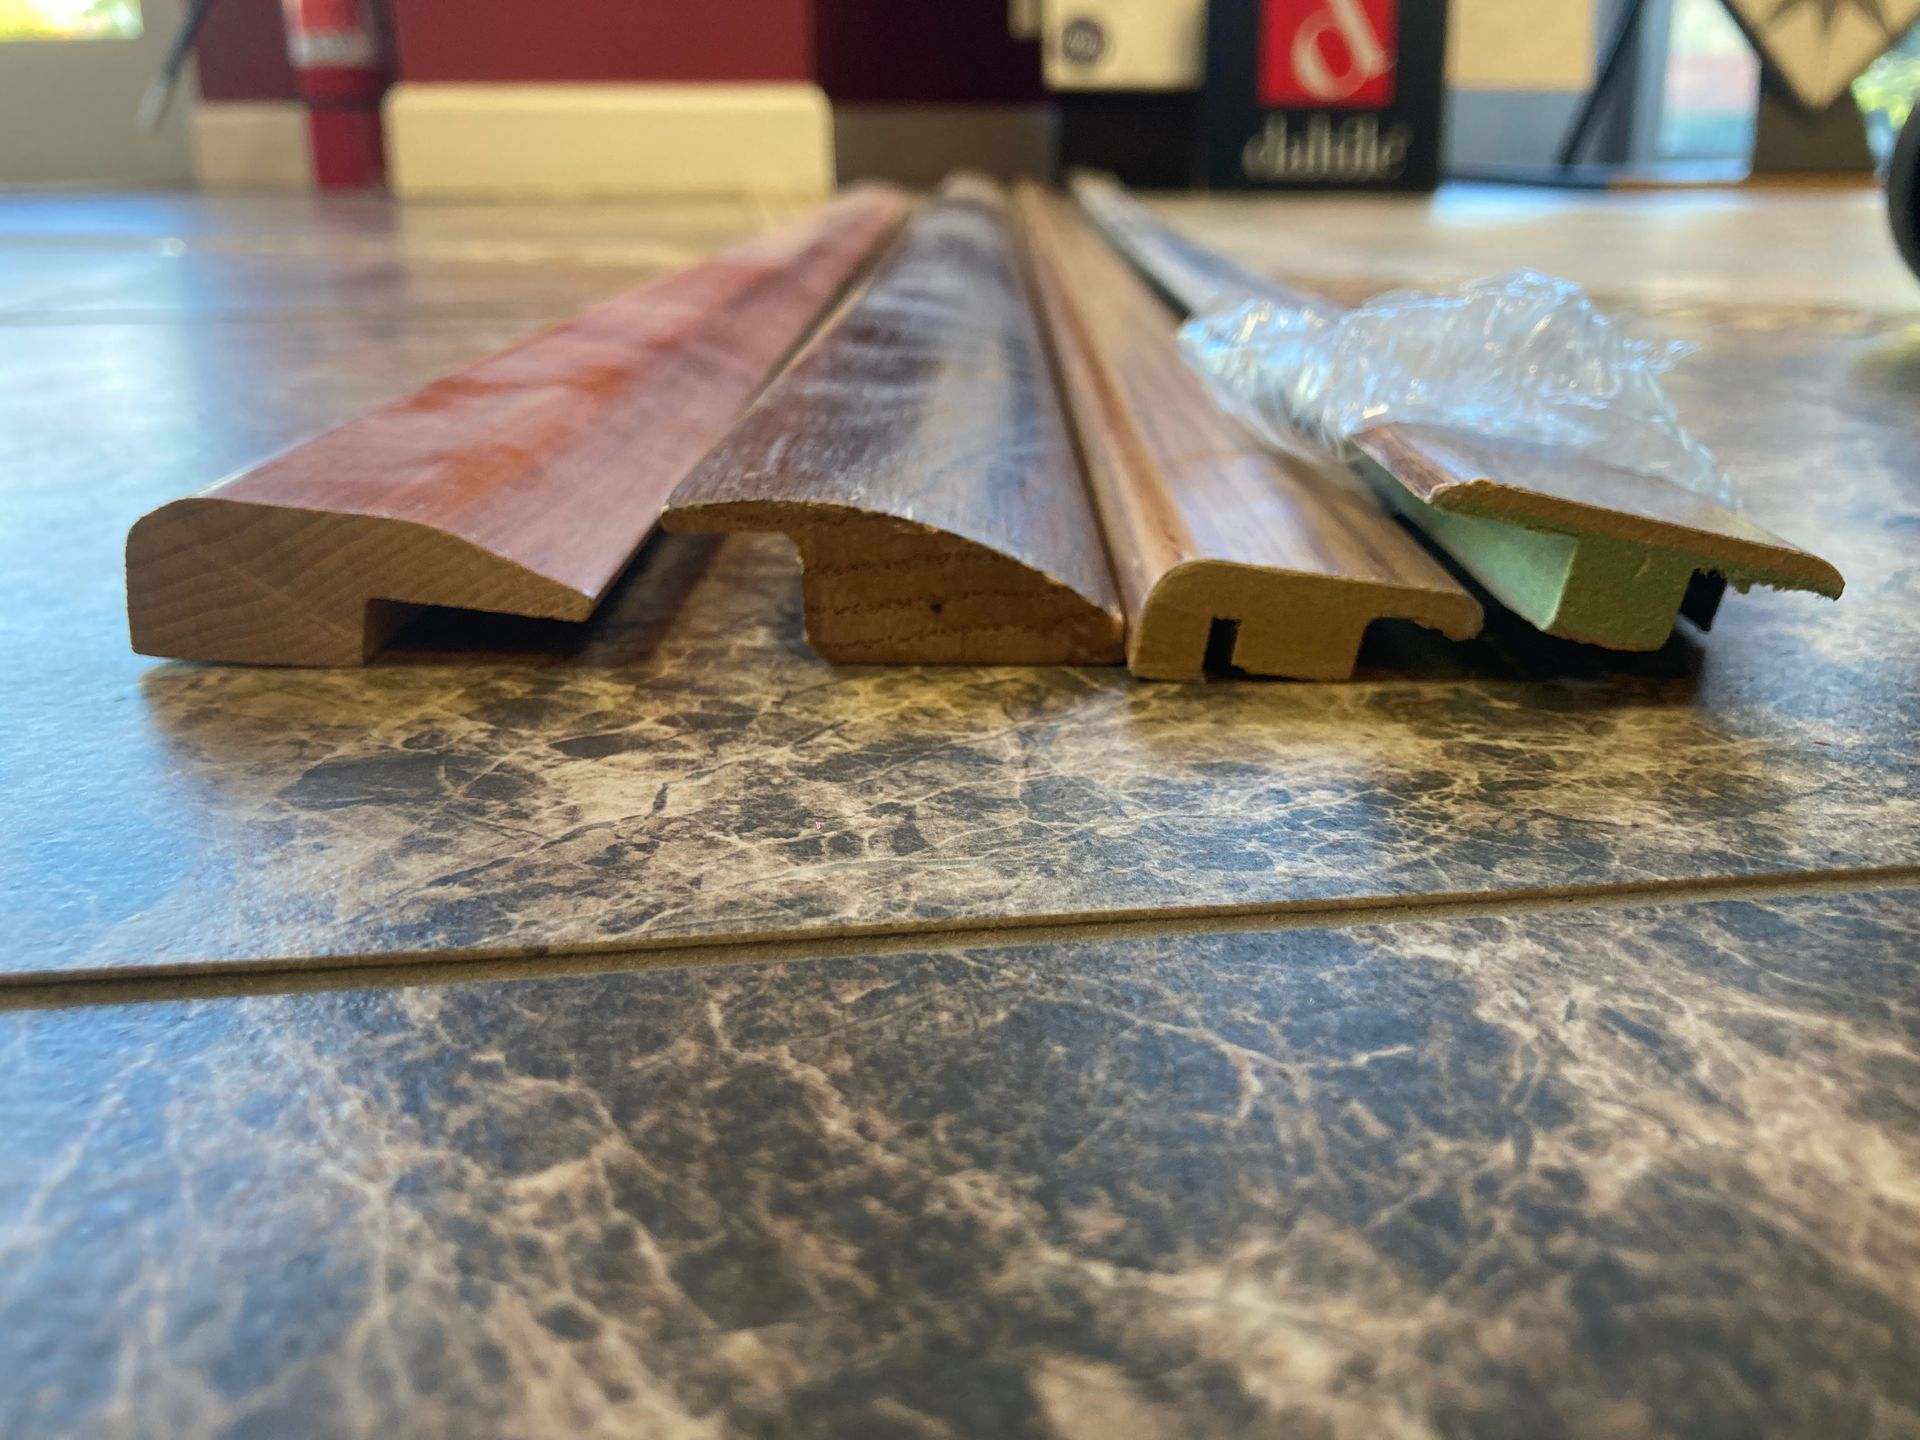
Here’s a common headache. You install luxury vinyl plank (LVP) in the kitchen. It’s 5mm thick. Then you lay down ceramic tile in the bathroom. It’s 10mm thick, plus the mortar bed. Now you have a half-inch step down from the kitchen to the bath. Yikes. This is where specialized transition profiles save the day. You can’t just slap a flat strip on that. You need a reducer or a ramp profile.
In 2026, manufacturers are designing smarter profiles to handle these discrepancies. Schluter-style systems are popular, offering a range of heights and angles. Some even have built-in shock absorption to make the step feel softer underfoot. It’s a nice touch that adds a layer of comfort you didn’t know you needed. For larger height gaps, there are stepped transitions that break the drop into two smaller, safer steps. It’s less abrupt and much easier on the knees.
Don’t try to force a flat transition on an uneven floor. It won’t work. The strip will rock, squeak, and eventually pop loose. Measure twice. Buy the right profile. If the height difference is minor, say under 1/8 inch, a simple overlap strip might suffice. But for anything bigger, go with a dedicated reducer. It’s worth the extra few dollars. Your toes will thank you. And let’s be real, nobody wants to hear that hollow clack-clack sound every time they walk through the doorway.
The Aesthetics of Invisible Design
There’s a trend in interior design called "invisible detailing." The idea is that the best design elements are the ones you don’t notice. Transition strips fit perfectly into this philosophy. The goal is to create a visual flow that guides the eye from one space to another without interruption. A bulky, contrasting strip breaks that flow. It draws attention to the seam, highlighting the disconnect between rooms.
To achieve this seamless look, color matching is key. If you have dark walnut floors, choose a dark bronze or black aluminum strip. If you have light oak, go for a natural aluminum or a light wood tone. Some people even paint their metal strips to match the baseboards. It’s a clever trick that ties the vertical and horizontal elements together. In 2026, we’re seeing more custom-color options available online, making it easier to find that perfect shade.
Width matters too. Narrower strips tend to look more contemporary and refined. Wide strips can feel dated or industrial. Unless you’re going for a specific loft-style aesthetic, stick to slimmer profiles. They feel more delicate and precise. Also, consider the shape. A square-edge strip feels modern and crisp. A rounded edge feels softer and more traditional. Match the profile shape to the overall mood of your home. It’s these tiny decisions that elevate a house from "built" to "designed."
Installation: Where Most People Go Wrong
You’d think installing a transition strip would be easy. Cut it. Glue it. Done. Right? Well, not exactly. Poor installation is the number one reason transitions fail. They loosen. They rattle. They look sloppy. The biggest mistake? Not accounting for expansion gaps. Floating floors like laminate and LVP need room to move. If you glue the transition strip directly to the floor planks, you’re locking them in place. When the temperature changes, the floor wants to expand. It can’t. So, it buckles.
Always attach the transition strip to the subfloor, not the flooring material itself. Use a high-quality construction adhesive or mechanical fasteners, depending on the subfloor type. For concrete, screws and anchors are your best bet. For wood subfloors, nails or screws work well. Make sure the strip is centered over the gap. It should cover the edges of both flooring types evenly. If it’s off-center, it looks amateurish and leaves one side vulnerable.
Another common error is cutting the strip too short or too long. It should fit snugly between the door jambs or wall ends. If there’s a gap on the sides, dirt will accumulate there. It’s hard to clean and looks messy. Use a miter saw for clean, precise cuts. If you’re dealing with angled doorways, take your time measuring the angles. A slight mismatch is visible from a mile away. And please, clean the area before gluing. Dust and debris prevent proper adhesion. A quick vacuum and wipe-down can save you from a callback or a redo.
Once installed, transition strips are pretty low maintenance. But they aren’t invincible. They take a beating. Feet, shoes, pet claws, rolling chairs—they all scrape against these strips. Over time, scratches happen. With metal strips, you can sometimes buff out minor scratches with a fine abrasive pad. For deeper gouges, you might need to replace the strip. Luckily, most modern systems allow you to snap out the old insert and pop in a new one without ripping up the surrounding floor.
Keep them clean. Dirt buildup can trap moisture, which might corrode metal strips or degrade adhesives. A simple damp mop is usually enough. Avoid harsh chemicals that could strip the finish, especially on colored or wood-grain finishes. If you notice the strip starting to lift, address it immediately. Don’t wait for it to become a tripping hazard. A little tube of adhesive and a clamp can fix it in minutes. Ignoring it leads to bigger problems, like water damage underneath.
In 2026, sustainability is also a factor. Many new transition strips are made from recycled aluminum or bio-based plastics. When it’s time to replace them, check if they can be recycled. Metal strips are fully recyclable. PVC ones? Not so much. Choosing durable, long-lasting materials reduces waste in the long run. It’s a small choice, but it adds up. Treat your transitions well, and they’ll last as long as your floors do.
So, next time you’re planning a flooring project, don’t overlook the transition. It’s not just a piece of trim. It’s a critical component that affects safety, aesthetics, and durability. Choose wisely. Install carefully. Maintain regularly. Your floors—and your feet—will appreciate it. It’s the little things that make a house feel like a home. And in 2026, those little things matter more than ever.