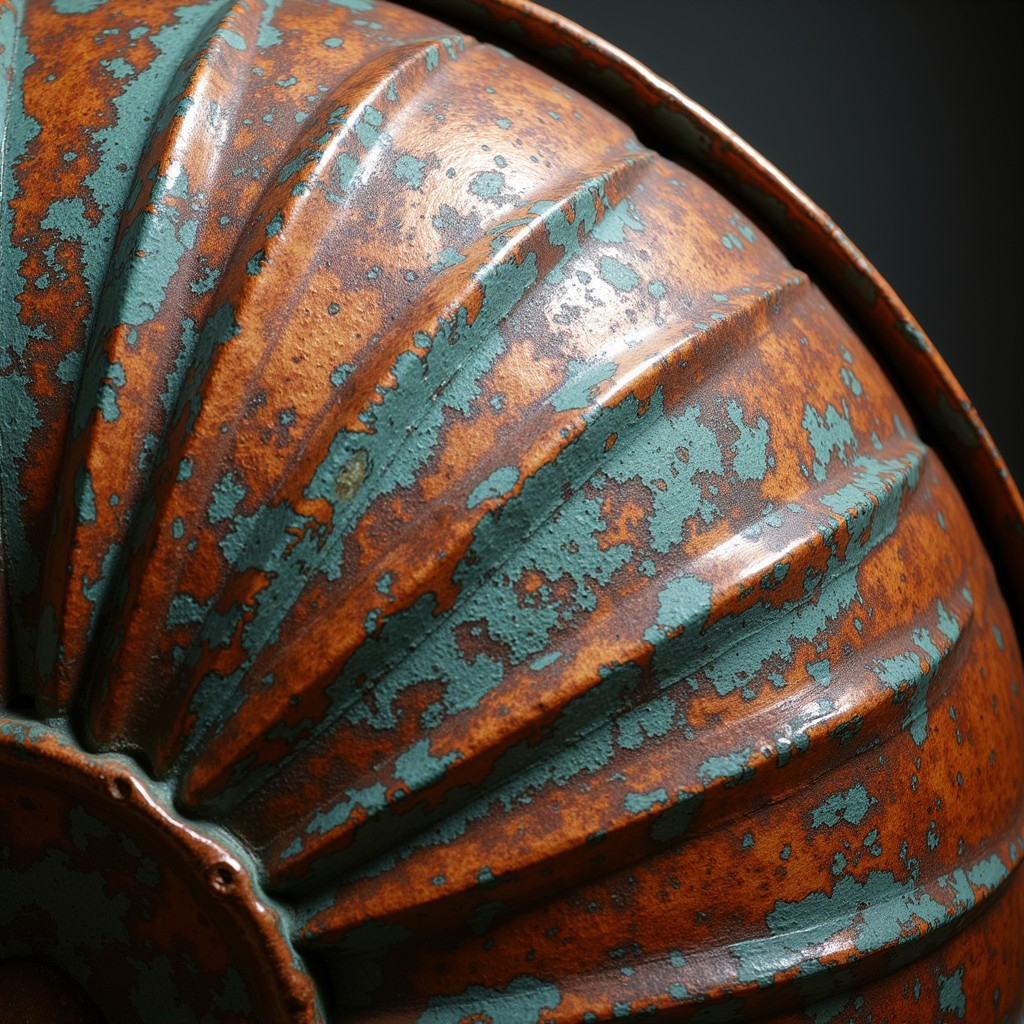
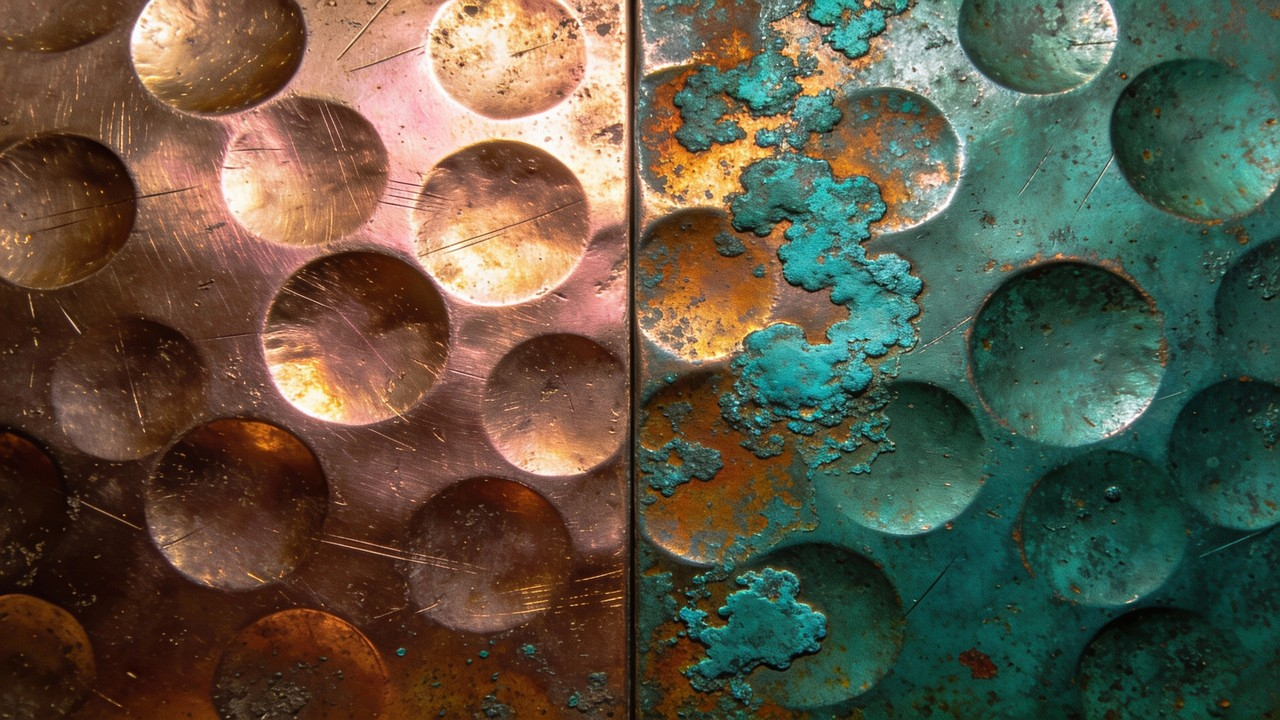
The raw, blinding flash of a newly minted copper sheet is undeniably striking, yet it often feels entirely out of place in a thoughtfully curated space. Modern interior designers, restoration hobbyists, and metalworkers frequently find themselves staring at brilliant copper hardware, planters, or accent tiles that scream factory-fresh when what the design truly demands is the soulful, weathered warmth of a centuries-old artifact. Left entirely to nature, copper transitions from a metallic orange to a deep chocolate brown, and eventually into that iconic, seafoam-green verdigris patina. The catch? Mother Nature works on a glacial timescale, requiring decades of exposure to atmospheric moisture, carbon dioxide, and sulfur to yield that coveted antique aesthetic.
When a design project cannot wait ten years for ambient weathering to take effect, forced oxidation becomes the ultimate shortcut. The artisan workshop secret is that you do not need industrial-grade, hazardous mineral acids to force the hand of time. Beneath your kitchen sink and inside your pantry sit mild acids, salts, and volatile compounds that can chemically accelerate oxidation from years down to mere hours. By manipulating pH levels, moisture retention, and atmospheric exposure, you can trigger a controlled corrosive environment that transforms bright, reflective metal into a rich, textured historical showpiece before the sun goes down.
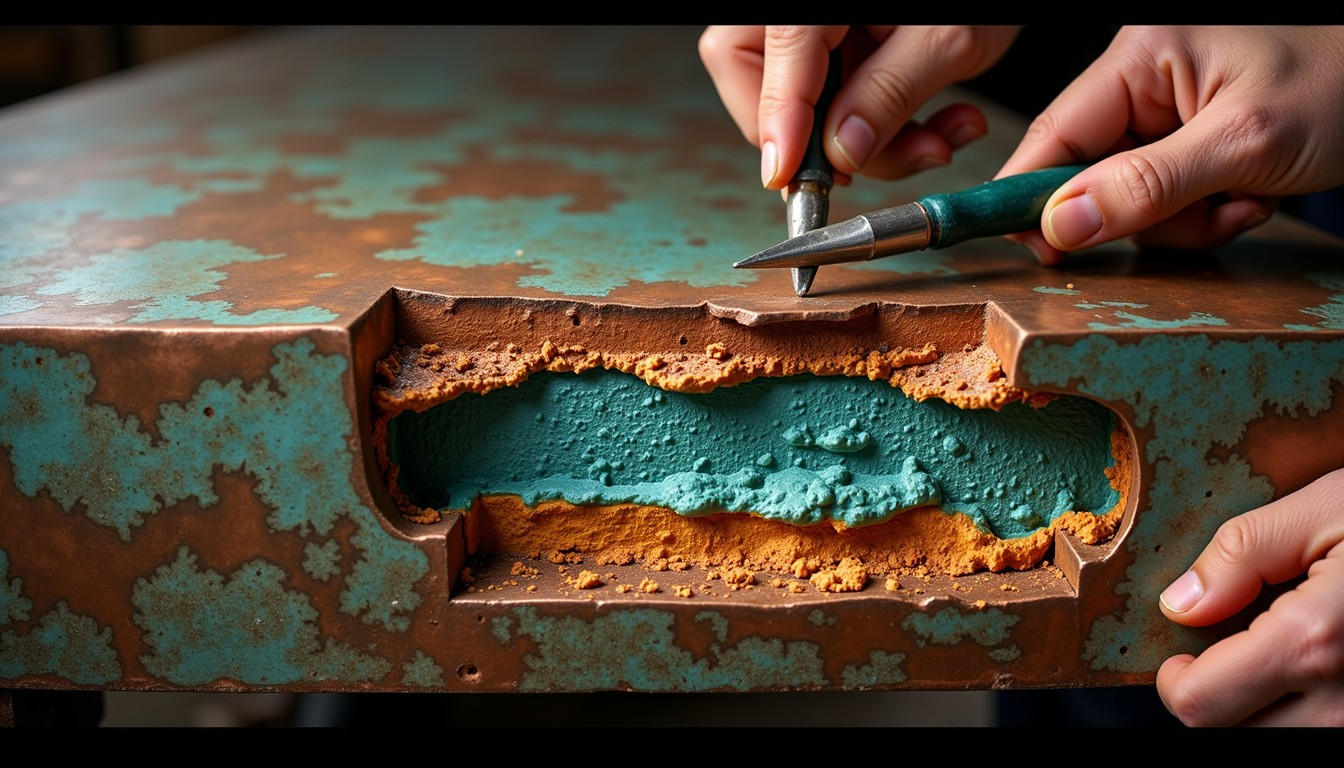
Understanding this transformation requires stepping past the realm of simple arts and crafts and looking directly into material science. Copper is a transition metal that readily interacts with oxygen, moisture, and airborne pollutants. When exposed to the elements, it undergoes a two-phase redox reaction. First, copper oxidizes into cuprous oxide and then cupric oxide, shifting the surface through subtle shades of rose, amber, violet, and dark charcoal brown. If moisture and acid are present—specifically carbon dioxide or sulfur dioxide—secondary mineral formations take over. Basic copper carbonate, commonly known as malachite (green) and azurite (blue), begins to crystallize across the microscopic peaks and valleys of the metal canvas.
Replicating this complex geological timeline inside a domestic kitchen or garage relies entirely on speed-running chemistry through catalyst selection. Everyday items like distilled white vinegar, table salt, ammonia, hard-boiled eggs, and baking soda act as accelerators. Vinegar supplies acetic acid, which strips away invisible protective oils and initiates immediate surface etching. Salt provides chloride ions, which aggressively speed up the breakdown of the copper lattice. Ammonia vapor introduces nitrogen compounds that react with surface moisture to form striking, powdery blue crystalline structures. Mastering these components turns a mundane piece of scrap metal into a bespoke artistic statement with minimal financial investment.
The Chemistry of Accelerated Oxidation and Metal Reactivity
To successfully age copper without ruining the substrate, you must respect the physical limitations of the metal. Copper is remarkably malleable and thermally conductive, but it is also sensitive to over-etching. When industrial artisans age metal, they are purposefully inviting localized corrosion. However, uncontrolled corrosion can eat entirely through thin copper foil or delicate hand-hammered sheeting. The goal of rapid artificial aging is not to destroy the metal, but to arrest the chemical reaction precisely at the aesthetic sweet spot, locking in the desired hue before structural integrity is compromised.
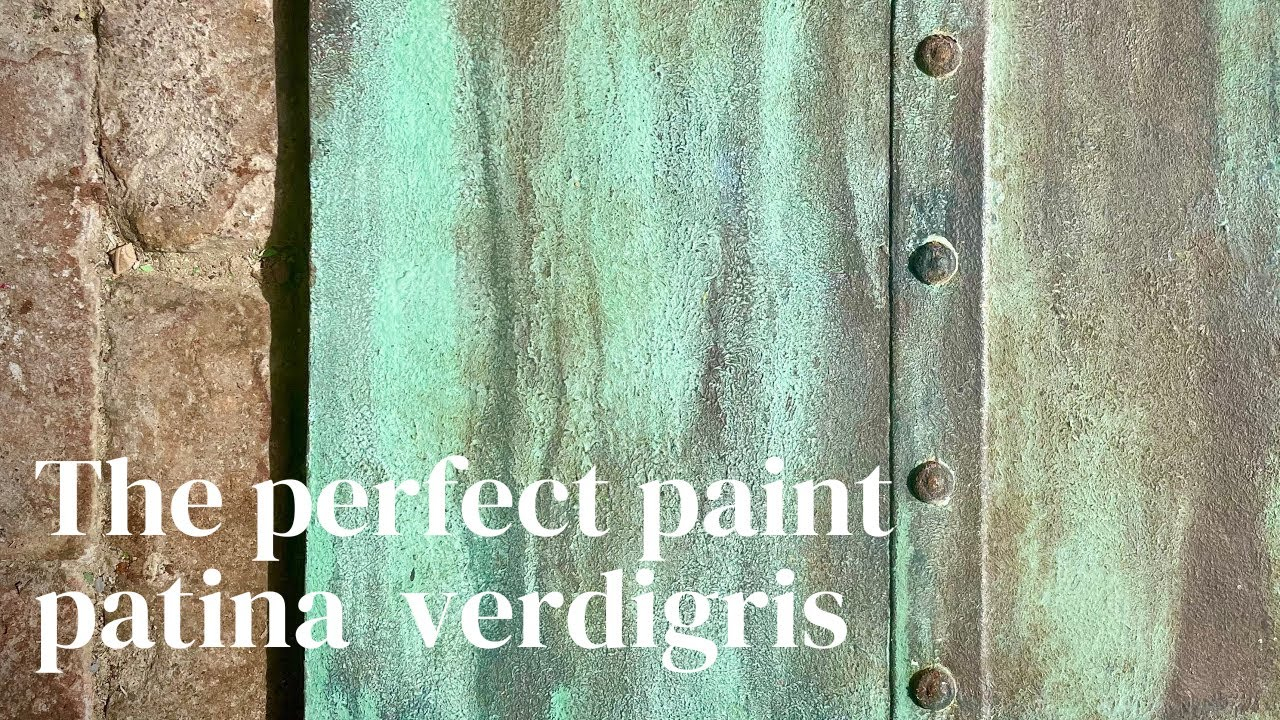
The distinction between a brown living finish and a green verdigris finish lies entirely in the chemical pathways you choose to trigger. A brown or black antique finish is typically achieved through sulfide reactions or mild oxidation, creating a dark, transparent layer that highlights the underlying metallic grain and polishes away easily on high-touch edges. Conversely, a green or blue patina is a physical accumulation of mineral salts built directly on top of the copper. This crust is textured, powdery, and volumetric. It requires a binding environment—often a mist of salt water and vinegar—to hold the newly formed copper carbonate crystals in place as they dry and cure under ambient room conditions.
Temperature and humidity play massive supporting roles in how rapidly these household agents take effect. Chemical reactions double in speed for roughly every ten-degree Celsius increase in ambient temperature, meaning that placing a freshly treated copper piece in a warm, sunlit room or near a heating vent will drastically shorten the transformation window. Furthermore, trapping moisture is critical. If a chemical spray evaporates too quickly, the reaction stalls instantly. Utilizing enclosed environments, such as a clear plastic storage bin or a repurposed cake dome, creates a micro-climate of high humidity that keeps the active compounds working continuously on the metal surface.
Surface preparation dictates whether your accelerated aging looks genuinely historic or merely like a messy, flaking paint job. Copper sheets straight from the manufacturer are invariably coated with a thin layer of rolling oils, machine lubricants, or clear lacquers designed to prevent premature tarnishing on store shelves. If you attempt to apply an acid-salt solution over greasy copper, the liquid will bead up haphazardly, resulting in a splotchy, uneven finish. Thoroughly degreasing the metal with warm water and dish soap, followed by a gentle rubdown with fine steel wool or a Scotch-Brite pad, exposes virgin copper and ensures uniform chemical absorption across every square inch.
Choosing Your Aesthetic Target: From Warm Browns to Vibrant Verdigris
Before reaching for the vinegar bottle, you need to decide which specific era of aging matches your design vision. Copper does not age uniformly; its color trajectory depends heavily on environmental exposure. An indoor copper vessel placed on a dry bookshelf will develop a warm, dark penny-brown or almost black oil-rubbed finish due to oxidation and skin oils. An outdoor copper rain gutter exposed to coastal salt air or industrial rainfall will rapidly push past brown into a brilliant, chalky turquoise or mint green. Attempting the wrong method for your desired outcome leads to frustration, forcing you to strip the metal back down to bare copper and start over.
For those pursuing the deep, moody aesthetic of antique wrought bronze or Victorian hardware, household sulfur is your most powerful ally. Hard-boiled eggs contain hydrogen sulfide gas, which reacts aggressively with copper to form copper sulfide. By placing cleaned copper inside a sealed container alongside crushed, freshly boiled eggs, the rising sulfur fumes deposit a rich, dark patina across the metal within a couple of hours. This method produces no powdery residue; the color is chemically bonded directly to the surface, allowing you to selectively polish the high points with fine-grit sandpaper to reveal glowing highlights underneath.
If your heart is set on the dramatic, coastal-inspired verdigris crust, you will lean heavily into liquid sprays and atmospheric fuming. Combining common household vinegar with non-iodized table salt creates a potent acidic brine that initiates rapid surface effervescence. For a more intense, powdery blue result, household window cleaner containing ammonia or pure household ammonia used in a fuming chamber will yield breathtaking results in less than two hours. Ammonia fuming avoids direct liquid contact entirely, using only ambient gas exposure to transform the copper surface into a velvety, sapphire-blue blanket that mimics centuries of exposure to damp, mineral-rich air.
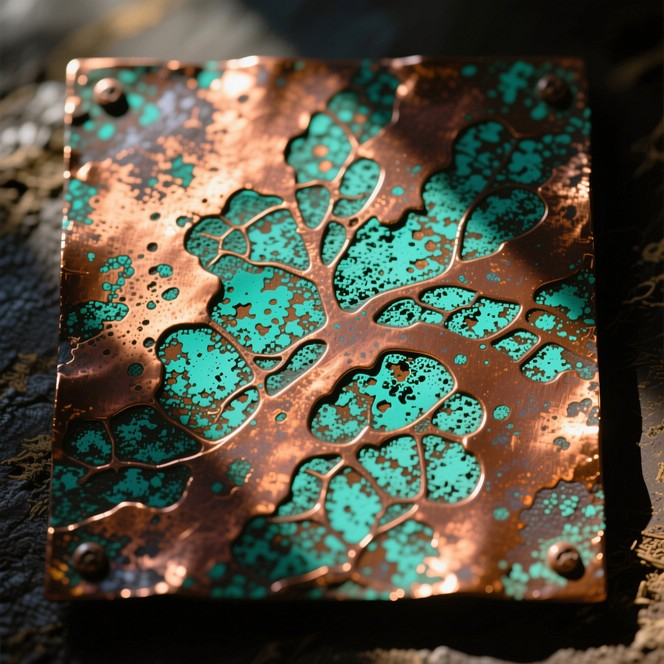
Combining techniques often yields the most convincing, museum-quality results. Real historical patina is never a single, flat shade; it is a chaotic, beautiful mosaic of dark oxidation, bright green crusts, powdery blue highlights, and flashes of raw metallic warmth. Skilled artisans frequently start with a sulfide or vinegar-darkened brown base layer to provide depth, followed by localized dabs of a salt-and-vinegar paste to generate targeted green blooms. This layered approach eliminates the artificial, uniform look that often plagues quick DIY projects, tricking the eye into believing the piece has aged naturally over generations.
Step-by-Step Practical Guide to Rapid Copper Aging
Transforming a bright, shiny piece of copper into an authentic antique in just a few hours requires a methodical, step-by-step approach. Gather your supplies before you begin: distilled white vinegar, fine table salt, a spray bottle, a soft-bristled brush, fine steel wool, dish soap, and a clear plastic storage tub to act as your humidity chamber.
- Step 1 (Surface Degreasing & Mechanical Prep): Wash the copper thoroughly with warm water and liquid dish soap to strip away all manufacturing oils and fingerprints. Dry the metal completely with a lint-free microfiber towel. Gently scuff the entire surface using fine steel wool or a maroon abrasive pad to create microscopic grooves that give the upcoming chemical solution something to bite into.
- Step 2 (Formulating the Patina Solution): In a clean spray bottle, mix one part warm distilled white vinegar with one part water. Add two tablespoons of non-iodized table salt per cup of liquid and shake vigorously until the salt is completely dissolved. For a thicker, more clinging paste version that stays put on vertical surfaces, mix equal parts flour, salt, and vinegar into a smooth batter.
- Step 3 (Application & Mist Distribution): If using the liquid spray method, hold the spray bottle roughly eight to ten inches away from the copper and apply an even, fine mist across the entire piece. Do not soak the metal to the point of heavy puddling unless you want large, uncontrolled runs. If using the paste method, dab the mixture onto the copper with a brush or sponge, creating heavy clusters in corners, crevices, and recesses where natural dirt and aging would organically accumulate.
- Step 4 (Creating the Accelerated Environment): Place the treated copper piece inside a clear plastic storage container or cover it with a large glass dome. Seal or partially close the container to trap the ambient moisture and chemical vapors. Move the container to a warm room, a sunny windowsill, or directly beneath a heat lamp to thermally accelerate the oxidation and crystallization reactions.
- Step 5 (Monitoring, Rinsing, and Sealing): Check the progress every 30 to 45 minutes. Once the desired shade of blue, green, or brown is achieved, remove the copper from the chamber. Immediately halt the chemical reaction by gently rinsing the piece under cool running water while softly brushing away loose, chalky debris with a soft toothbrush. Dry the piece thoroughly with a hairdryer on a cool setting, and lock in your new finish by applying a thin coat of clear microcrystalline wax or a specialized metal lacquer.
Common Pitfalls and Field-Tested Workarounds
While the chemistry of forced aging is straightforward, several common pitfalls can derail your project if you are not paying close attention. Understanding these failure points saves time, materials, and precious metal pieces from being ruined.
- Pitfall 1 (Splotchy, Uneven Patina Patches): This occurs because invisible oil residues blocked the chemical reaction in certain spots. Practitioner workaround: Always wipe down the copper with pure acetone or rubbing alcohol immediately before application, even after washing with soap, to guarantee a pristine, chemically receptive surface.
- Pitfall 2 (Flaking and Dusting Off Completely): A thick verdigris crust that sheds like dry powder at the lightest touch means the mineral salts formed too fast without a proper chemical bond to the substrate. Practitioner workaround: Mist the drying copper lightly with a 50/50 mixture of water and clear matte acrylic spray sealant halfway through the drying process to lock the crystals down without flattening their texture.
- Pitfall 3 (Corroding Thin Metal Beyond Repair): Using excessively harsh industrial acids or leaving household salt mixtures on ultra-thin copper foil for too long can punch microscopic holes right through the material. Practitioner workaround: Limit treatment sessions for thin-gauge decorative foils to 15-minute intervals, rinsing and inspecting the metal frequently rather than letting it sit unattended for hours.
- Pitfall 4 (Unwanted Orange or Red Rust Spots): Sometimes, harsh acids interact with residual iron impurities in cheap copper alloys, producing unsightly reddish-orange rust instead of a clean patina. Practitioner workaround: Ensure your source material is solid, high-purity architectural or crafting copper, and immediately neutralize stray rust blooms with a drop of baking soda slurry.
- Pitfall 5 (Sticky or Tacky Surface Residue): If you used a flour or paste-based accelerator and failed to rinse it properly, the dried organic binders will remain gummy and attract dust over time. Practitioner workaround: Always use a soft-bristled brush under running water to gently scrub away all spent carrier agents once the target color is locked in.
Holistic Perspectives and Long-Term Stability
Artificially aged copper occupies a fascinating intersection between raw industrial utility and high-end decorative art. From an economic standpoint, purchasing factory-aged architectural panels or designer hardware carries a staggering markup. By mastering simple domestic chemistry, DIYers and makers can transform inexpensive bulk copper sheeting, pipe fittings, and thrift store vessels into high-end statement pieces for a fraction of the cost. This DIY approach not only fosters a deeper appreciation for material science but also encourages sustainable upcycling, breathing new life into old copper scraps that might otherwise end up discarded in a landfill.
Maintaining an artificial patina over the long term requires acknowledging that a forced finish is inherently more fragile than a multi-decade natural patina. Because artificial verdigris is formed rapidly, the crystalline structures are often looser and more porous than those built up slowly through ambient atmospheric exposure. Without a protective topcoat, daily handling, household humidity, and routine cleaning will slowly wear away the delicate blue and green highlights, exposing the bright metallic copper underneath. This dynamic nature is viewed by many purists as a feature rather than a bug, resulting in a living finish that evolves organically as it interacts with daily human life.
Choosing the right protective finish is the final, crucial puzzle piece in ensuring your project stands the test of time. Clear lacquers provide a permanent, impermeable seal that freezes the patina in its exact current state, making them ideal for items that will be frequently touched or exposed to heavy moisture, such as kitchen cabinet pulls or bathroom fixtures. Conversely, microcrystalline museum wax offers a softer, more tactile defense. Wax seals the porous copper carbonate crystals against moisture while preserving the organic, chalky texture and matte sheen of a genuine antique, allowing the piece to age gracefully and develop an even deeper character over the coming years.
The environmental safety of domestic aging methods is another significant advantage over commercial chemical conversion coatings, which often contain toxic heavy metals, selenious acid, or ferric nitrate. Utilizing pantry staples like vinegar, salt, baking soda, and ammonia allows hobbyists to create stunning, museum-quality finishes inside a residential kitchen without needing specialized industrial ventilation or hazardous waste disposal protocols. By working with mild reagents and practicing proper personal protective measures—such as wearing nitrile gloves and eye protection—anyone can safely harness the power of chemistry to rewrite the timeline of metalwork.
Actionable Recommendations and Key Takeaways
Successfully navigating your first copper-aging project comes down to preparation, patience, and attention to detail. Keep these core principles close at hand when setting up your workbench:
- Prioritize Cleanliness: Never skip the degreasing phase; a single fingerprint can ruin an entire patina finish by repelling your vinegar and salt solution.
- Control the Humidity: Use a sealed container or plastic storage bin to trap moisture and accelerate the chemical reaction without letting your spray dry out prematurely.
- Layer for Realism: Combine different techniques—such as a dark brown sulfide base followed by a green verdigris top mist—to replicate the chaotic beauty of natural aging.
- Seal Your Work: Always lock in your final aesthetic using microcrystalline wax or a clear matte spray lacquer to prevent the delicate patina from dusting off or rubbing away.
- Test First: Always practice your chosen method on a hidden scrap piece of the exact same copper material before applying chemicals to your final project piece.
The transformation of raw, industrial copper into an antique masterpiece is a masterclass in patience, perspective, and applied science. By peering past the shiny exterior of modern metalwork and understanding the underlying chemical dialogue between copper, oxygen, and acid, we gain the extraordinary power to bend time to our creative will. What begins as a stark, sterile sheet of metal transforms under your hands into a storied artifact rich with visual weight and historical gravity.
As you step up to your workbench with a spray bottle of vinegar and a pinch of salt, remember that you are not merely damaging or staining a surface; you are participating in a timeless artistic tradition. Embrace the unpredictable nature of the chemical reactions, allow yourself to experiment with layering colors, and enjoy the remarkable transformation that unfolds over the course of a single afternoon. The beauty of working with copper is that if an experiment ever heads in a direction you dislike, a quick scrub with steel wool resets the canvas entirely, inviting you to pick up your tools and try again.