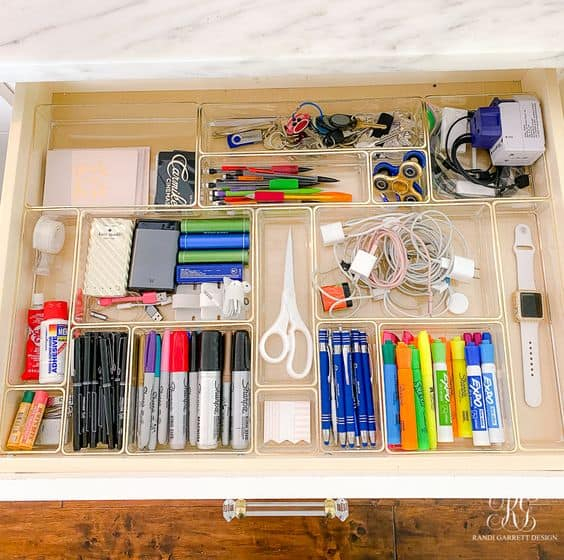
You know the feeling. You’re halfway through building that shelf, or maybe fixing a loose chair leg, and you reach for the box of screws. It’s empty. Or worse, it’s full, but it’s a jumbled mess of rusted nails, stripped screws, and mystery bolts that don’t fit anything. You spend twenty minutes digging through plastic bags and old coffee cans, your patience wearing thinner by the second. The project stalls. The momentum dies. And you’re left standing there, frustrated, wondering where that one specific #8 wood screw went.
It’s not just you. Every DIYer, from the weekend warrior to the seasoned carpenter, has been there. We treat our big tools with respect—cleaning saw blades, oiling hinges, storing drills in cases. But the small stuff? The nuts, bolts, washers, and screws? They get tossed into a drawer, a bucket, or a shoebox, creating a black hole of hardware. In 2026, with workshops becoming more multifunctional and space often at a premium, this chaos isn’t just an annoyance. It’s a productivity killer.
The solution isn’t to buy more screws. It’s to organize the ones you have. A dedicated screw and nail organizer system isn’t a luxury; it’s a necessity. It transforms your workspace from a source of stress into a hub of efficiency. Imagine opening a drawer and seeing exactly what you need, labeled clearly, ready to grab. No more guessing. No more digging. Just pure, unadulterated workflow. Let’s talk about why you need to tackle this mess right now, and how to do it without losing your mind.
The Hidden Cost of Chaos
Let’s be real for a second. How much time do you actually waste looking for fasteners? It might seem like only a minute here or there, but those minutes add up. If you spend five minutes searching for the right screw on every project, and you do ten projects a year, that’s nearly an hour lost. But it’s more than just time. It’s mental energy. That frustration builds up. It makes you less likely to start new projects. It turns a hobby you love into a chore you dread.
Think about the last time you couldn’t find a specific nail. Did you substitute it with something else? Maybe a slightly smaller gauge or a different length? That’s a recipe for disaster. Using the wrong fastener can compromise the structural integrity of your build. A deck board secured with undersized nails might loosen over time. A cabinet held together with weak screws could collapse under weight. By having a disorganized collection, you’re inadvertently risking the quality and safety of your work. It’s not worth the risk.
And then there’s the financial aspect. How many times have you bought a box of screws because you thought you were out, only to find three half-full boxes hidden in the back of a drawer later? That’s money down the drain. In an era where costs are rising, wasting resources on duplicate purchases is hard to justify. An organizer system helps you see what you have at a glance. You’ll know instantly if you’re low on 1-inch drywall screws or if you have plenty of 2-inch deck screws. This visibility prevents overbuying and saves cash in the long run. Plus, keeping fasteners organized extends their life. No more rusting in damp coffee cans or getting bent in a tangled heap.
Sorting the Mess: Where to Begin
So, you’re convinced. You want to organize. But looking at that massive pile of mixed hardware is overwhelming. Where do you even start? The key is to break it down. Don’t try to do it all in one day if it’s a huge mess. Start with decluttering. Dump everything out onto a large table or the floor. Yes, it will look worse before it looks better. But this step is crucial. You need to see the sheer volume of what you’re dealing with.
Next, sort by type. Separate screws from nails from bolts from washers. This is the broadest category. Within those groups, get more specific. Sort screws by head type (flat, pan, hex), drive type (Phillips, square, Torx), and material (steel, stainless, brass). Do the same for nails: common, finish, brad, roofing. It sounds tedious, but it’s meditative. Put on some music, grab a cold drink, and just sort. You’ll likely find things you forgot you had. Maybe that rare antique bolt you’ve been looking for? Or a stash of high-quality stainless steel screws perfect for outdoor projects?
Once sorted by type, move to size. This is where labels become your best friend. You don’t need to be a metric expert, but knowing the difference between a #6 and a #8 screw matters. Use a simple gauge tool or a ruler to group them. For nails, length is the primary factor. For bolts, it’s diameter and thread pitch. As you sort, discard anything that’s rusted beyond use, stripped, or bent. Be ruthless. If it’s not usable, toss it. Recycling metal is better than hoarding junk. This process creates a clean slate. You’re not just organizing; you’re curating your inventory. By the end, you’ll have neat piles of identical items, ready for their new homes.
Choosing the Right Storage Solution
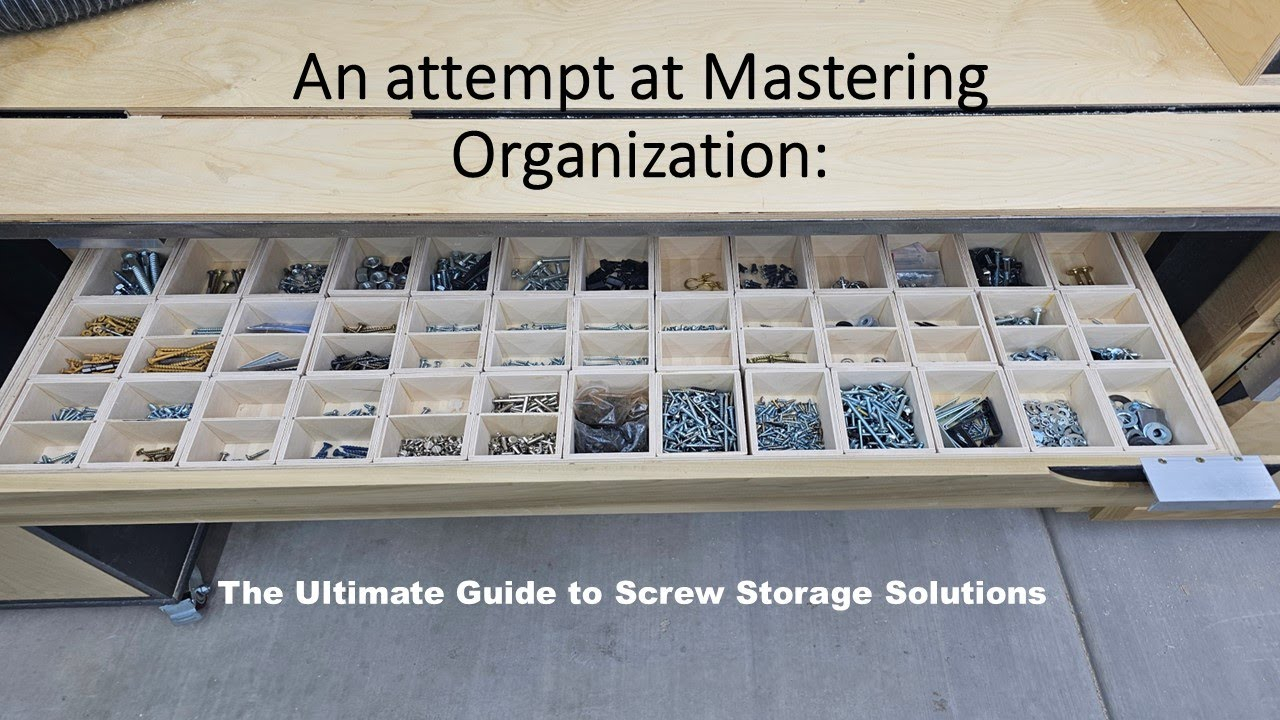
Now comes the fun part: picking the right containers. There’s no one-size-fits-all answer here. It depends on your space, your budget, and your personal style. But there are some golden rules. Visibility is king. You need to see what’s inside without opening every container. Clear plastic bins, drawers, or jars are ideal. Opaque boxes mean you have to label everything perfectly, and even then, you might forget what’s inside. Clear sides let you scan your inventory in seconds.
Stackability is another critical feature. Workshop space is often vertical. Look for systems that stack securely. Stackable drawer units are popular for a reason. They keep dust out, allow for easy labeling on the front, and maximize vertical space. Pegboard systems with clear bins are great for frequently used items. You can hang them at eye level, making access instant. Wall-mounted cabinets with small compartments work well for larger collections. Consider modular systems too. These allow you to add or remove components as your needs change. If you start doing more electrical work, you can add bins for wire nuts and connectors. Flexibility is key.
Don’t overlook durability. Cheap plastic cracks. Flimsy lids break. Invest in sturdy, high-quality organizers. They might cost more upfront, but they’ll last for years. Look for features like removable dividers. These let you customize compartment sizes. A bin for tiny 1/4-inch screws might need smaller sections than one for large lag bolts. Removable dividers give you that control. Also, consider the environment. If your workshop is humid or unheated, ensure your containers are airtight or made of rust-resistant materials. Some people even add silica gel packets to their bins to absorb moisture. It’s a small touch that protects your investment.
Labeling for Instant Identification
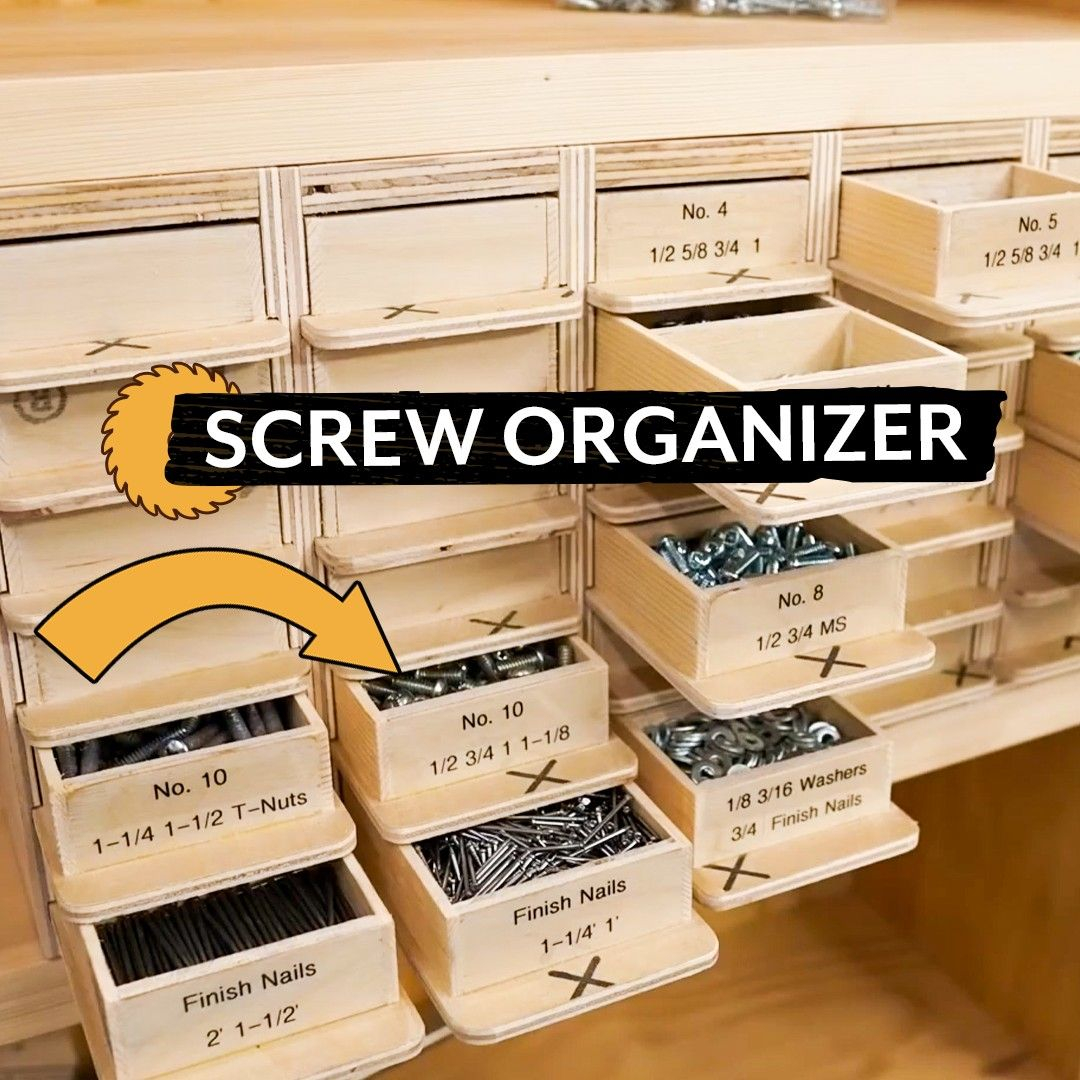
You’ve sorted. You’ve chosen your containers. Now, you need to label. This step is often skipped, but it’s the glue that holds the whole system together. Without labels, you’ll forget what’s in each bin within a month. “Screws” isn’t enough. “Wood Screws, #8, 1-1/2 inch, Phillips Head” is much better. Be specific. The more detail you include, the faster you can find what you need. Use a label maker for a clean, professional look. Handwritten labels work too, but make sure they’re legible and durable. Laminate them or use clear tape to protect them from grease and dirt.
Consistency is important. Decide on a format and stick to it. Maybe you list type first, then size, then material. Or maybe you group by project type. Whatever you choose, apply it across all your labels. This creates a mental map. When you need a screw, you know exactly where to look. You don’t have to read every label; you just go to the “Wood Screws” section and scan for the size. It speeds up the process immensely. Also, consider color-coding. Use red labels for steel, blue for stainless, green for brass. Visual cues help your brain process information faster. It’s a small tweak that makes a big difference.
Don’t forget to update your labels. If you run out of a certain size and replace it with a different brand or type, update the label. If you add a new category, create a label for it. The system only works if it’s accurate. Take a few minutes after each project to restock and relabel if necessary. It becomes a habit. And honestly, there’s a strange satisfaction in peeling off an old label and sticking on a fresh, crisp new one. It keeps the system feeling fresh and maintained. Plus, if someone else uses your workshop, clear labels help them put things back in the right place. It’s a gift to your future self and anyone else who steps into your space.
Maintaining the System Long-Term
Setting up the system is one thing. Keeping it organized is another. Life gets busy. Projects pile up. It’s easy to slip back into old habits. Tossing a spare screw into the nearest bin instead of sorting it properly. Leaving a bag of nails on the workbench instead of putting them away. To prevent this, make the system easy to use. If it takes too much effort to put something away, you won’t do it. Keep your most frequently used fasteners in the most accessible spots. Reserve the higher shelves or deeper drawers for rarely used items. Reduce friction.
Create a routine. At the end of each workshop session, take five minutes to tidy up. Put away unused fasteners. Wipe down surfaces. Check that everything is in its designated spot. This small habit prevents buildup. It’s like washing dishes right after dinner instead of letting them pile up in the sink. It’s easier to maintain cleanliness than to deep clean a mess. Involve others if you share the space. Make sure everyone knows where things go. A quick tour of the organizer system can save hours of confusion later. Accountability helps.
Periodically audit your system. Every six months or so, take a look at your bins. Are some overflowing while others are empty? Adjust your dividers or redistribute stock. Are labels fading? Replace them. Has a new type of fastener become common in your projects? Add a new bin. The system should evolve with your needs. It’s not static. It’s a living part of your workshop. By staying proactive, you ensure it remains effective. You’ll also notice patterns. Maybe you use a lot of 2-inch screws but rarely touch 3-inch ones. This insight can guide future purchases. You’ll buy smarter, store better, and work faster. It’s a cycle of continuous improvement.
Let’s talk about the intangible benefits. A cluttered workspace creates a cluttered mind. Studies have shown that visual chaos increases stress and reduces focus. When your workshop is a mess, your brain is constantly processing that disorder, even if you’re not consciously aware of it. It’s background noise. By organizing your screws and nails, you eliminate that noise. You create a calm, controlled environment. This clarity boosts creativity. You’re more likely to start new projects when you know you can find what you need. The barrier to entry is lower.
There’s also a sense of pride. Walking into a well-organized workshop feels good. It reflects care and attention to detail. It signals that you value your craft. This pride translates into better work. You take more time to measure twice, cut once. You select the right fastener for the job. You finish projects with a higher level of polish. It’s a ripple effect. Organization breeds excellence. And let’s not forget the joy of finding exactly what you need, when you need it. That small victory releases dopamine. It makes the process enjoyable. Work becomes play.
In 2026, we’re all looking for ways to simplify our lives. We’re bombarded with information, notifications, and demands. Your workshop should be a sanctuary. A place where you can focus, create, and relax. A dedicated screw and nail organizer system contributes to that sanctuary. It removes a source of friction. It adds a layer of predictability. In a world that’s often chaotic, having one small corner of order is powerful. It’s not just about screws. It’s about controlling your environment. It’s about reclaiming your time and your peace of mind. So, take the plunge. Sort those screws. Label those bins. Your future self will thank you.
Taming the hardware beast doesn’t happen overnight, but the rewards are immediate. You’ll save time, money, and sanity. Your projects will improve. Your workspace will feel lighter. And you’ll rediscover the joy of making things. So, don’t wait. Start today. Pick one drawer. Sort one pile. Take that first step. Before you know it, you’ll have a system that works for you, not against you. And that’s a win worth celebrating.