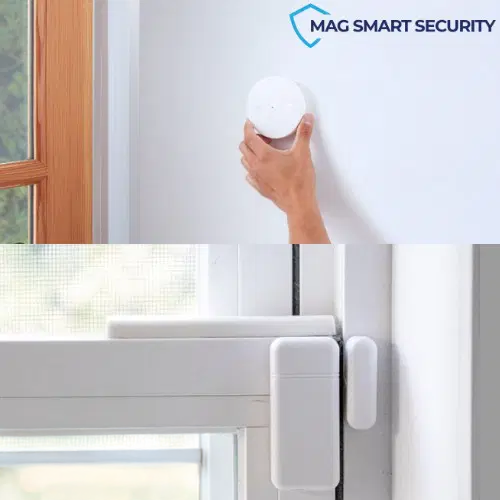
Ever had that moment where you’re staring at a tiny white plastic box, wondering if sticking it to the wall is enough? Or maybe you’re perched on a ladder, sweating slightly, trying to decide if the ceiling is actually a better spot. It’s a common dilemma. We all want our homes to be safe, but the technical manuals can feel like they were written in a different language. You just want to know: where does this thing go so it actually works?
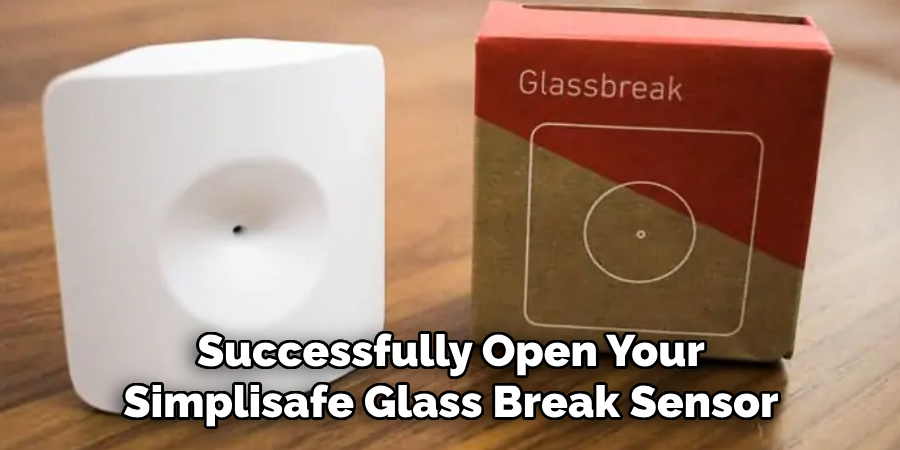
Glass break sensors are fascinating little devices. They don’t look for motion. They don’t care if a door opens. They listen. Specifically, they listen for the unique acoustic signature of shattering glass. It’s a specific frequency range, a mix of the initial impact and the subsequent shatter. If the sensor can’t "hear" that sound clearly, it’s basically a paperweight. And that’s why placement isn’t just a suggestion—it’s the whole ballgame.
In 2026, home security has become incredibly sophisticated, yet the physics of sound haven’t changed. Sound waves bounce, get absorbed by curtains, and die out over distance. Whether you choose the ceiling or the wall, the goal is the same: give the microphone a clear, unobstructed path to the glass you’re protecting. Let’s dive into how to get it right, without the headache.
Understanding How These Sensors Actually "Hear
Before we pick up a drill or peel off an adhesive strip, it helps to understand what’s happening inside that small casing. Modern glass break detectors, like those from SimpliSafe or Ring, use dual-technology analysis. They aren’t just listening for any loud noise. If they did, your dog barking or a dropped plate would set off the alarm every Tuesday. Instead, they analyze the frequency spectrum. They look for the low-frequency thud of something hitting the glass, followed immediately by the high-frequency tinkle of shards falling.
This reliance on sound means that air is your friend, and obstacles are your enemy. Think of the sensor like a person trying to hear a whisper across a room. If there’s a thick curtain, a bookshelf, or a closed door in the way, that whisper becomes unintelligible. This is why manufacturers emphasize "line of sight." It doesn’t mean the sensor needs to see the window visually, but rather that the sound waves need a direct path to travel. Any obstruction absorbs or deflects those crucial frequencies.
It’s also worth noting that these devices have limits. Most consumer-grade sensors, including the popular Cove and Bosch models, have a effective range of about 15 to 25 feet. Some older or more specialized industrial units might claim up to 30 feet, but in a typical living room with furniture and rugs, sticking to the 15-20 foot rule is safer. If you’re trying to cover a massive great-room with windows on three sides, one sensor probably won’t cut it. You might need two, strategically placed to ensure no glass is left "deaf" to the system.
The Case for Ceiling Mounting
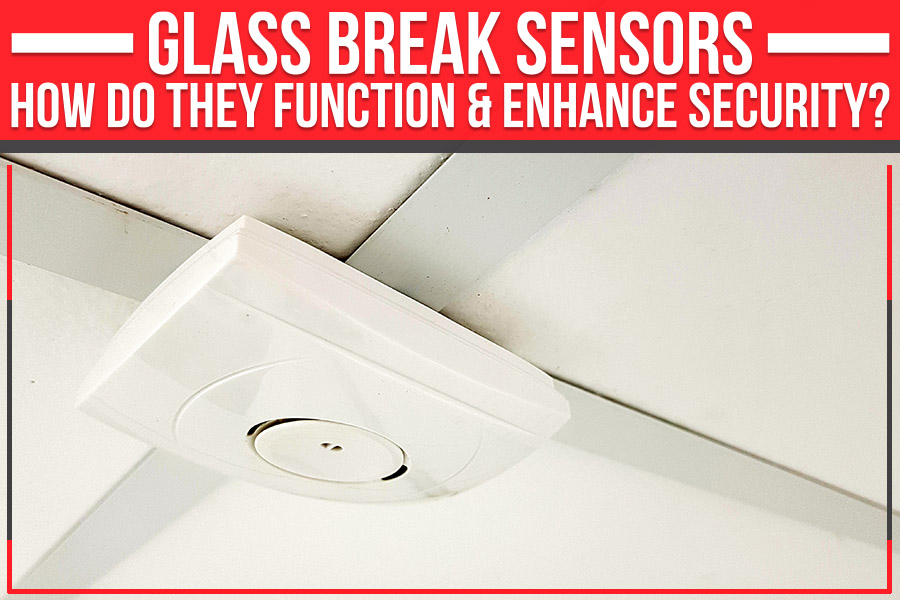
Ceiling mounting is often the unsung hero of glass break detection. Why? Because it offers the most neutral vantage point. When you place a sensor on the ceiling, usually in the center of the room, it has an equal opportunity to "hear" windows on all surrounding walls. This is particularly useful in square or rectangular rooms where windows are spread out. According to installation guides from brands like Cove, ceiling mounts should be within 15 feet of all the windows you want to protect.
The biggest advantage here is consistency. On a wall, the sensor might be close to one window but far from another on the opposite side. On the ceiling, the distance is more evenly distributed. Plus, ceilings are generally free of the clutter that plagues walls. You don’t have to worry about a tall potted plant blocking the signal or a new piece of art getting in the way. It’s clean, simple, and often less visible to potential intruders who might be scanning the walls for devices.
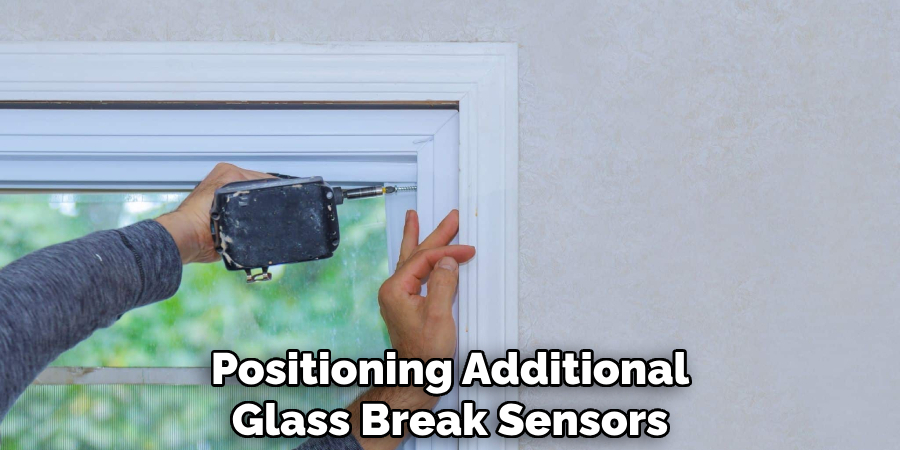
However, there’s a catch. Installation can be trickier. Drilling into a ceiling requires more effort than sticking something to a wall. You also need to be mindful of what’s above that drywall—wires, pipes, or insulation can complicate things. If you’re using a wireless sensor with adhesive, make sure the ceiling texture isn’t too rough. A heavily textured "popcorn" ceiling might prevent the adhesive from bonding properly, leading to a sensor that falls down six months later. Always clean the surface first, even if it’s overhead.
When Wall Mounting Makes More Sense
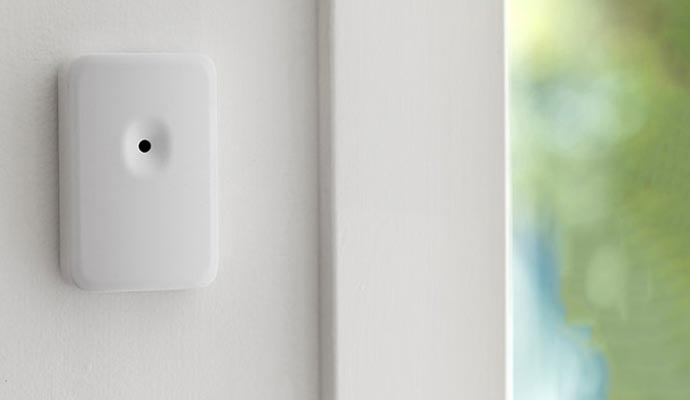
Sometimes, the ceiling just isn’t an option. Maybe you have vaulted ceilings that are twenty feet high, making maintenance a nightmare. Or perhaps you’re renting and can’t drill holes upward. In these cases, wall mounting is your go-to. But you can’t just slap it anywhere. The golden rule for wall mounting is orientation. You want the sensor on an adjacent or opposing wall to the window, never on the same wall.
Why not the same wall? It comes down to acoustics again. If the sensor is on the same wall as the window, the sound of breaking glass tends to project outward into the room, away from the wall surface. The sensor might miss the initial impact frequency because it’s "behind" the plane of the glass. By placing it on the opposite wall, you’re putting it directly in the path of the sound waves traveling across the room. Brands like AlarmGrid strongly recommend this opposing placement for maximum reliability.
Height matters too. Most experts suggest mounting the sensor between 6.5 and 8.5 feet above the floor. This puts it above most furniture and head-height obstructions, but not so high that it’s difficult to reach for battery changes. If you’re using a SimpliSafe sensor, which often relies on strong adhesive strips, ensure the wall is perfectly clean and dry. Grease from cooking or dust accumulation can weaken the bond over time. A little prep work goes a long way in keeping your security intact.
Avoiding the False Alarm Triggers
Nothing erodes trust in your security system faster than a false alarm. You’re asleep, and suddenly, sirens are wailing because the toaster popped or the HVAC kicked on. Glass break sensors are sensitive, and while 2026 technology is better at filtering noise, placement plays a huge role in preventing these nuisances. The number one enemy of a glass break sensor is air movement.
Avoid placing these detectors near air vents, registers, or open windows that draft heavily. The rush of air can create white noise or physical vibrations that mimic the low-frequency thud of an impact. Similarly, keep them away from kitchens. The clatter of pots and pans, the beep of microwaves, and the hum of refrigerators can all interfere with the sensor’s ability to distinguish a real threat from everyday life. If your kitchen is open-concept, try to angle the sensor away from the cooking area.
Another common culprit is loose items. Rattling picture frames, wind chimes indoors (yes, some people do this), or even pets with bell collars can trigger false positives. If you have a large dog that likes to jump against sliding glass doors, consider adjusting the sensitivity settings if your system allows it, or repositioning the sensor so it’s not directly facing the area where the dog plays. It’s about finding a balance between sensitivity and practicality.
Room Layout and Obstruction Checks
Before you commit to a spot, do a quick "sound check" simulation. Stand where you plan to put the sensor and look at the windows. Is there a clear line of sight? Are there heavy drapes that are always closed? Thick fabric absorbs sound significantly. If you have floor-to-ceiling velvet curtains, your sensor might struggle to hear through them. In such cases, you might need to mount the sensor closer to the window or accept that the coverage might be reduced.
Furniture arrangement is another variable. A tall bookshelf placed between the sensor and the window acts like a sound barrier. In 2026, many smart home apps allow you to test your sensors. Use this feature. Have someone stand by the window while you simulate a break (some systems come with a test tool that mimics the sound frequency) or simply clap loudly near the glass. Check the app to see if the sensor registered the event. If it didn’t, you’ve got an obstruction problem.
Also, consider the type of glass. Most standard sensors are designed for single and double-paned glass, which is common in residential homes. If you have specialized laminated or tempered glass, check your manufacturer’s specs. Bosch, for instance, notes that their DS1109i works well with various types, but coverage might vary. Larger panes of glass produce louder, more distinct shattering sounds, which are easier to detect. Smaller, segmented windows might require the sensor to be closer to ensure the sound volume is sufficient.
Once installed, it’s easy to forget about these little devices. But like any tech, they need occasional attention. Batteries are the most common failure point. A weak battery can cause a sensor to become less sensitive or fail to communicate with your hub. Most modern systems will send you a low-battery alert, but don’t wait for it. Make it a habit to check your security system’s health status every few months, perhaps when you change your smoke detector batteries.
Dust accumulation is another silent killer. Over time, dust can clog the microphone port on the sensor, muffling its ability to hear. A quick wipe-down with a dry, soft cloth every six months can keep it functioning optimally. If you’ve painted your room since installing the sensor, check to make sure no paint splatter has landed on the device. Paint can harden over the microphone grille, effectively deafening the sensor.
Finally, reassess your placement if you renovate or rearrange furniture. That new sectional sofa might be blocking the path to the patio door. Security isn’t a "set it and forget it" task; it’s a dynamic part of your home environment. As your life changes, your security setup should adapt. Taking five minutes to verify your sensor’s view of the world can save you from a nasty surprise later. It’s a small effort for a big peace of mind.
So, where does that leave you? Whether you choose the ceiling for its broad, unobstructed coverage or the wall for its ease of access, the principles remain the same. Keep it close enough to hear, keep the path clear, and keep it away from noise sources. There’s no magic spot that works for every home, but by understanding how sound travels and how these devices think, you can make an informed choice.
Don’t overthink it, but don’t under-prepare it either. Take a moment to walk around your space. Look at your windows. Imagine the sound of breaking glass traveling through the air. Where would you stand to hear it best? That’s likely where your sensor belongs. It’s not just about following a manual; it’s about creating a layer of protection that feels intuitive and robust.
In the end, a well-placed glass break sensor is like a good neighbor—it’s always listening, ready to help, but stays out of the way until it’s needed. Get the placement right, and you’ll sleep a bit easier knowing that if anyone tries to enter through the glass, your home will be ready to speak up. And really, isn’t that what we’re all looking for? A little extra quiet confidence in our own spaces.