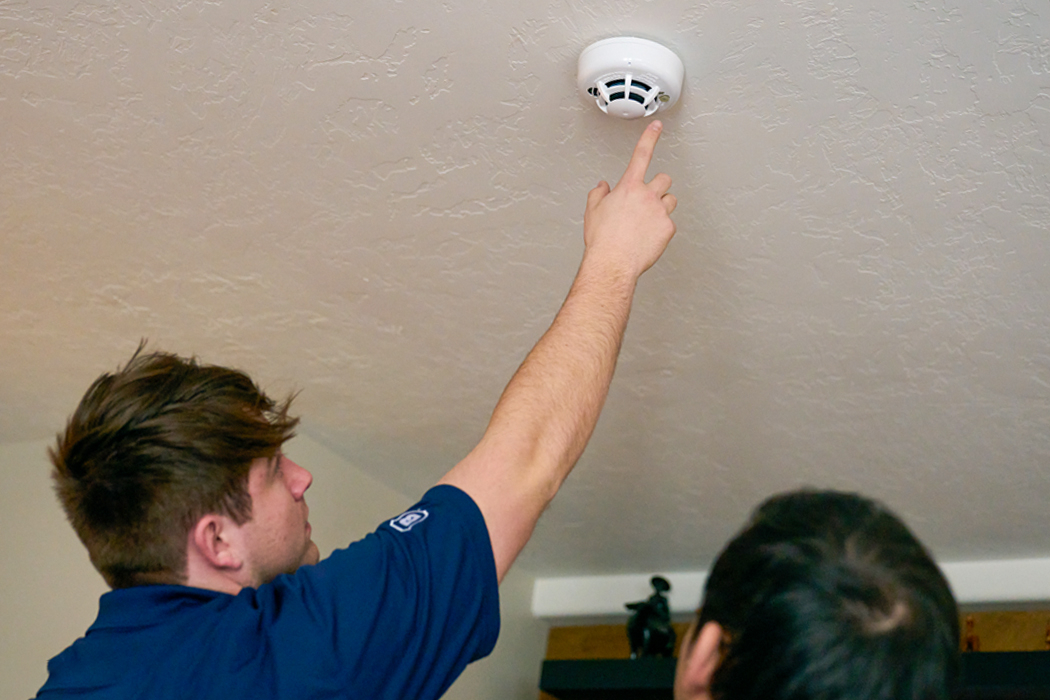
It’s quiet. It’s odorless. You can’t see it, taste it, or feel it until it’s far too late. We’re talking about carbon monoxide, often called the "silent killer," and it’s likely lurking in the mechanical heart of your home right now. Most folks think buying a detector is enough. They slap it on the wall, hear the beep, and go back to their day. But here’s the thing: placement isn’t just a suggestion. It’s the difference between a warning that wakes you up and a tragedy that makes headlines.
In 2026, we have smarter homes than ever before. Yet, the basics of physics haven’t changed. CO mixes with air, but how it moves depends on temperature, airflow, and where your fuel-burning appliances are hiding. If your detector is in the wrong spot, it might as well be a decorative paperweight. Let’s fix that. Let’s talk about exactly where these devices need to go to actually do their job.
The Bedroom Hallway Rule
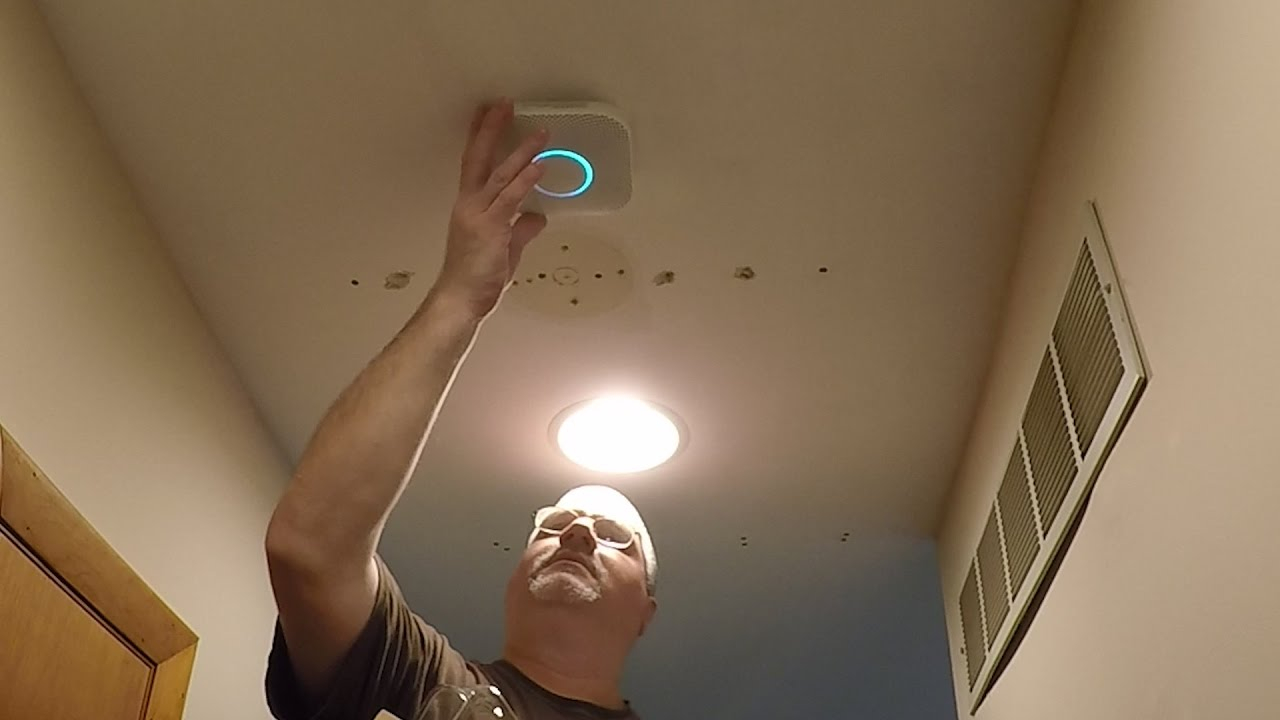
You spend roughly a third of your life asleep. That’s when you’re most vulnerable. If a leak starts at night, you won’t smell it. You won’t feel dizzy. You’ll just keep sleeping. This is why the number one rule, backed by decades of fire safety data, is placement outside every separate sleeping area. Not inside the bedroom necessarily, but right outside the door in the hallway.
Think about it. If the alarm goes off in the hall, the sound has to penetrate the closed bedroom door to wake you. Modern detectors are loud, but walls and doors muffle sound. By placing it in the immediate vicinity of the sleeping quarters, you ensure the alert is heard clearly. For multi-story homes, this means one detector on each level, specifically near the bedrooms. It’s not about covering the whole house evenly; it’s about protecting the people who can’t protect themselves while they dream.
Some people argue that putting one inside the bedroom is better. And sure, if you have a heavy sleeper or use white noise machines, an extra layer inside the room isn’t a bad idea. But the hallway unit is non-negotiable. It acts as the first line of defense for the entire sleeping zone. Don’t skimp here. It’s the most critical real estate in your home for safety.
Kitchen and Garage Proximity Myths
Here’s where things get messy. A lot of homeowners think, "My furnace is in the basement, so I’ll put a detector there." Or, "My car is in the garage, so I need one right next to the door." Sounds logical, right? Wrong. Placing a detector too close to fuel-burning appliances or garage doors leads to false alarms. And when detectors cry wolf too often, people take the batteries out. Then you’re left with zero protection.
Garages are particularly tricky. Cars emit CO when they start up, even for a second. If your detector is right inside the garage or immediately adjacent to the connecting door, it might trigger every time you leave for work. The recommended distance is at least 10 feet away from any garage door or fuel-burning appliance like a furnace or water heater. This buffer zone allows normal, small spikes in CO to dissipate before hitting the sensor, ensuring it only alarms when there’s a genuine, dangerous buildup.
Same goes for kitchens. Gas stoves release tiny amounts of CO during normal operation. A detector mounted right above the stove will likely go off when you’re boiling pasta, not when there’s a leak. Keep them at least 10 feet away from cooking appliances. It’s a balance. You want it close enough to detect a real problem, but far enough to ignore the background noise of daily life. Getting this distance right stops the annoyance factor, which is the biggest enemy of consistent safety.
Height Matters More Than You Think
There’s an old debate: ceiling or wall? Carbon monoxide is slightly lighter than air, but it doesn’t just float to the top like helium. It mixes fairly evenly with the air in a room. However, most manufacturers today recommend mounting detectors on the wall. Specifically, high up on the wall. The sweet spot is usually about 5 to 6 feet from the floor.
Why this height? It’s roughly the breathing zone for adults standing or sitting, and it keeps the unit away from the dead air spaces near the ceiling corners or the dust bunnies on the floor. Plus, it’s easy to reach for testing and battery changes. If you mount it on the ceiling, make sure it’s not right in the corner where air circulation is poor. But honestly, wall mounting is the standard for a reason. It works.
Don’t overthink the inches. Whether it’s 5 feet or 6 feet isn’t going to make or break your safety. The key is consistency and following the specific manual for your model. Some newer smart detectors in 2026 have specific airflow requirements listed in their apps. Check those. But generally, eye-level or slightly above is the goal. Avoid placing them near vents, windows, or doors where drafts could blow the gas away from the sensor before it gets a reading. Drafts are the silent saboteurs of accurate detection.
The Multi-Story Necessity
If you live in a ranch-style home, one detector might suffice if placed correctly. But for two or three-story houses, relying on a single unit is a gamble you don’t want to take. CO can accumulate on any level. A blocked chimney on the second floor, a faulty fireplace on the main level, or a cracked heat exchanger in the basement furnace can all create localized danger zones.
The National Fire Protection Association (NFPA) guidelines, which remain the gold standard in 2026, insist on at least one CO alarm on every level of the home. This includes the basement. Basements are common spots for furnaces and water heaters, making them high-risk areas. Even if you rarely spend time down there, a leak starting in the basement can seep upwards through floorboards and stairwells, poisoning the rest of the house before you even know it’s happening.
Think of your home like a layered cake. Each layer needs its own guard. Interconnected detectors are even better. If the basement unit senses CO, it triggers the alarms on the second and third floors too. This ensures that no matter where you are in the house, you hear the warning. In new constructions, this hardwired interconnection is often code. For older homes, wireless interconnected models are widely available and easy to install. Don’t skip the upper floors. Heat rises, and so does risk.
Avoiding Dead Air and Obstructions
We’ve touched on drafts, but let’s talk about "dead air." These are pockets in your home where air doesn’t circulate well. Corners of rooms, behind large furniture, or inside cabinets. Placing a detector in these spots is useless. The CO needs to reach the sensor. If the air is stagnant, the gas might build up in the center of the room while your detector in the corner reads clean air.
Also, watch out for obstructions. Don’t hide detectors behind curtains or inside decorative boxes. I’ve seen people do this because they think the beige plastic box ruins their decor. It’s better to have an ugly box that works than a pretty hidden one that fails. Keep the area around the detector clear. At least a few inches of clearance on all sides is a good rule of thumb. This allows air to flow freely into the sensing chamber.
Humidity and temperature extremes can also mess with sensors. Avoid placing detectors in unheated attics or damp crawl spaces unless the unit is specifically rated for those conditions. Most standard home detectors are designed for living spaces. Extreme cold can drain batteries faster and slow down the chemical reaction inside the sensor. Extreme heat can damage the electronics. Stick to the conditioned parts of your home. If it’s comfortable for you, it’s comfortable for the detector.
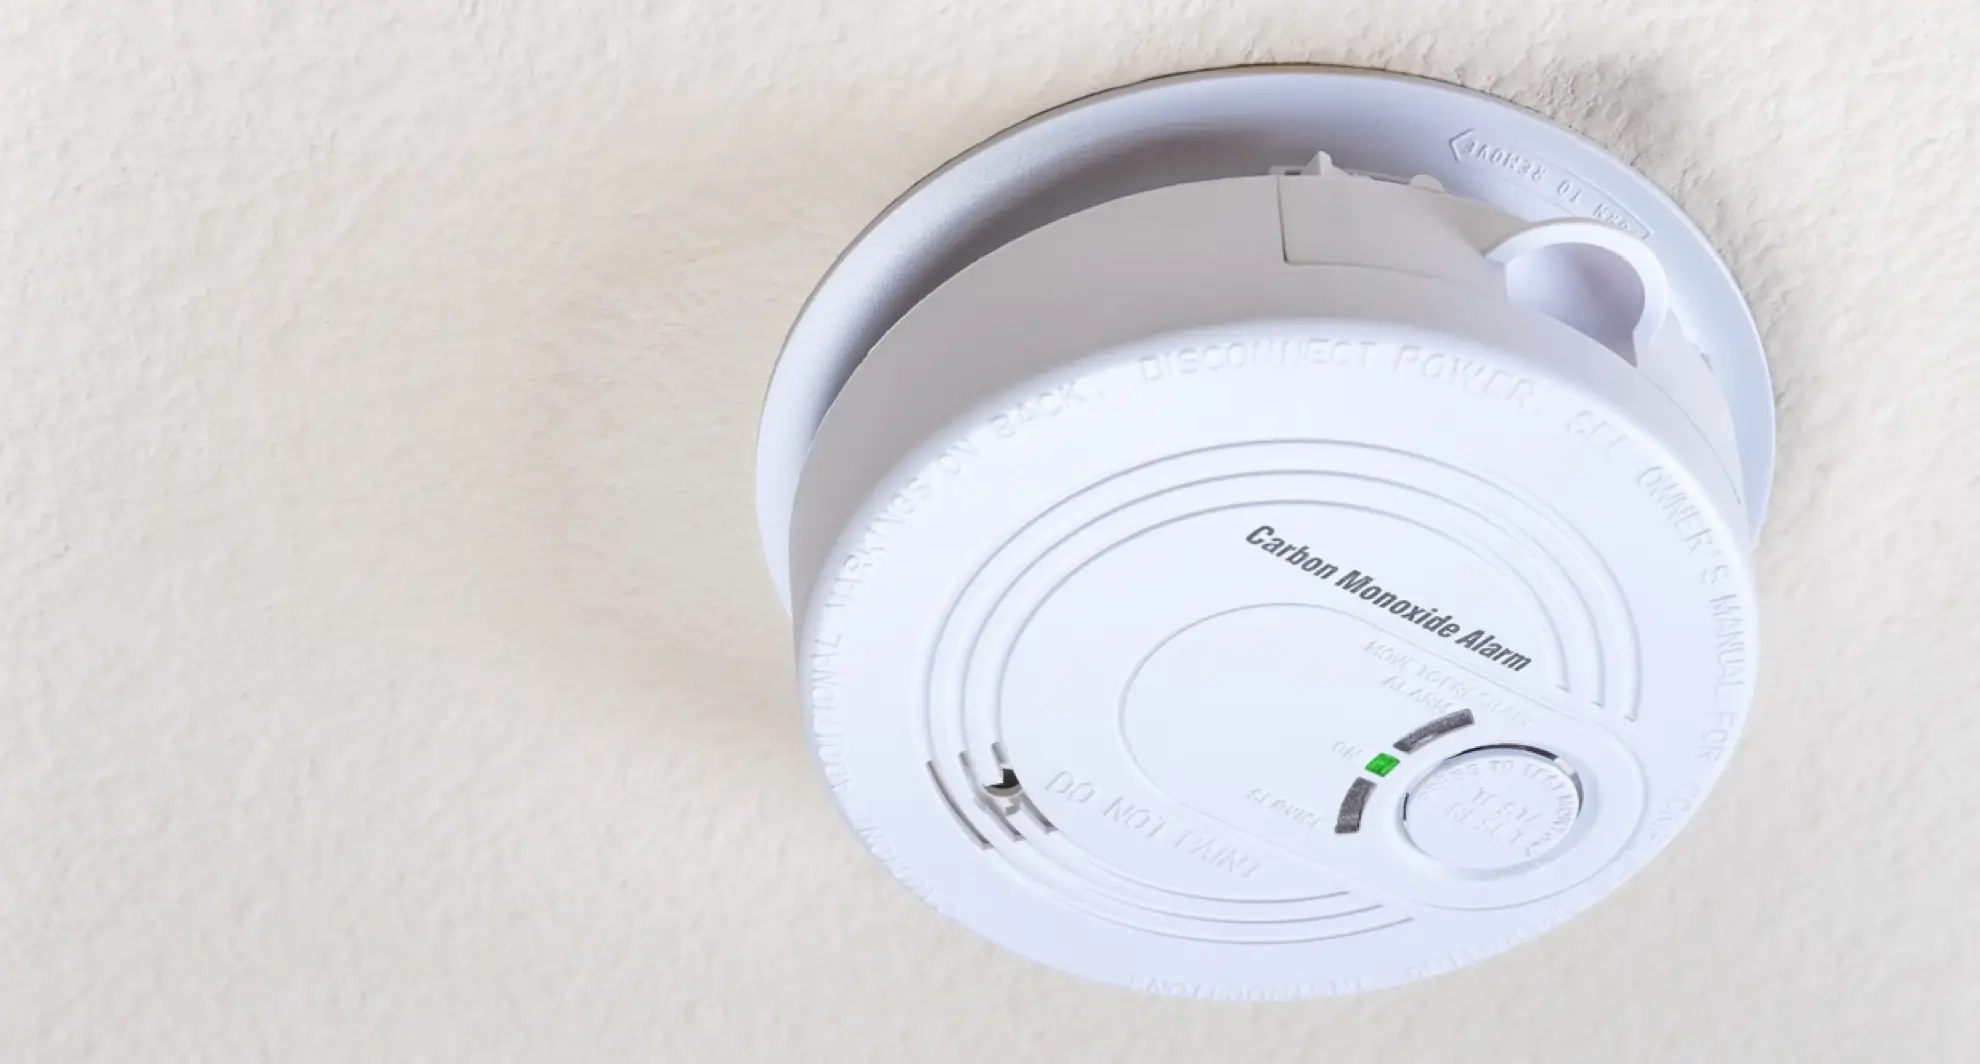
Buying the detector is step one. Keeping it alive is step two. Many people forget that CO detectors have an expiration date. The sensors degrade over time. In 2026, most electrochemical sensors last between 5 to 7 years. After that, they aren’t reliable. Check the manufacturing date on the back of your unit. If it’s older than five years, toss it and get a new one. It’s not worth the risk.
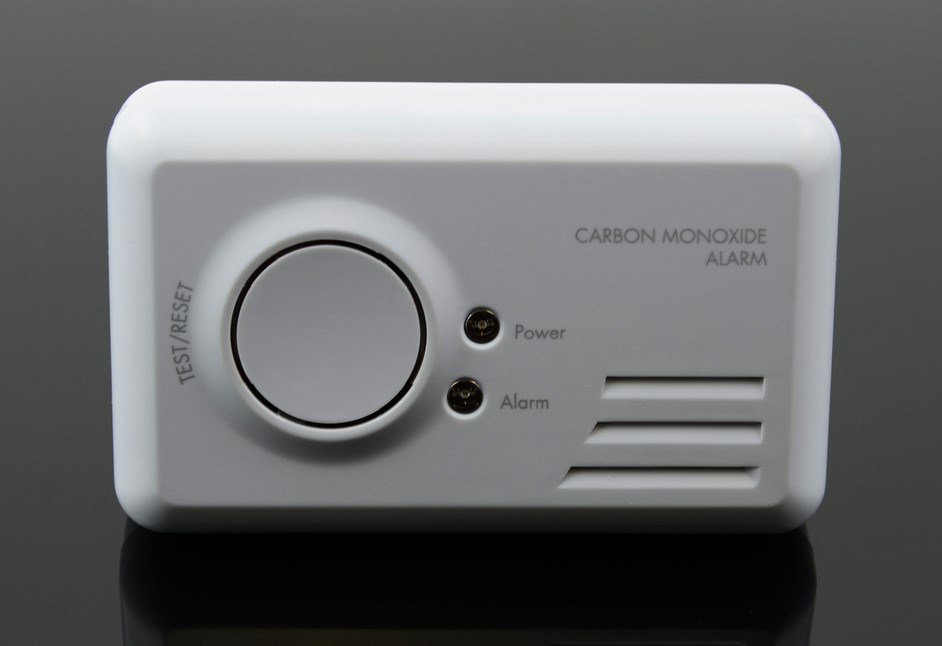
Testing is crucial too. Press the test button once a month. It sounds simple, but how many of us actually do it? Set a reminder on your phone. "First of the month, test the CO alarm." It takes two seconds. Also, replace batteries annually, or whenever the low-battery chirp starts. Don’t wait for the chirp. Proactive replacement prevents those annoying 3 a.m. beeps that tempt you to just remove the battery entirely.
Smart detectors now send alerts to your phone if levels rise or if the device malfunctions. This is a huge leap forward. But don’t rely solely on the app. The local siren is still your primary warning if your Wi-Fi goes down or your phone is silenced. Use the tech as a backup, not a replacement. And remember, if your alarm ever goes off, get out. Don’t try to find the source. Don’t open windows first. Just get everyone outside and call emergency services. Fresh air is the only cure for CO poisoning.
So, where does your detector sit right now? Is it in the hallway outside the bedrooms? Is it away from the garage door? Is it less than five years old? Take a walk through your home tonight. Check the dates. Move the units if they’re in the wrong spots. It’s a small effort for a massive payoff. Your home should be a sanctuary, not a trap. By giving these invisible killers the specific placement they demand, you’re taking back control. You’re ensuring that the silence in your home is peaceful, not deadly. Stay safe, stay aware, and keep those detectors where they belong.