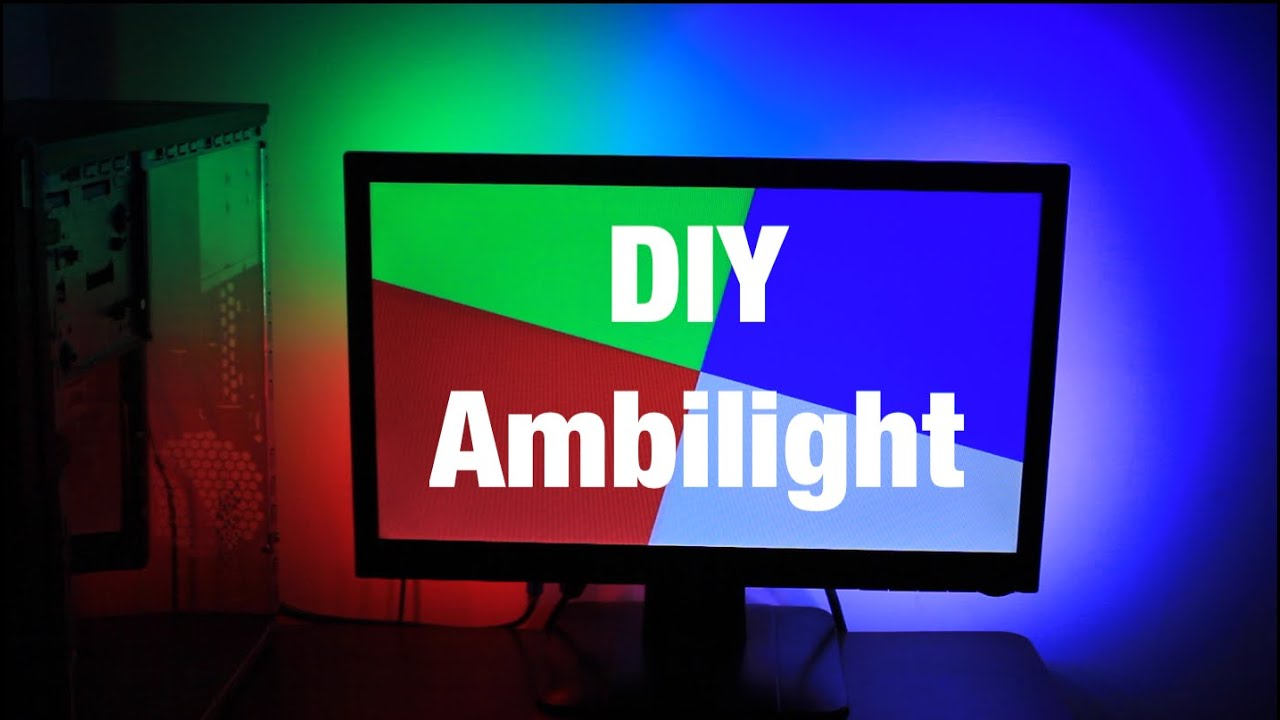
Ever notice how the best cinemas don’t just show you a movie? They wrap you in it. The light from the screen spills onto the walls, pulling you deeper into the story. It’s subtle, but it changes everything. You can buy fancy systems that cost a fortune, sure. But why spend hundreds when you can hack together something better for a fraction of the price?
That’s where the Raspberry Pi comes in. It’s tiny, cheap, and powerful enough to run a full-blown ambient lighting system. In 2026, the tools are easier than ever. You don’t need to be an engineer. You just need a free afternoon, a little patience, and the desire to make your living room feel like a premium theater. Let’s break down how to do it without breaking the bank.
Why Bother with DIY Ambilight?
Commercial smart lights are great, but they often lag. Or they cost an arm and a leg for the "TV sync" feature. A DIY setup using a Pi gives you low-latency performance that rivals high-end brands like Philips Hue, but for maybe $50 to $80 total. It’s not just about saving cash, though. It’s about control.
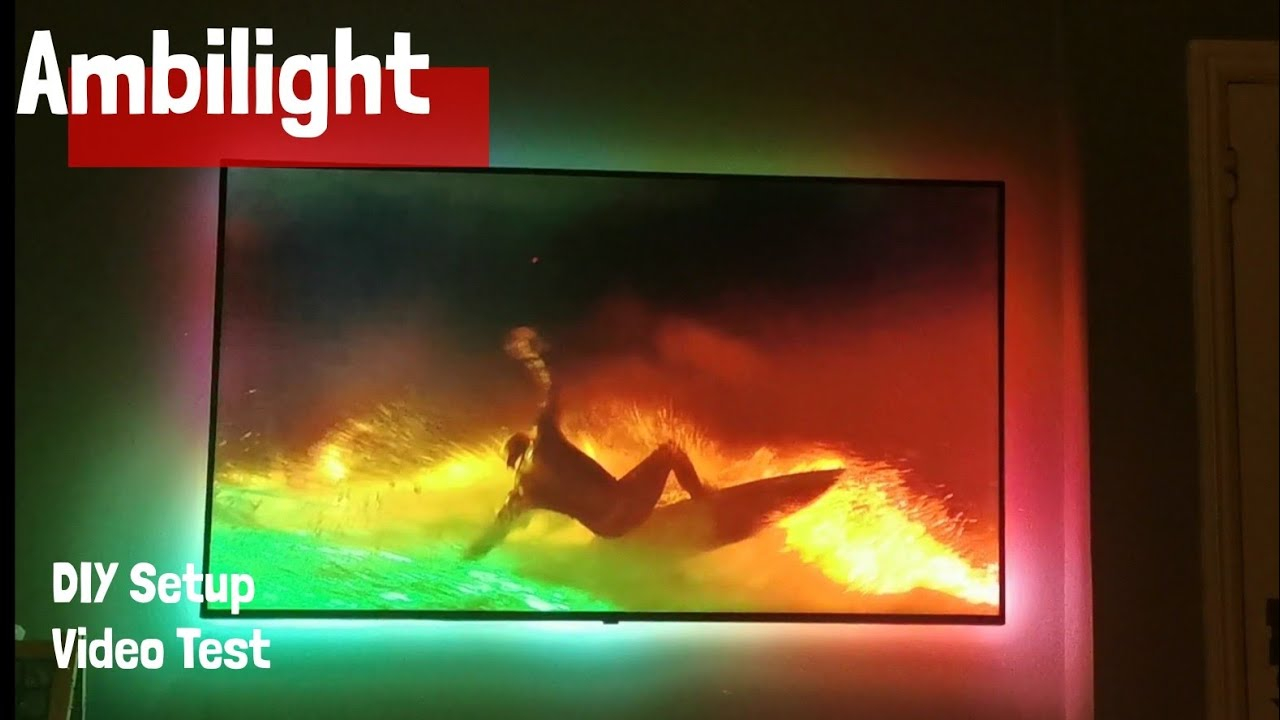
When you build it yourself, you decide how bright the greens are during a forest scene. You tweak the smoothing so action movies don’t look like a strobe light disaster. Plus, there’s a certain satisfaction in watching a explosion on screen and seeing your wall burst into orange and red because you made that happen. It turns passive watching into an experience.
The tech has matured too. Back in the day, you needed complex wiring and custom code. Now, software like Hyperion does the heavy lifting. It’s open-source, free, and supported by a massive community. If you get stuck, someone else has already solved your problem on a forum. That safety net makes the project way less intimidating.
Gathering Your Gear
You don’t need the latest, greatest Pi. A Raspberry Pi 3 or 4 works perfectly fine, and even the Zero W can handle the job if you’re on a super tight budget. Since it’s 2026, you might find older models gathering dust in drawers or selling for peanuts online. Any of them will do. The key component isn’t the computer; it’s the connection to your TV.
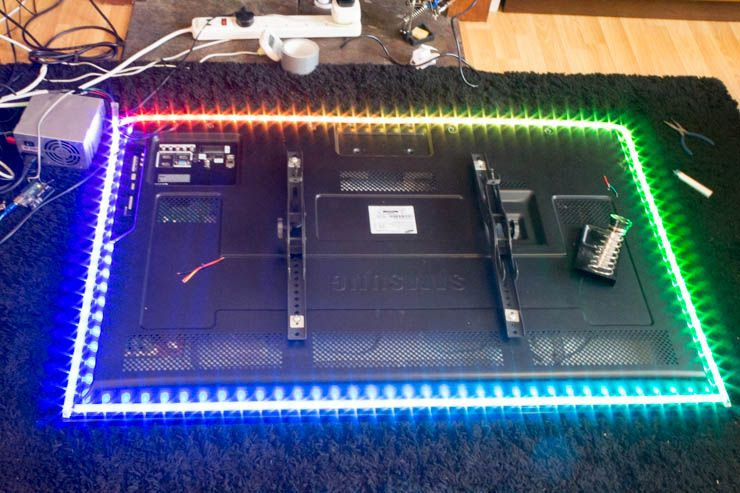
For the lights, grab some WS2812B or WS2815 LED strips. These are addressable, meaning each little diode can change color independently. Measure the back of your TV first. You usually want strips on the top, bottom, and sides. Don’t forget a power supply. LEDs draw a lot of juice, so a 5V 10A adapter is a safe bet for most 55-inch screens. Undersizing the power brick leads to flickering, which ruins the vibe.
Then there’s the capture method. You have two choices: an HDMI grabber or a USB camera. The HDMI grabber is the gold standard. It plugs between your source (like a Fire Stick or game console) and the TV, sending video data to the Pi. It’s precise and fast. A USB camera is cheaper and easier to set up, but it picks up room light, which can muddy the colors. For the best result, splurge the extra $15 on a decent USB 3.0 HDMI capture card.
Choosing Your Software Brain
Hardware is useless without software. This is where Hyperion shines. Specifically, look for Hyperion.NG or the newer HyperHDR. These are forks of the original Hyperion project, optimized for better performance and easier setup. They take the video signal, analyze the colors at the edges, and tell the LEDs what to do in real-time.
If you’re new to Linux, start with Hyperbian. It’s a pre-packaged operating system that combines Raspbian (the Pi’s OS) with Hyperion already installed. You flash it to an SD card, pop it in the Pi, and boom—you’re mostly done. It removes the headache of installing dependencies and configuring services manually. It’s the "just work" option.
For those who like to tinker, installing Hyperion on a fresh copy of Raspberry Pi OS gives you more flexibility. You can run other apps on the Pi simultaneously, like a media center or a home automation hub. But for a dedicated ambilight box, Hyperbian is hard to beat. It’s lightweight, stable, and designed specifically for this task. Check the official wiki for the latest version compatible with your Pi model.
Wiring It All Together
This part scares people, but it’s actually simple. Think of it as connecting dots. First, cut your LED strip to fit the TV. Most strips have cut marks every few inches. Use connectors or solder wires to join the corners. Make sure the arrow on the strip points in the direction of data flow. If you get this backward, nothing works.
Connect the data pin of the LED strip to a GPIO pin on the Raspberry Pi. Pin 18 is the standard choice for PWM output, which Hyperion expects. Ground the LED strip to the Pi’s ground pin. Crucially, the LED strip needs its own power supply. Do not try to power the whole strip from the Pi’s USB port. It will brownout and crash. Connect the 5V and Ground from the power adapter to the start of the LED strip.
If you’re using an HDMI grabber, plug it into the Pi’s USB port. If you’re using a camera, plug that in. Double-check your connections. A loose ground wire causes ghosting effects where colors linger too long. Once everything is plugged in, power up the Pi. If the LEDs light up white or rainbow on boot, you’re in good shape. If they stay dark, check your polarity.
Configuring the Magic
Now for the fun part: making it look good. Open a web browser on your computer and type in the IP address of your Pi. This opens the Hyperion web interface. Go to the LED layout tab. Here, you map the virtual LEDs to your physical setup. Tell the software how many LEDs are on the top, bottom, left, and right. Be accurate. If you say there are 10 LEDs on top but you only have 8, the colors will shift weirdly.
Next, adjust the smoothing. Raw data can be jittery. Smoothing blends the colors over time, creating that fluid, cinematic glow. Start with a decay rate of around 50ms and tweak from there. Too much smoothing feels sluggish; too little looks chaotic. Play with a high-contrast video clip to find the sweet spot.
Don’t ignore the black border detection. Many TVs have a thin black bezel or letterboxing on movies. If the software sees black, it turns off the LEDs. But sometimes it mistakes dark scenes for black borders. Calibrate this setting so the lights stay on during dark movie scenes but turn off when the TV is actually off or showing a static menu. It’s a small detail that makes a huge difference in immersion.
So, it’s not working perfectly? Don’t panic. The most common issue is power. If the far end of your strip looks dim or the colors are wrong, you’re experiencing voltage drop. Inject power at both ends of the strip, or even in the middle for large TVs. Use thick gauge wire for these connections. Thin wires act like resistors and kill your brightness.
Another frequent culprit is signal noise. If the LEDs flicker randomly, the data line might be picking up interference. Add a small capacitor (around 1000uF) across the power and ground at the start of the LED strip. Also, put a 330-ohm resistor on the data line between the Pi and the strip. This cleans up the signal and protects the first LED from voltage spikes.
Software glitches usually stem from outdated firmware. Ensure your Pi’s OS is up to date. If you’re using Hyperion.NG, check for updates within the web interface. Sometimes, changing the USB port on the Pi helps if the grabber isn’t recognized. USB 3.0 ports (usually blue) provide more bandwidth for high-resolution capture. If all else fails, the Hyperion Discord and forums are goldmines of advice. Someone has likely seen your exact error message before.
There’s a bit of a learning curve, sure. You might spend an evening chasing a bug. But when you finally sit down, hit play, and see the room breathe with the movie, it’s worth it. It’s not just a gadget. It’s a upgrade to your daily life. And you built it. That counts for something.
In the end, this project is about more than lights. It’s about taking control of your tech. Instead of buying a black box that does what it wants, you created a system that does exactly what you need. It’s affordable, customizable, and frankly, pretty cool. So grab that spare Pi, order some LEDs, and give your living room the glow-up it deserves. You won’t regret it.