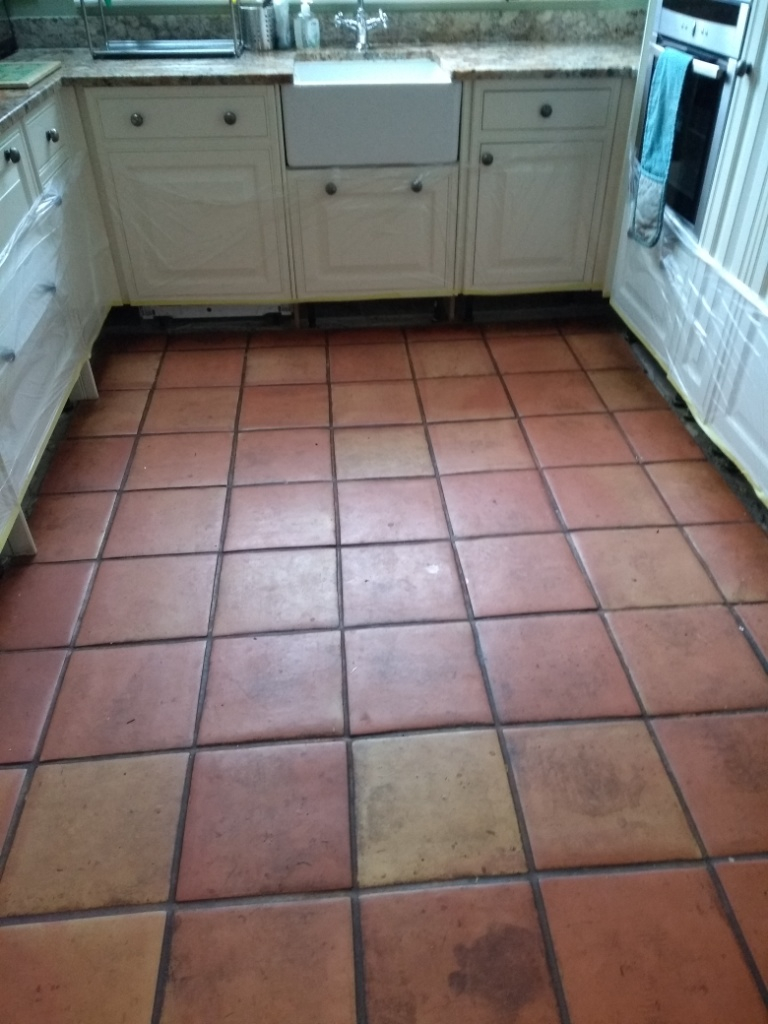
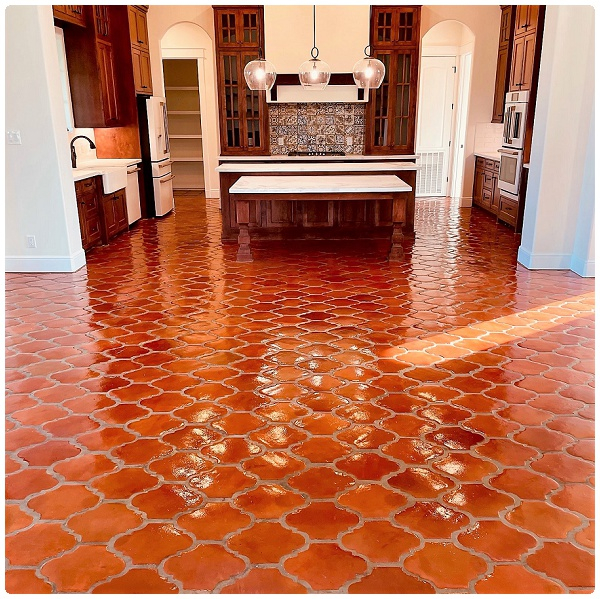
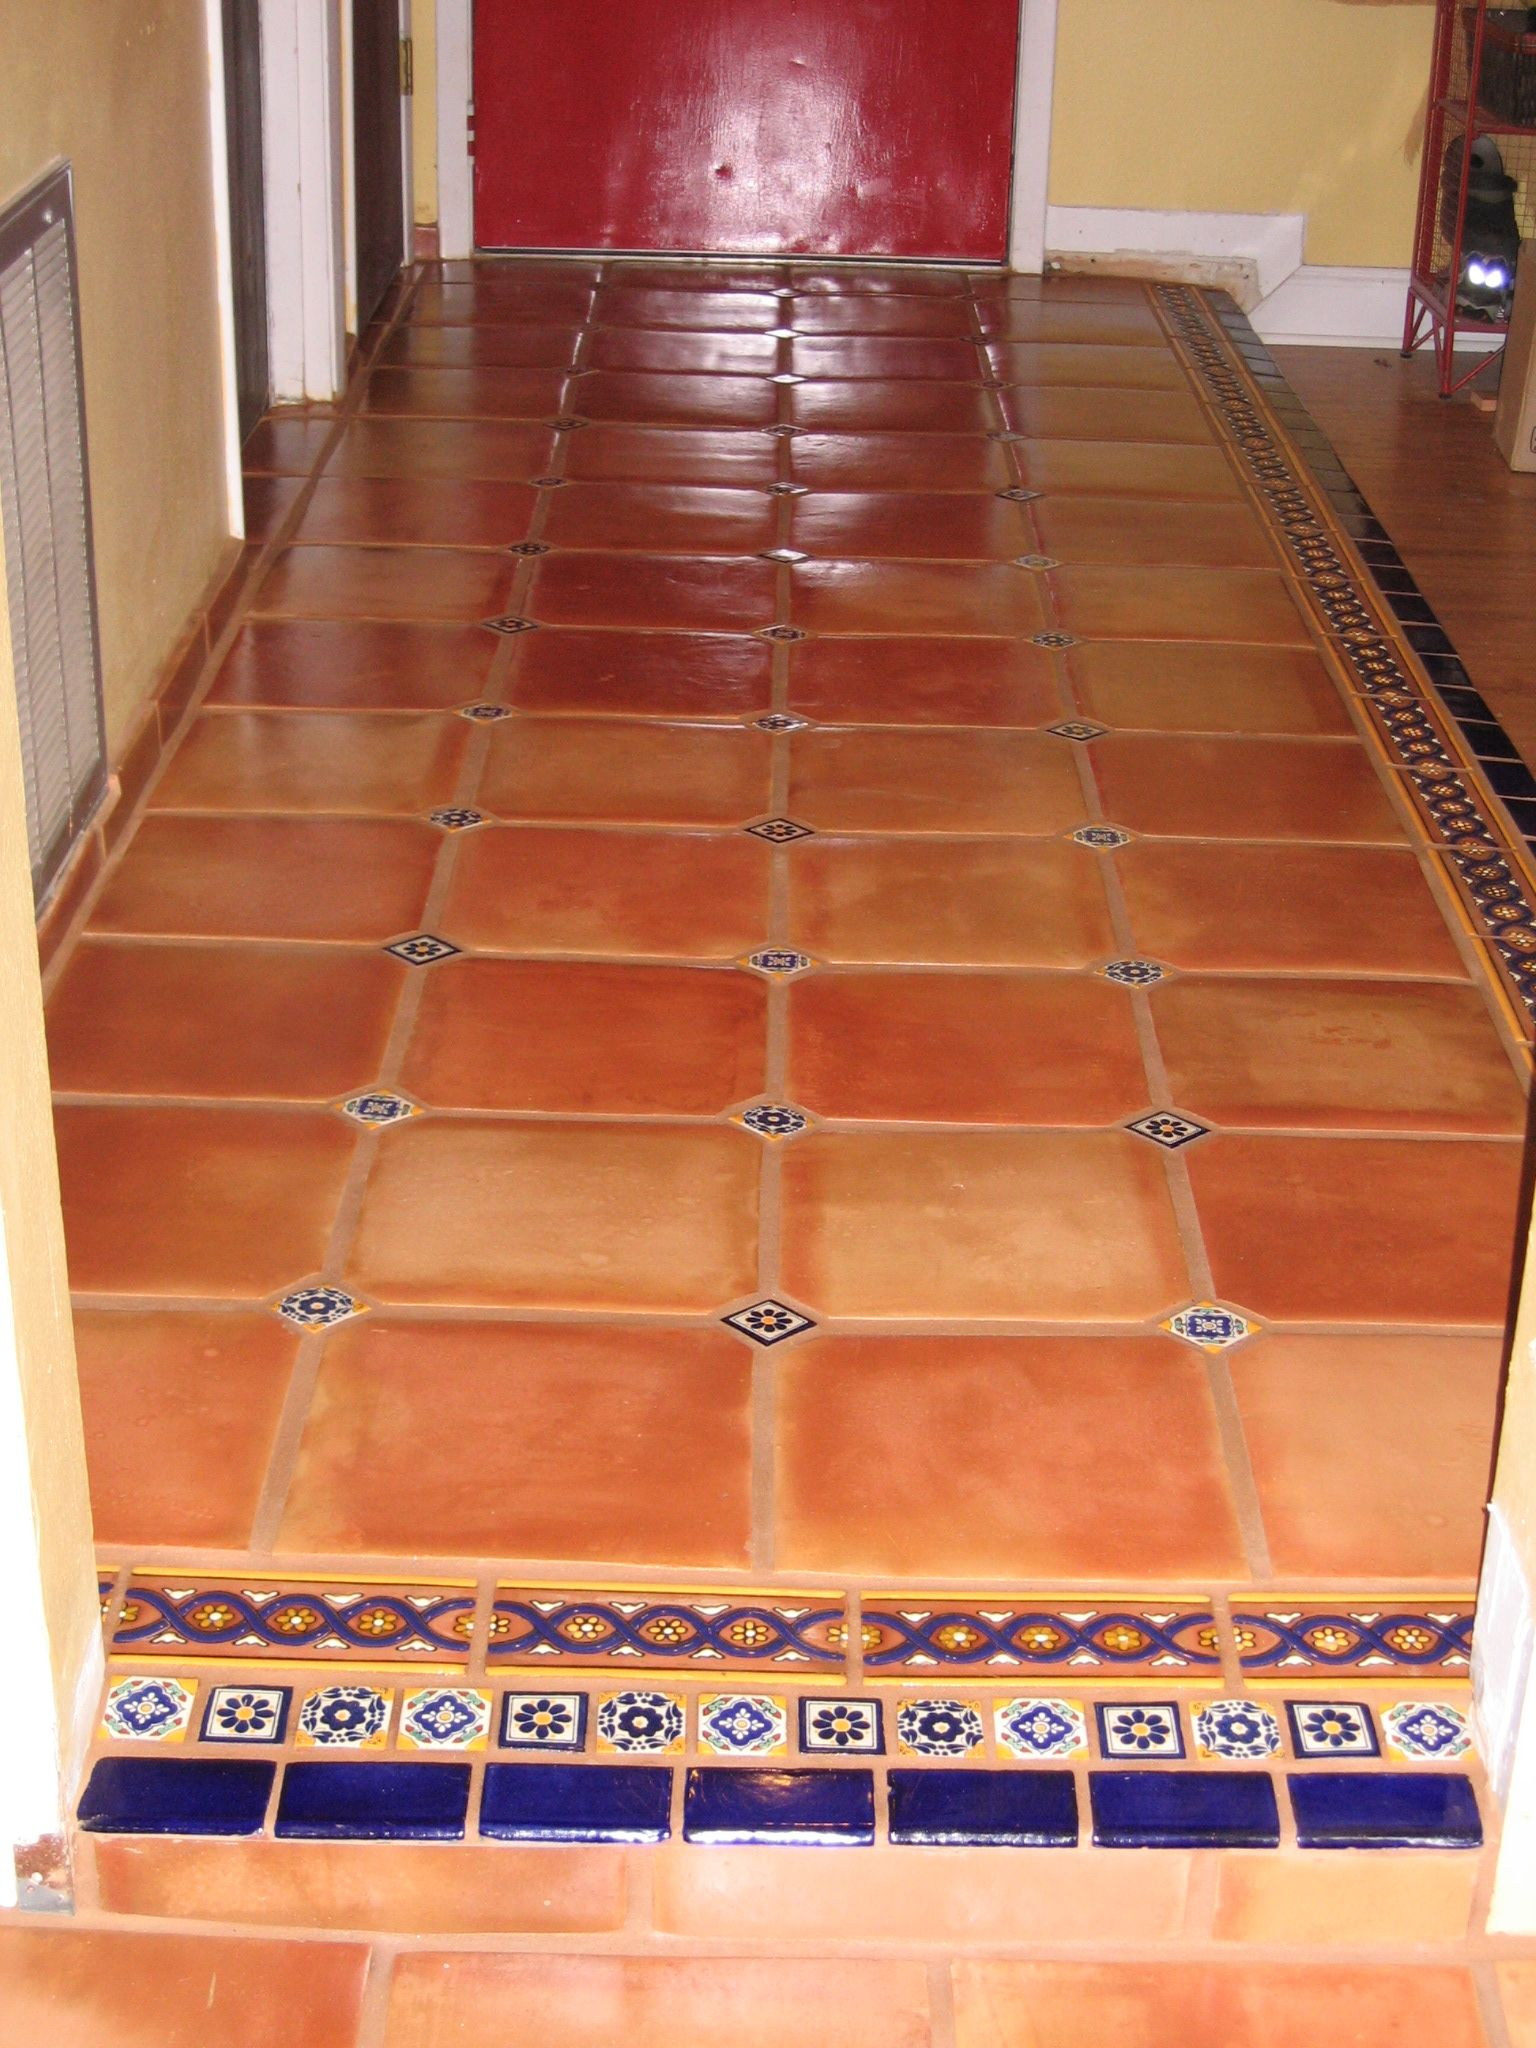
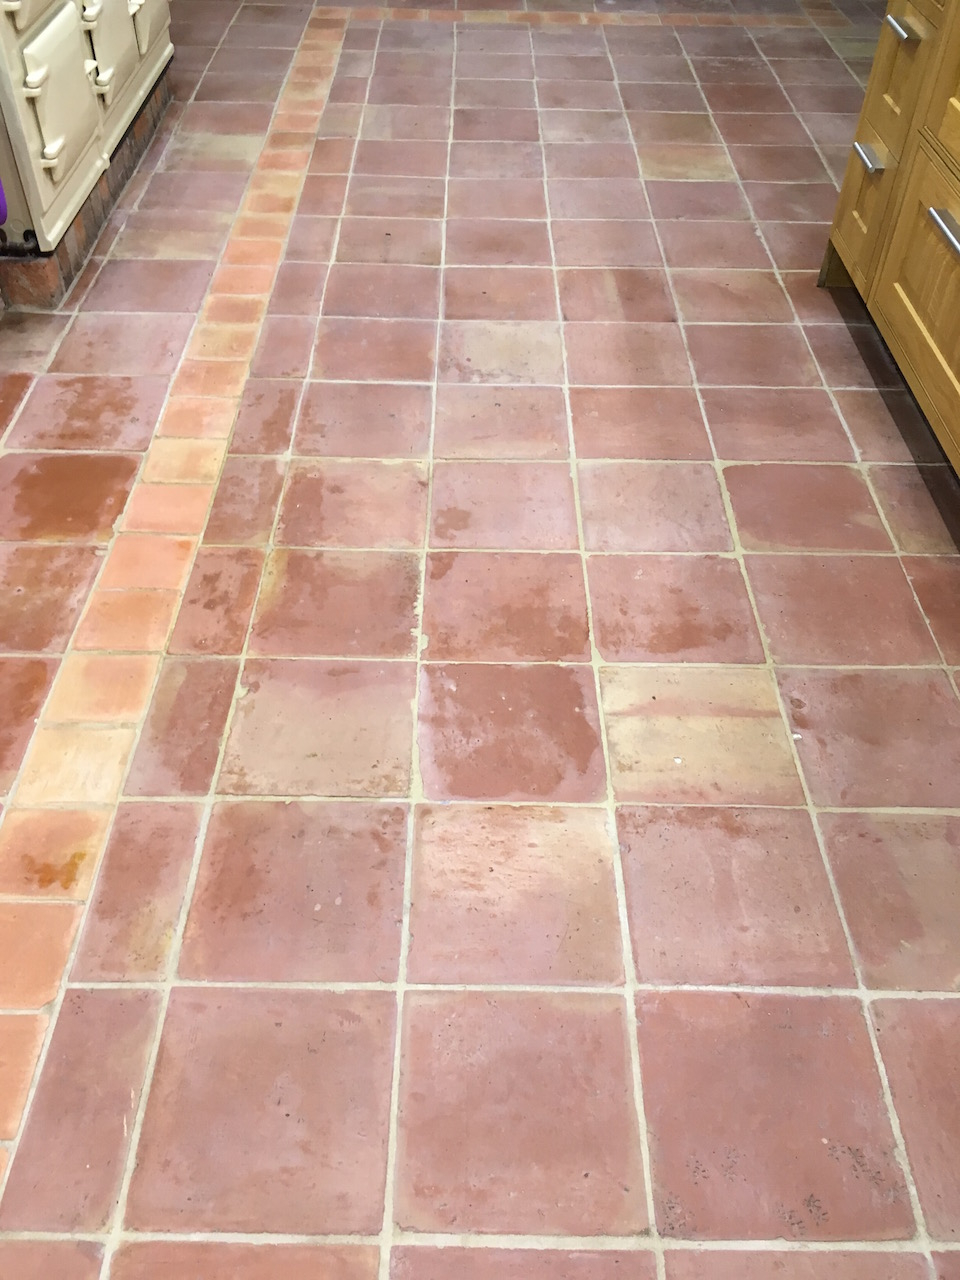
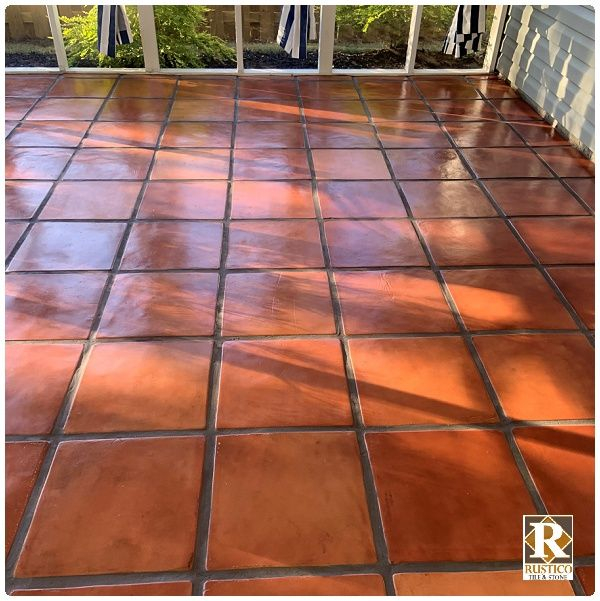
You know that feeling when you walk into a room with Saltillo tile? It’s warm. Earthy. There’s a certain soul to it that you just don’t get with sterile porcelain or cold concrete. It feels like home. But here’s the thing nobody tells you at the hardware store: that beautiful, rustic charm is basically a giant, thirsty orange sponge waiting to ruin your day if you don’t treat it right.
I’ve seen too many homeowners cry over their floors. Not because the tile was bad, but because they sealed it wrong. Or didn’t seal it at all. Or used the wrong stuff. It’s heartbreaking, really. You spend thousands on installation, only to have red wine soak in permanently within a week. So, let’s fix that. Let’s talk about what actually matters before you dip that roller into a can of sealer.
The Sponge Factor: Why "Just Seal It" Isn’t Enough
First off, you gotta understand what you’re dealing with. Saltillo isn’t manufactured in a factory with perfect molds. It’s handmade clay, baked in the sun or kilns in Mexico. That means every single tile is unique. Some are dense; others are porous enough to drink up a gallon of water in seconds. This variability is why generic advice fails. You can’t just slap one coat of whatever sealer is on sale and call it a day.
In 2026, we have better products than we did ten years ago, but the physics haven’t changed. If you don’t prep the floor properly, the sealer sits on top. It looks shiny for a month, then it peels. Then you’re stuck stripping it all off, which is a nightmare. The key is penetration. You want the sealer to soak into the clay, bonding with it from the inside out. Think of it like moisturizing dry skin versus putting plastic wrap on it. One heals, the other suffocates.
Most people skip the cleaning step. Big mistake. Dust, old wax, and construction debris block the pores. If the pores are blocked, the sealer has nowhere to go. It just sits there, sticky and useless. You need to deep clean, often with a heavy-duty degreaser or even a mild acid wash if the tiles are new and have that lime residue. It sounds intense, but it’s the only way to ensure the sealer actually does its job. Don’t rush this part. Seriously.
Penetrating vs. Topical: Choosing Your Weapon
Here is where folks get confused. There are two main types of sealers: penetrating and topical. Penetrating sealers soak in. They don’t change the look of the tile much, maybe just darken it slightly to bring out the color. They breathe. This is crucial for Saltillo because clay needs to breathe. If moisture gets trapped underneath, it can cause efflorescence (those white, powdery spots) or even crack the tile from below.
Topical sealers, on the other hand, sit on top. They create a film. Acrylics and waxes fall into this category. They give you that high-gloss, wet look that some people love. But here’s the catch: they wear off. Fast. In high-traffic areas, you’ll see footprints and scratches within months. And when it’s time to re-seal, you have to strip the old layer off completely. It’s a lot of work. For most homes, especially kitchens and entryways, a penetrating sealer is the smarter, lower-maintenance choice.
That said, there’s a hybrid approach that’s gaining traction. You use a penetrating sealer first to protect the clay, then add a sacrificial topcoat of wax or acrylic for shine and extra protection. This way, when the top layer gets scuffed, you just buff it or strip the wax, not the whole system. It gives you the best of both worlds: deep protection and easy maintenance. Just make sure the products are compatible. Mixing oil-based penetrants with water-based topcoats can lead to disaster.
The Prep Work That Makes or Breaks You
Let’s talk about grout for a second. Saltillo tile is usually installed with wide grout lines. That grout is porous too. If you seal the tile but ignore the grout, you’ve left a huge gap in your armor. Stains will sneak in through the grout lines and spread sideways into the tile. Always seal the grout at the same time as the tile. In fact, many experts recommend applying the sealer to the entire floor, tile and grout alike, to ensure uniform protection.
Cleaning is half the battle. If you’re working with new installation, you likely have grout haze. That thin, cloudy film? It’s cement. Sealer won’t stick to cement dust. You need to scrub it off with a grout haze remover and a stiff brush. Rinse thoroughly. Then let it dry. And I mean really dry. Saltillo holds moisture like a camel. If you seal over damp tiles, you trap that water. The result? Cloudy, blotchy seals that never quite clear up. In humid climates, this can take days. Use a moisture meter if you have one. If not, wait longer than you think you need to.
Old floors need a different approach. Years of wax buildup create a barrier. You’ll need a chemical stripper to remove the old layers. It’s smelly and messy, but necessary. Scrub, rinse, repeat. Once the floor is bare and clean, do a water test. Sprinkle a few drops of water on the tile. If it beads up, there’s still sealer or wax there. If it soaks in dark and fast, you’re ready. This simple test saves so many headaches later on.
Application: It’s Not a Race
Okay, you’ve prepped. You’ve chosen your sealer. Now comes the actual application. Most people grab a paint roller and go to town. Bad idea. Rollers push air bubbles into the porous surface. Those bubbles trap air, preventing the sealer from penetrating evenly. Instead, use a lamb’s wool applicator or a high-quality synthetic pad. These tools lay the sealer down gently, allowing it to soak in without trapping air.
Work in small sections. Like, 4×4 feet small. Saltillo drinks fast. If you cover too much area at once, the sealer starts to dry before you can spread it evenly. This leads to lap marks—visible lines where one coat overlaps another. Once those set, they’re permanent. Apply the sealer, let it soak for a few minutes, then wipe off any excess with a clean, dry cloth. Yes, wipe it off. Leaving puddles creates sticky spots that attract dirt like a magnet.
Ventilation is key. Many sealers have strong fumes. Open windows, run fans. But don’t point fans directly at the wet floor, as this can cause it to dry too quickly and unevenly. You want a gentle airflow. Also, watch the temperature. If it’s too hot, the sealer flashes off too fast. Too cold, and it won’t cure properly. Aim for 60-80 degrees Fahrenheit. Check the label on your specific product, as formulations vary. Patience here pays off big time.
The Myth of the "One and Done
Here’s a hard truth: sealing Saltillo is not a one-time event. It’s maintenance. Even the best penetrating sealers wear down over time, especially in high-traffic zones. How often? It depends. A quiet bedroom might go five years. A busy kitchen? Maybe every year or two. You’ll know it’s time when water stops beading up and starts soaking in immediately. That’s your cue.
Don’t wait for stains to appear. By then, it’s too late. Make checking your seal part of your seasonal cleaning routine. Keep a bottle of water handy. Test a few spots. If the water darkens the tile quickly, it’s time to refresh. Refreshing is easier than the initial seal. Just clean the floor well, let it dry, and apply a fresh coat. No stripping needed if you’re using a penetrating sealer. It just adds another layer of protection.
Also, consider the type of traffic. Pets? Kids? Outdoor shoes? These factors accelerate wear. Use rugs in high-impact areas. Put felt pads on furniture legs. Small habits extend the life of your seal significantly. Think of the sealer as a shield, not armor. It needs help. Treating your floor with respect means less work for you in the long run. It’s a partnership between you and the clay.
Finally, let’s talk mindset. Saltillo is rustic. It’s supposed to have variation. It’s supposed to change color slightly over time. This is called patina, and it’s beautiful. Don’t fight it. If you’re looking for a flawless, uniform surface, you picked the wrong tile. Embrace the quirks. The slight color shifts, the minor pits, the natural texture. That’s the character you paid for.
However, "rustic" doesn’t mean "neglected." Regular cleaning is essential. Use pH-neutral cleaners. Avoid vinegar or acidic cleaners, as they can break down the sealer and etch the clay. Avoid abrasive scrubbers that can scratch the surface. A simple mop with warm water and a gentle soap is usually enough. Spills? Wipe them up immediately. Even with a good seal, letting red wine or oil sit overnight is asking for trouble.
In 2026, we’re seeing a return to natural materials in design. People are tired of perfection. They want authenticity. Saltillo delivers that. But authenticity requires care. It’s not a set-it-and-forget-it floor. It’s a living surface that responds to how you treat it. Treat it well, and it will age gracefully, becoming more beautiful with every year. Treat it poorly, and it becomes a burden. The choice is yours.
So, there you have it. The real deal on sealing Saltillo. It’s not rocket science, but it does require attention to detail. Prep properly. Choose the right sealer. Apply it with care. Maintain it regularly. And embrace the natural beauty of the clay. If you follow these steps, you’ll have a floor that not only looks amazing but stands the test of time. And honestly, isn’t that what we all want? A home that feels good, looks good, and lasts.