You know that feeling when you walk into a high-end gallery? The air is still. The walls are quiet. And the art? It just glows. Not in a flashy, neon way, but with a warm, inviting presence that pulls you in. You look at a painting and think, "Wow, that looks expensive." But here’s the thing: half of that magic isn’t the paint. It’s the light.
For years, I’ve watched homeowners struggle with this. They buy beautiful art—maybe a vintage print, a family heirloom, or a piece from a local artist—and hang it up. Then they step back. And it feels… flat. Lifeless. Like something is missing. That missing ingredient is usually proper illumination. But then comes the headache. Do you call an electrician? Do you deal with ugly cords? Or do you just give up and live with the shadow?
It doesn’t have to be that complicated. In 2026, the options for lighting your art are better than ever. You don’t need a degree in electrical engineering to make your living room look like a curated space. Whether you’re renting an apartment or owning a forever home, there’s a solution that fits. Let’s break down the real choices between battery-powered convenience and hardwired permanence, so you can finally give your art the spotlight it deserves.
The Great Debate: Convenience vs. Permanence
Let’s get real for a second. Most of us aren’t professional interior designers. We’re people who want our homes to look nice without spending every weekend on home improvement projects. This is where the choice between battery and hardwired lights becomes personal. It’s not just about technology; it’s about your lifestyle.
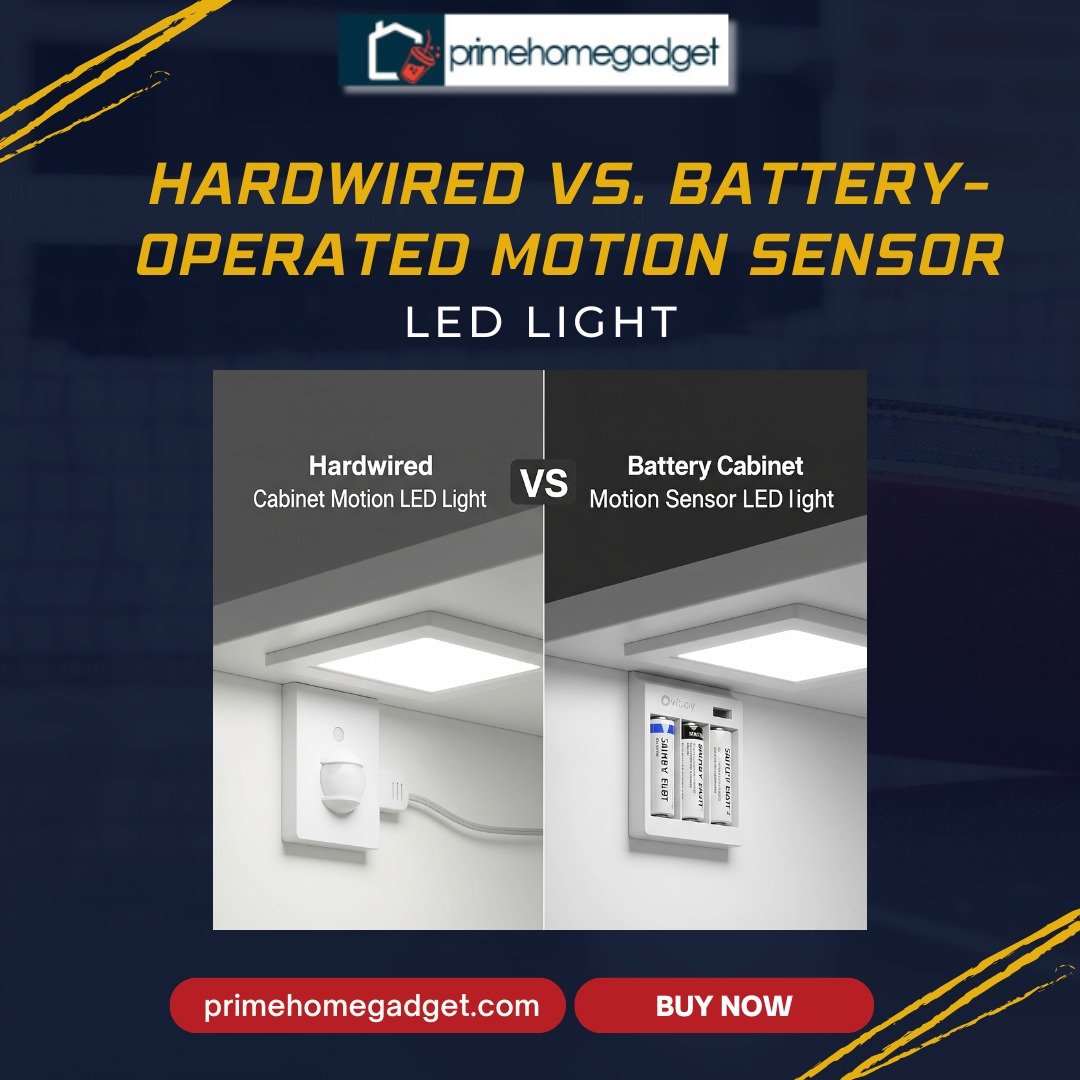
Hardwired lights are the traditional choice. They connect directly to your home’s electrical system. This means no batteries to change, no cords to hide, and a clean, seamless look that screams "professional." But there’s a catch. Installing them requires cutting into your wall, running wires, and often hiring a licensed electrician. If you’re a homeowner who loves DIY projects, this might sound like a fun Saturday. If you’re a renter, or someone who gets anxious at the thought of a drill, it’s a non-starter. Plus, if you move, those lights stay behind. You can’t take them with you.
On the flip side, battery-operated lights have come a long way. Gone are the days of dim, flickering bulbs that die after a week. Modern LED battery lights in 2026 are bright, efficient, and often rechargeable via USB. They install in minutes with just a few screws or even strong adhesive strips. No wires. No mess. You can move them from room to room or take them with you when you move. The trade-off? You have to remember to charge them. For some, that’s a minor annoyance. For others, it’s a dealbreaker.
So, how do you choose? Ask yourself three questions. First, do you own or rent? Renters should almost always go battery or plug-in. Second, how permanent is your art arrangement? If you rotate pieces often, battery lights offer flexibility. Third, what’s your comfort level with tools? If the idea of working with electrical wires makes you sweat, stick with battery. There’s no shame in choosing the easier path. In fact, it’s often the smarter one.
Getting the Size Right: The Golden Rule of Proportions
One of the biggest mistakes people make isn’t about power sources. It’s about size. You can buy the most expensive hardwired light in the world, but if it’s too small for your artwork, it will look cheap. Conversely, a massive light on a tiny print looks comical. Getting the proportions right is the secret sauce that makes lighting look intentional and professional.
The general rule of thumb used by designers is simple: your picture light should be about half to two-thirds the width of your artwork. So, if you have a canvas that is 30 inches wide, look for a light that is between 15 and 20 inches long. This ensures the light spreads evenly across the piece without leaving dark corners or creating harsh hotspots in the center. It creates a balanced, symmetrical look that pleases the eye.
But width isn’t the only factor. Depth matters too. You want the light to sit close enough to the art to illuminate it effectively, but not so close that it casts shadows from the frame or the texture of the canvas. A good rule is to have the bulb positioned about 6 to 12 inches away from the surface of the art. Many modern fixtures come with adjustable arms or goosenecks that let you tweak this distance. Take advantage of that. Play with the angle until the glare disappears and the colors pop.
Also, consider the height of the fixture itself. Slim, low-profile lights tend to look more modern and less intrusive. Bulky, industrial-looking fixtures can distract from the art. In 2026, the trend is toward minimalism. Think sleek lines, matte finishes, and discreet designs. The light should enhance the art, not compete with it. If you find yourself noticing the fixture more than the painting, it’s probably too big or too ornate. Keep it simple. Let the art be the star.
Color Temperature and Bulb Quality: Why Warmth Wins
Here’s a technical detail that makes a huge difference: color temperature. You might see numbers like 2700K, 3000K, or 4000K on light bulb packages. These numbers refer to the "warmth" or "coolness" of the light. Lower numbers mean warmer, yellower light. Higher numbers mean cooler, bluer light. For art, especially paintings and photographs, warmer is almost always better.
Why? Because warm light (around 2700K to 3000K) mimics natural incandescent lighting and sunset tones. It brings out the richness in oils, watercolors, and prints. Cool light (4000K and above) can make colors look washed out or sterile. It’s the kind of light you find in offices or hospitals. You don’t want your living room to feel like a clinic. Stick to the 2700K-3000K range for a cozy, inviting glow that makes your art look vibrant and alive.
Another critical factor is the Color Rendering Index, or CRI. This measures how accurately a light source reveals the true colors of objects compared to natural sunlight. Sunlight has a CRI of 100. For art lighting, you want a CRI of 90 or higher. Anything lower, and your blues might look gray, or your reds might look muddy. High-CRI LEDs are widely available now, even in battery-operated models. Don’t skimp on this. Check the specs before you buy. It’s worth paying a little extra for a bulb that shows your art as the artist intended.
And let’s talk about glare. Glare is the enemy of good art lighting. It happens when the light source is visible to the viewer, creating a bright spot that distracts from the image. To avoid this, look for fixtures with shields or hoods that direct the light downward onto the art, not outward into the room. Some newer models use lens technology to diffuse the light softly. If you can see the actual bulb when you’re standing in front of the painting, the light is positioned wrong or lacks proper shielding. Adjust it until the source is hidden, and only the illumination remains.
Installation Realities: What You’re Actually Signing Up For
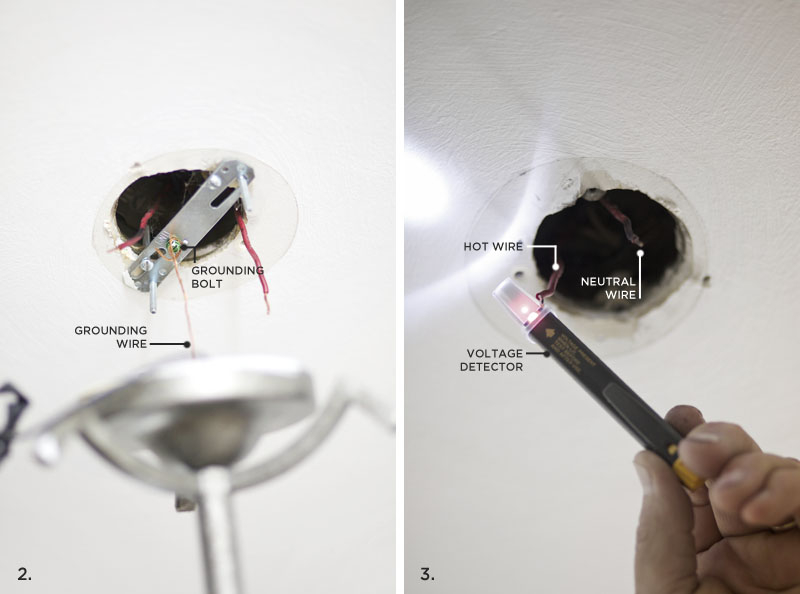
Let’s dive into the nitty-gritty of installation. If you’re leaning toward hardwired lights, you need to understand what’s involved. It’s not just screwing a fixture into the wall. You need a power source. This usually means tapping into an existing junction box behind the wall or running new wire from a nearby switch. If there’s no existing wiring near your art, you’re looking at cutting drywall, fishing wires through studs, and patching/painting afterward. It’s messy. It’s loud. And in many places, it requires a permit and a professional electrician.
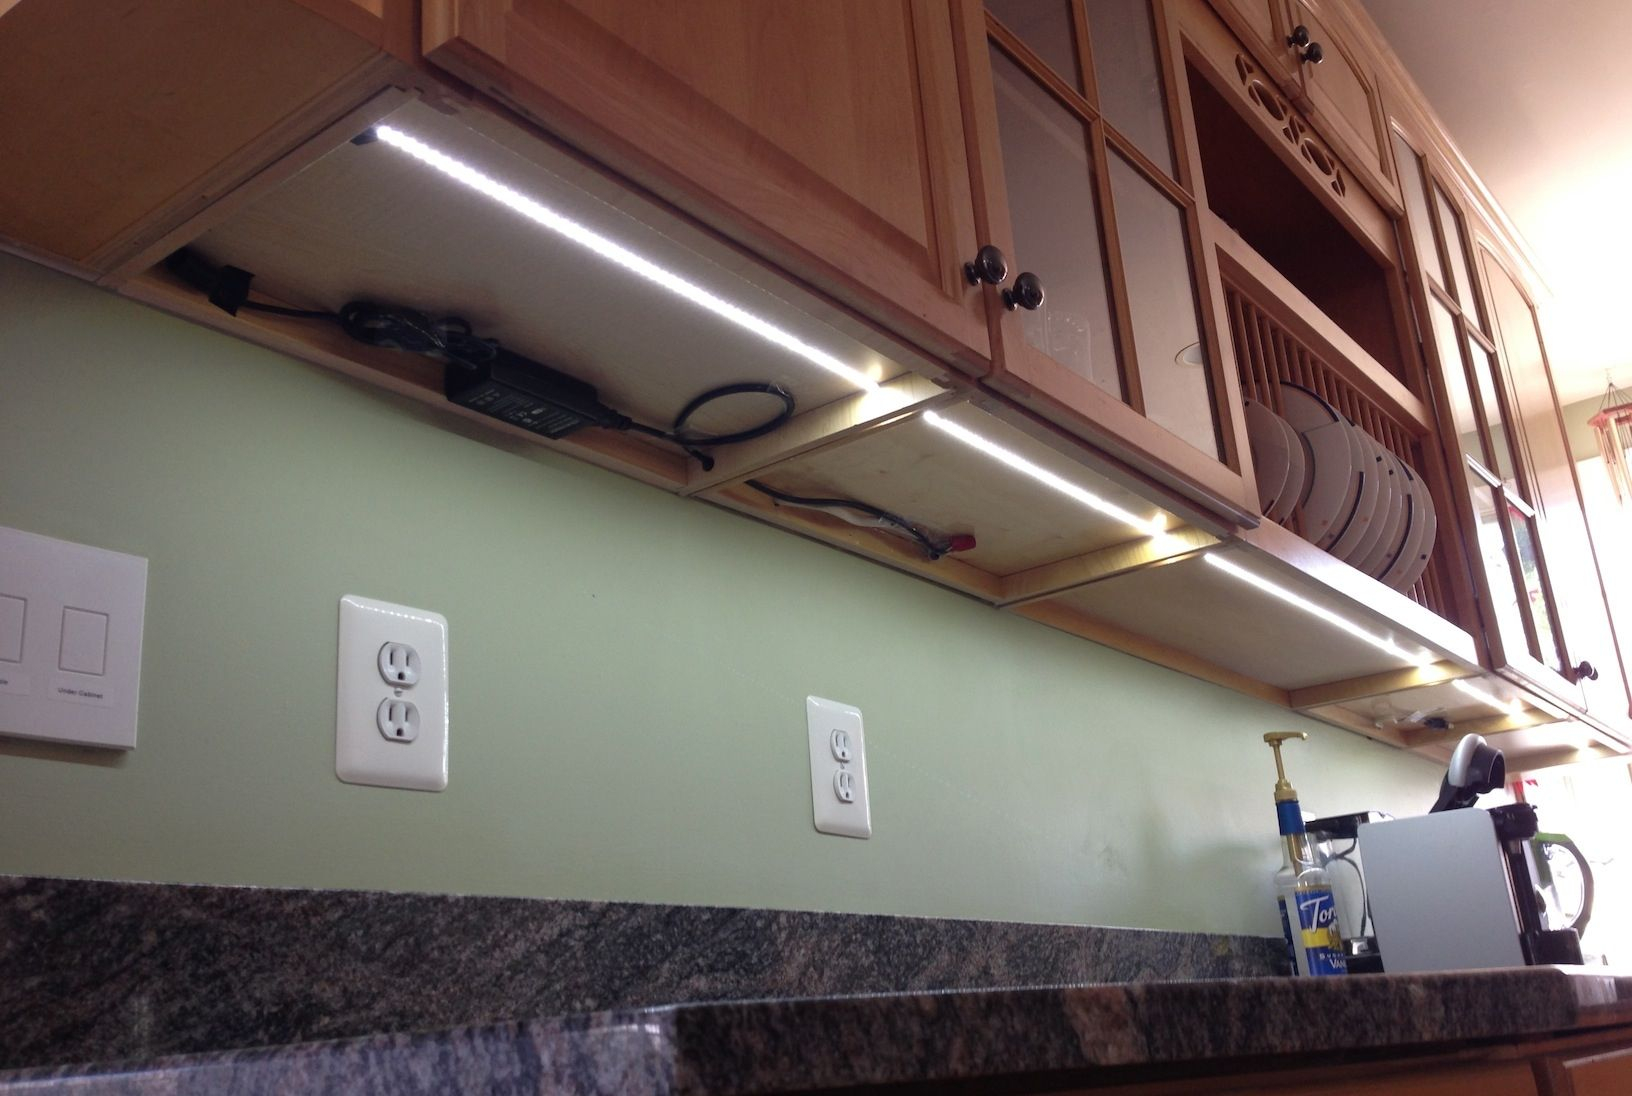
However, the result is undeniably sleek. Once installed, hardwired lights are invisible in terms of infrastructure. There are no batteries to swap, no charging cables to dangle, and no switches to fumble with if you connect them to a wall dimmer. You can integrate them into your smart home system, turning them on and off with your voice or phone. For a permanent gallery wall in a master bedroom or dining room, this convenience is unmatched. Just be prepared for the upfront cost and effort.
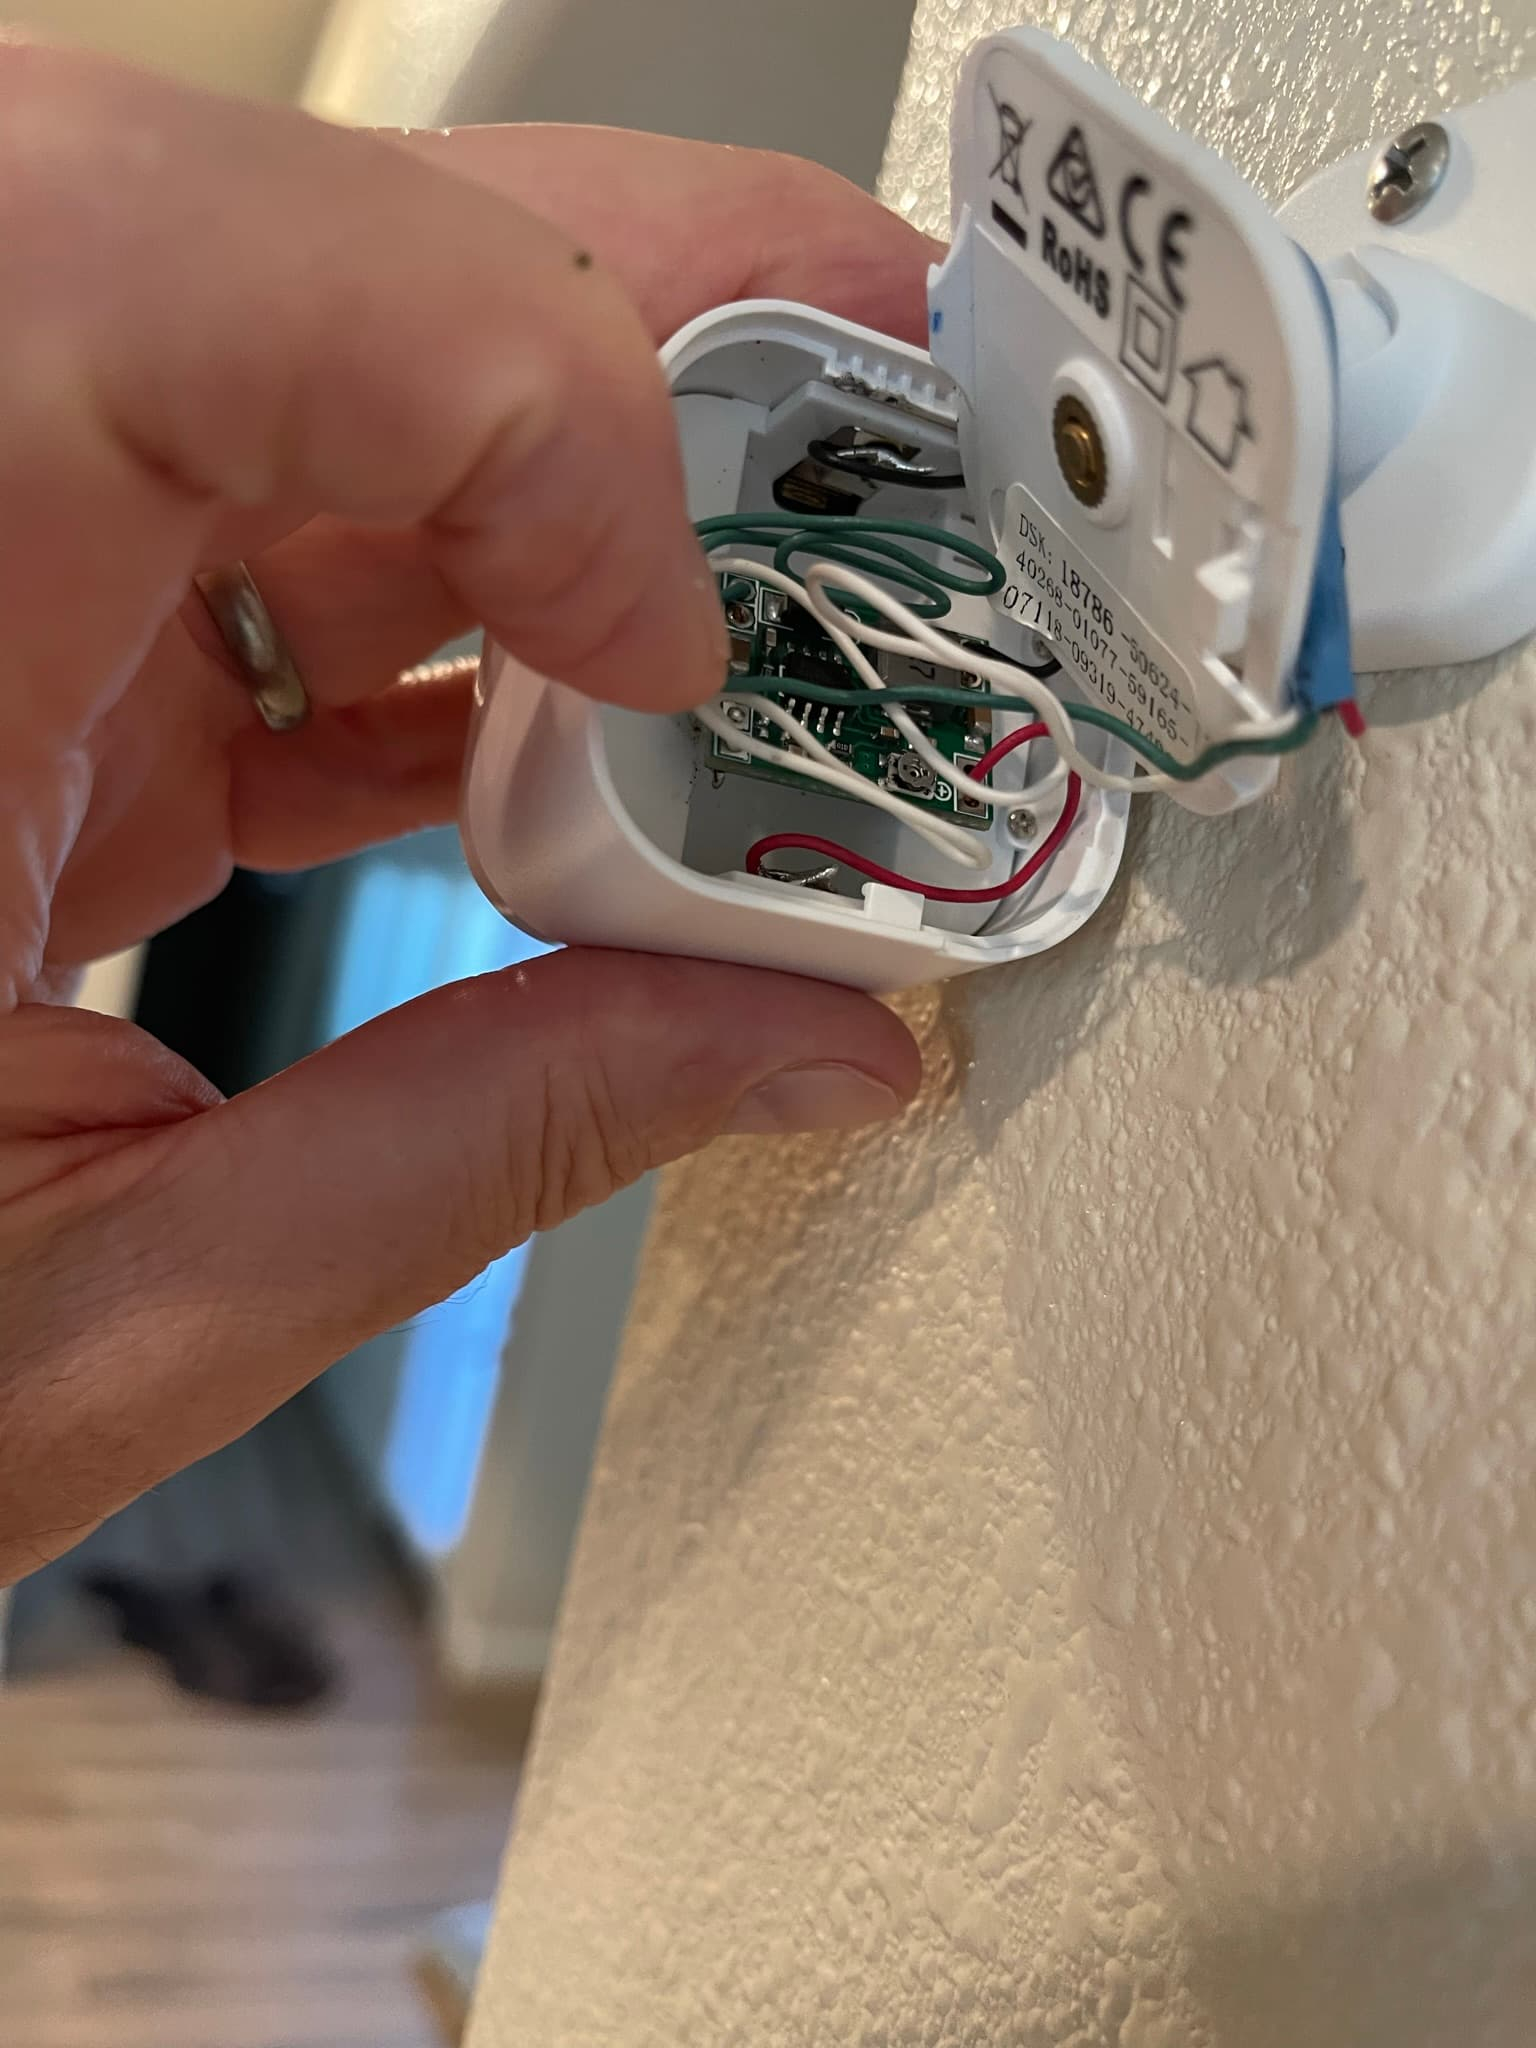
Battery-operated installation is drastically different. Most units come with mounting hardware that allows you to screw them directly into the wall or use heavy-duty adhesive strips. No wires. No drilling into electrical boxes. You can put them up in ten minutes. The downside is the maintenance. You’ll need to recharge or replace batteries every few months, depending on usage. Some newer models have motion sensors that turn the light on only when someone is nearby, which saves battery life significantly. Others have remote controls or app connectivity, adding a layer of convenience that bridges the gap between battery and hardwired.
There’s also a third option: plug-in lights. These offer a middle ground. They provide consistent power without the need for hardwiring, but you have to manage the cord. You can run the cord down the wall and plug it into an outlet, hiding it behind furniture or using cord covers. It’s a good compromise if you have an outlet nearby and don’t want to deal with batteries, but it’s not as clean-looking as hardwired. Choose based on your tolerance for visible cords versus battery maintenance.
Style and Finish: Matching Your Home’s Vibe
Lighting isn’t just functional; it’s decorative. The finish of your picture light should complement both the art frame and the room’s decor. In 2026, we’re seeing a move away from shiny, polished brass toward more muted, textured finishes. Matte black, brushed nickel, aged bronze, and satin gold are popular choices. These finishes feel contemporary and sophisticated, blending seamlessly with modern and transitional interiors.
If your room has a lot of warm wood tones and traditional furniture, an aged bronze or oil-rubbed bronze light might feel right at home. It adds a touch of history and warmth. For modern, minimalist spaces with clean lines and neutral colors, matte black or brushed nickel works beautifully. It disappears into the background, letting the art stand out. Don’t be afraid to mix metals, though. If your door handles are brass but your light fixtures are nickel, it’s okay. Just try to keep the finishes within the same tone family (warm or cool) to maintain cohesion.
Consider the shape of the fixture too. Straight, horizontal bars are classic and work for most rectangular art. Curved or arched arms can add a sculptural element, making the light itself a piece of art. This works well in eclectic or bohemian spaces where you want more visual interest. For gallery walls with multiple pieces, consistency is key. Use the same style and finish for all lights to create a unified look. Mixing different styles can look chaotic unless you’re very skilled at eclecticism.
Also, think about the scale of the room. In a large, high-ceilinged room, you can get away with slightly larger, more substantial fixtures. In a small hallway or bedroom, keep it delicate and understated. The goal is balance. The light should feel like it belongs there, not like an afterthought. Take photos of your wall and hold up different options (many online retailers have AR tools for this) to see what looks best before you commit. It saves returns and headaches.
Once your lights are up, you want them to stay that way. Maintenance varies greatly between battery and hardwired options. Hardwired lights are essentially set-and-forget. You might need to dust them occasionally, and if you use LED bulbs, they could last for years without replacement. Just make sure to use dimmable bulbs if you have them on a dimmer switch, otherwise, they might flicker or buzz. It’s a small detail that makes a big difference in long-term satisfaction.
Battery-operated lights require a bit more attention. If you choose non-rechargeable batteries, you’ll be buying replacements regularly. This can get expensive and wasteful over time. Opt for rechargeable models with USB-C charging ports. They’re more eco-friendly and cost-effective in the long run. Set a reminder on your phone to check them once a month. Many modern lights have indicator lights that tell you when the battery is low, which helps prevent unexpected outages.
Cleanliness is another factor. Dust accumulates on light fixtures, reducing their brightness and making them look dingy. Wipe them down with a soft, dry cloth every few weeks. Avoid harsh chemicals, especially on finished metals, as they can strip the coating. For glass lenses or shades, use a gentle glass cleaner. Keeping your lights clean ensures they perform at their best and continue to look professional.
Finally, consider the longevity of the technology. LED technology is improving rapidly. In 2026, LEDs are more efficient and longer-lasting than ever. When buying, look for reputable brands that offer warranties. Cheap, no-name brands might save you money upfront but could fail within months. Invest in quality. Good lighting is an investment in your home’s ambiance and your enjoyment of your art. It’s worth doing it right the first time.
So, where does this leave you? Whether you choose the sleek permanence of hardwired lights or the flexible ease of battery-operated ones, the key is intentionality. Don’t just slap a light on the wall. Think about the size, the color, the placement, and the style. Treat your art with the respect it deserves. With the right lighting, your walls won’t just hold pictures. They’ll tell stories. And isn’t that what a home is all about?