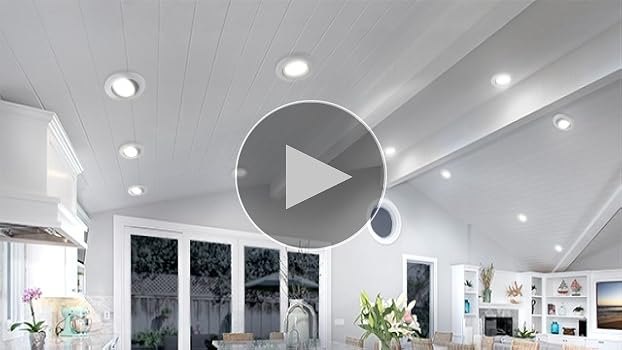
You know that feeling when you walk into a room with soaring, vaulted ceilings? It’s breathtaking. The space feels open, airy, and grand. But then, night falls. You flip the switch, and instead of a warm, inviting glow, you get weird shadows, glare, or just plain darkness in the corners. It’s frustrating, right? Those beautiful angles that look so good in the daylight can become a lighting nightmare if you aren’t careful.
Most folks think they can just pop in a standard recessed light—what pros call a "can light"—and call it a day. But here is the thing: gravity works, and light travels in straight lines. If your ceiling is slanted at a 45-degree angle, a standard light will shoot its beam at that same 45-degree angle. It’ll hit the wall, not the floor. You end up with a bright spot on your drywall and a cave-like feel everywhere else. That’s where gimbals come in. They are the unsung heroes of angled ceiling lighting, allowing you to tilt and aim the light exactly where you need it.
Installing them isn’t rocket science, but it does require a bit more thought than a flat ceiling job. You have to plan for obstructions, choose the right trim, and get the spacing just right. If you mess it up, you’re looking at patching holes and trying again. Nobody wants that. So, let’s break down what you actually need to know to get this right the first time, keeping your sanity and your wallet intact.
Understanding the Gimbal Difference
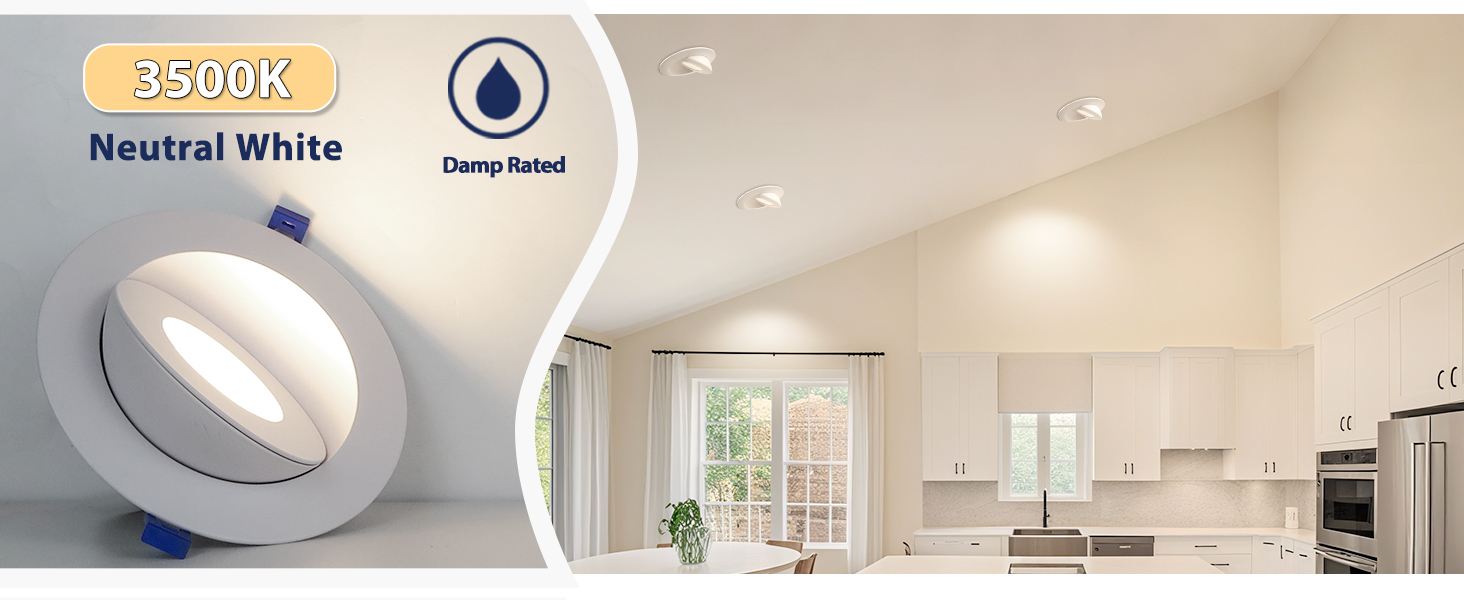
So, what exactly is a gimbal? In simple terms, it’s a adjustable ring or housing inside the recessed light fixture. Think of it like an eyeball. While a standard baffle trim sits flush and fixed, a gimbal trim can tilt, usually up to 30 or 45 degrees, and often rotate 360 degrees. This flexibility is crucial for sloped ceilings because it lets you compensate for the angle of the roofline.
When you install a regular light on a slope, the beam follows the ceiling. With a gimbal, you can tilt the bulb back so the light points straight down toward the floor, or aim it at a piece of art, a kitchen island, or a reading nook. It gives you control. Without that adjustment, you are at the mercy of the architecture. And let’s be honest, architecture doesn’t always care about your lighting needs.
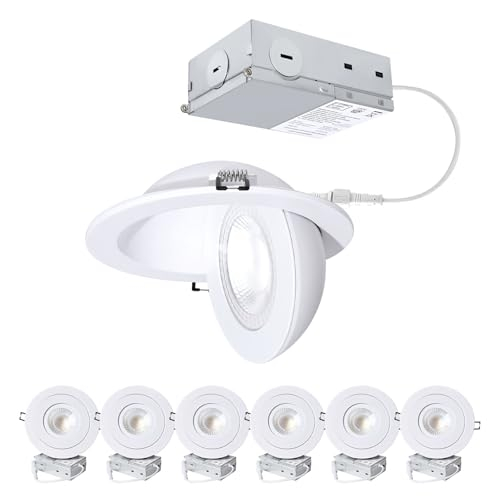
There is a slight difference between a "sloped ceiling adapter" and a true gimbal. An adapter is a wedge-shaped piece that makes the housing sit level within the angled hole, but the light itself might still be fixed. A gimbal, on the other hand, allows the actual light source to move. For most homeowners in 2026, the gimbal kit is the preferred choice because it offers versatility. You can change the direction of the light later if you rearrange furniture. It’s future-proofing your illumination.
Planning Your Layout and Spacing
Before you cut a single hole, you need a plan. This is where most DIYers stumble. They start drilling without thinking about where the light actually needs to go. On a flat ceiling, a common rule of thumb is to space lights half the distance of the ceiling height apart. But on a vaulted ceiling? That rule goes out the window. You have to account for the slope.
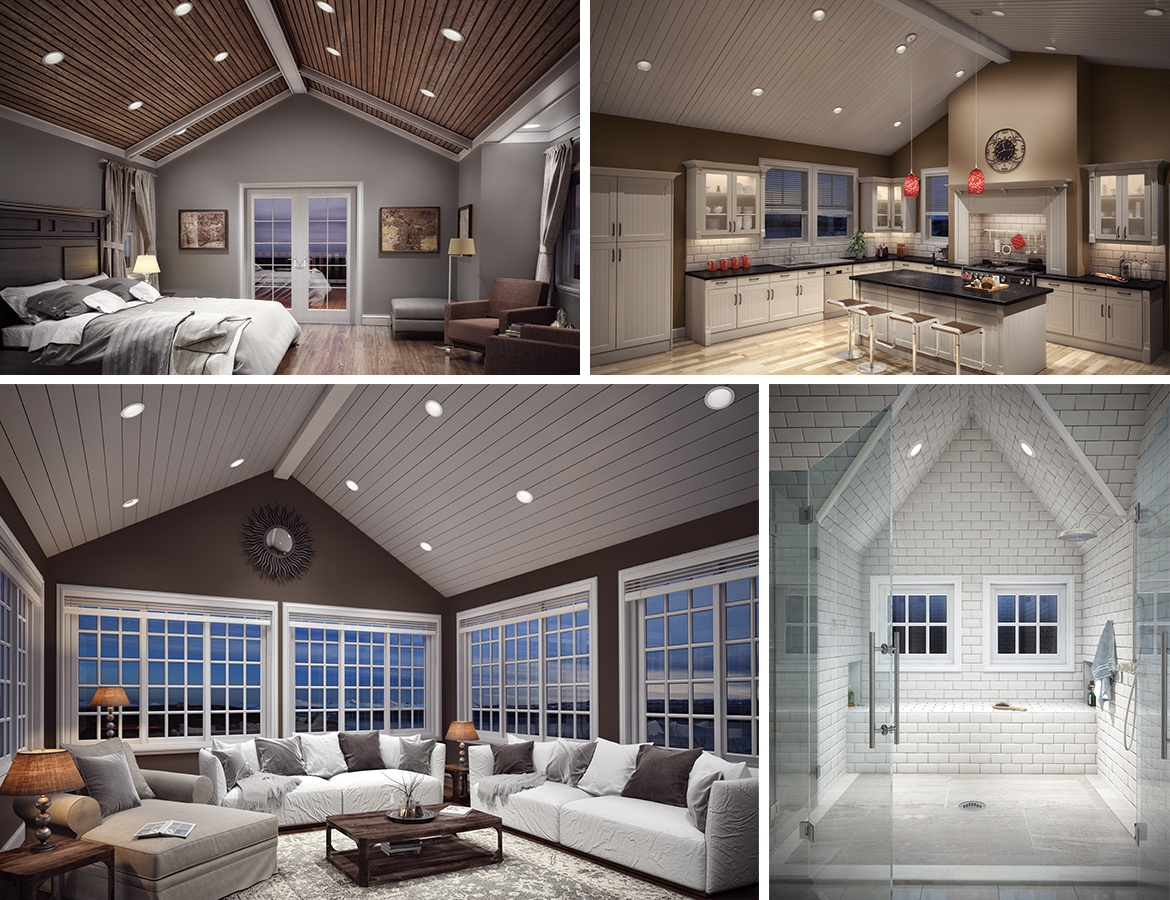
Start by identifying the "peak" or the highest point of your ceiling. You generally want to avoid placing lights too close to the peak unless you are specifically trying to wash the ceiling with light (which can look cool, but uses more fixtures). Instead, focus on the living areas below. Where do you need task lighting? Where do you want ambient glow? Map this out on paper or use a simple app.
Spacing is tricky because the ceiling height changes as you move across the room. If you space them evenly along the slope, the light coverage on the floor will be uneven. The lights near the lower wall will cast light further into the room, while those near the peak might cluster together. A good strategy is to stagger your lights. Don’t just put them in a straight line. Offset them to create a diamond pattern or a scattered look that covers dark spots. Remember, you can always add more, but you can’t easily remove a hole.
Also, consider the beam angle of the bulbs you plan to use. A narrow beam (like 25 degrees) is great for highlighting artwork but terrible for general lighting. A wider beam (40 to 60 degrees) is better for filling the room. Since gimbals allow you to aim, you can mix and match. Use narrower beams for accents and wider ones for general wash. Just make sure you buy bulbs that fit the housing and have the right color temperature. 2700K to 3000K is usually the sweet spot for a cozy home vibe.
Checking for Obstructions and Safety
Here is a tip from the pros, like Heath Eastman from This Old House: always check what’s inside the ceiling before you cut. Angled ceilings are often part of a roof structure, which means they are packed with rafters, trusses, wiring, and ductwork. Cutting blindly is a recipe for disaster. You could slice through a wire, puncture an HVAC duct, or weaken a structural beam.
How do you check? If you have an attic above the room, crawl up there. It’s dusty and hot, but it’s worth it. Shine a flashlight down where you plan to drill. Look for clear paths between the rafters. Measure the distance from the edge of the room to ensure your light won’t hit a truss. If you don’t have attic access, you’re flying a bit blind. In this case, use a stud finder that can detect live wires and metal. Drill small pilot holes first to probe the area.
Safety ratings matter too. You’ll see terms like IC-rated and Non-IC rated. IC stands for "Insulation Contact." If your ceiling has insulation touching the housing (which is common in attics), you MUST use IC-rated fixtures. They are designed to dissipate heat safely so they don’t start a fire. Non-IC fixtures need air space around them. Given that sloped ceilings often have limited space between the drywall and the roof deck, IC-rated is usually the safer bet. Don’t skimp on this. Fire safety isn’t something you want to gamble on.
Also, check your local electrical codes. In 2026, many regions have updated requirements for energy efficiency and safety. Some areas require LED-only fixtures or specific dimmer compatibility. A quick call to your local building department can save you from failing an inspection later. It’s a small step that adds peace of mind.
Choosing the Right Fixture and Trim
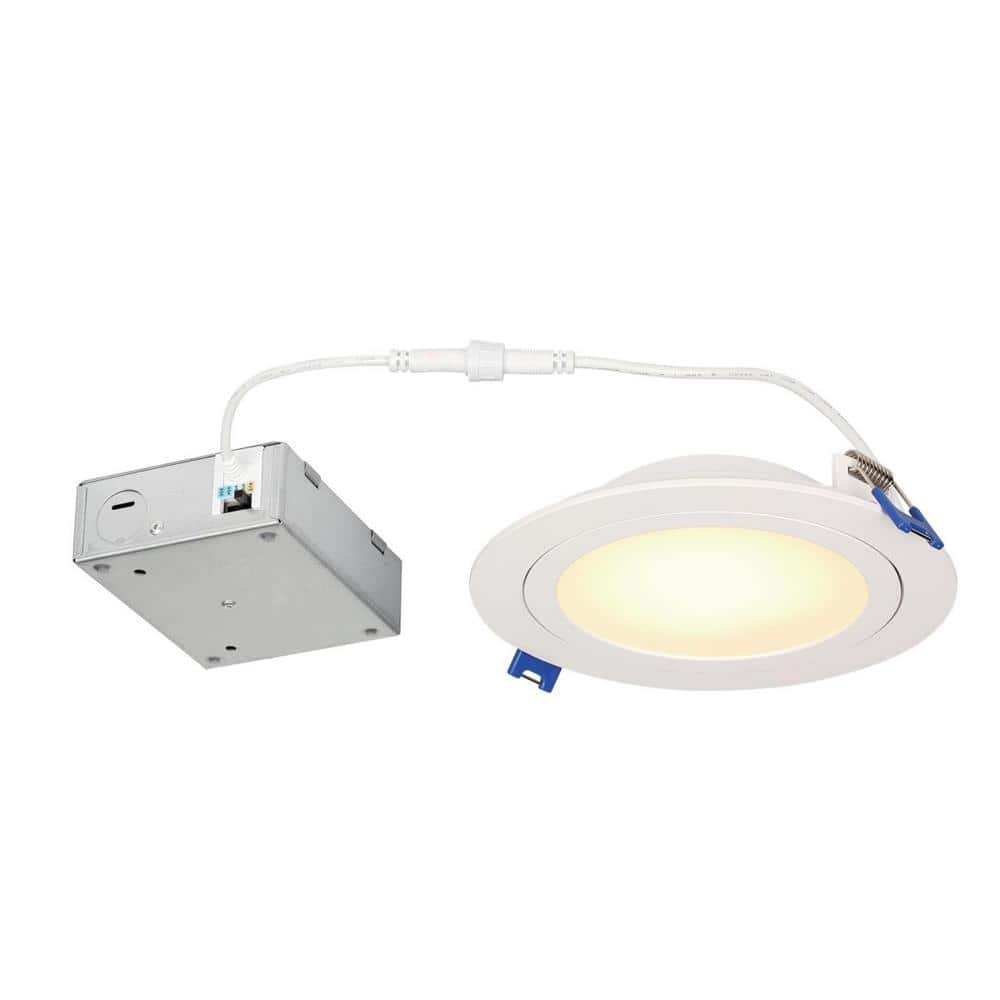
Not all gimbals are created equal. When you’re shopping, you’ll see a dizzying array of options. Some are old-school "can" housings that require a separate trim kit. Others are modern, slim LED integrated units where the light source and the housing are one piece. For retrofits (adding lights to an existing ceiling), the slim LED gimbals are incredibly popular. They are easy to install, require no housing box, and fit into tight spaces.
Look for features like smooth tilt mechanisms. Cheap gimbals can feel stiff or click into place, which makes aiming difficult. You want something that moves smoothly and stays put once you set it. Also, consider the finish. White is standard, but if you have dark ceilings, black trims can disappear nicely. The goal is for the fixture to recede into the background, letting the light do the talking.
Color temperature control is another big trend in 2026. Many new gimbal kits come with tunable white LEDs, allowing you to shift from warm white (cozy) to cool white (energizing) via a remote or smart home app. This is huge for vaulted spaces because the light quality changes how the height of the room feels. Warmer light makes high ceilings feel more intimate; cooler light emphasizes the volume. Having that option built-in saves you from buying different bulbs later.
Make sure the fixture is compatible with your dimmer switch. LED gimbals can flicker or buzz if paired with an old incandescent dimmer. Look for "ELV" or "LED-compatible" dimmers. Brands often list compatible dimmers on the box. Take a photo of that list when you’re at the store. It’s a small detail that prevents a lot of headaches down the road. And honestly, nobody wants a buzzing light. It drives you crazy after a week.
Installation Tips for a Clean Finish
Okay, you’ve got your plan, your fixtures, and you’ve checked for wires. Now it’s time to cut. If you’re working with drywall, use a hole saw attachment for your drill. Match the size exactly to the manufacturer’s template. Cut cleanly. Ragged edges make the trim sit unevenly, and you’ll see gaps. Nobody likes gaps.
When inserting the gimbal housing, pay attention to the orientation. Most sloped-ceiling gimbals have a specific "up" direction. The tilt mechanism usually works best when aligned with the slope. If you install it sideways, you might not get the full range of motion you need to point the light down. Read the instructions. I know, it’s boring, but they tell you which way the clip faces.
Wiring is the next step. Turn off the power at the breaker. Double-check it with a voltage tester. Never trust the switch alone. Connect the black wire to black, white to white, and ground to ground. Use wire nuts and tuck them neatly into the junction box. If you’re using retrofit slim LEDs, they often have spring-loaded clips that grab the backside of the drywall. Push them in firmly until they snap. You should hear a satisfying click.
Once the physical installation is done, it’s time to aim. This is the fun part. Turn the power back on. Stand in the middle of the room. Adjust each gimbal so the light hits the floor or the specific feature you want to highlight. Step back. Look for hotspots or dark corners. Tweak the angles. It’s like directing a play; you’re setting the stage. Make sure the trim is flush against the ceiling. If it’s hanging loose, the springs might not be engaged properly. Fix it now, before you paint or clean up.
Even with careful planning, things can go wrong. One common issue is glare. If you can see the actual LED chip or the reflector from standing position, it’s too bright in your eyes. This happens if the gimbal is tilted too far toward the viewer. Adjust the angle slightly away from the main seating area. You want to see the effect of the light, not the source of it. Baffle trims with black interiors help reduce this, so consider swapping trims if glare persists.
Another problem is uneven lighting. You might find that one side of the room is bright and the other is dim. This often happens if the spacing wasn’t calculated correctly for the slope. You can’t easily move the holes, but you can adjust the beam angles. Try widening the beam on the dim side by using a wider-angle bulb or tilting the gimbal to spread the light more. Sometimes, adding a floor lamp or a sconce in the dark corner is easier than cutting new holes. Don’t be afraid to mix lighting types.
Flickering is another complaint. If your lights flicker, it’s almost always a dimmer incompatibility. Check if your dimmer is rated for the total wattage of all the lights on the circuit. LEDs use very little power, so some old dimmers don’t register them properly. Replacing the dimmer with a modern LED-specific model usually fixes this instantly. It’s a cheap fix compared to rewiring.
Lastly, if the trim falls out or hangs loose, the retention clips might be bent or broken. This can happen if you forced the unit in. Remove it gently and inspect the clips. If they are damaged, you might need a new trim kit. Don’t try to tape it or glue it. That’s a temporary fix that will fail. Do it right, or it’ll bug you every time you look up. And believe me, you look up at vaulted ceilings a lot.
Getting gimbal lights right on an angled ceiling takes a bit more effort than a standard flat room. But the payoff is huge. You transform a potentially dark, cavernous space into a warm, functional, and beautiful part of your home. It’s about more than just seeing; it’s about feeling comfortable in your space.
Remember to plan your layout carefully, respecting the unique geometry of the slope. Check for those hidden obstacles in the ceiling cavity—it’s unglamorous work but essential for safety. Choose IC-rated fixtures if insulation is present, and pick gimbals that offer smooth, flexible aiming. Take your time with the installation, ensuring clean cuts and secure connections. And don’t skip the aiming phase; it’s where the magic happens.
By following these steps, you’ll avoid the common pitfalls that plague many DIY projects. You’ll end up with lighting that enhances the architecture rather than fighting against it. So grab your drill, check your breaker, and start aiming. Your vaulted ceiling deserves to shine, and now you have the tools to make it happen.