You pull the dusty cardboard box from the back of the closet. It’s light, maybe a bit battered at the corners. Inside, a jumble of snapshots spills out—black and white portraits, faded color prints from the 70s, maybe a few Polaroids stuck together. You smile, picking up a photo of your grandparents on their wedding day. But wait. Why are their faces turning yellow? Why is that corner sticking to the next picture?
It’s heartbreaking, isn’t it? Those moments, frozen in time, are literally slipping away. And the culprit isn’t just age. It’s the box itself. For decades, we’ve been told to toss our precious memories into whatever container fits. Shoeboxes, cereal boxes, old Tupperware. It feels safe. It feels organized. But in reality, you’re creating a chemical cocktail that eats away at history. By 2026, conservationists have seen a surge in damaged archives from home collections, and the reason is almost always the same: improper storage.
Let’s talk about what’s really happening to those pictures. And more importantly, let’s fix it before it’s too late. You don’t need a museum budget. You just need to know the rules.
The Chemistry of Decay: What’s Actually Happening
That shoebox isn’t just cardboard. It’s a mix of wood pulp, acids, and lignin. Lignin is a natural polymer found in wood that gives trees their structure. Sounds harmless, right? Wrong. Over time, lignin breaks down and releases acids. These acids migrate into your photos, causing them to turn yellow, brittle, and eventually crumble. It’s called "acid migration," and it’s a slow-motion disaster.
Then there’s the humidity. Cardboard is porous. It breathes. When the air gets damp, the box absorbs moisture. When it gets dry, the box releases it. This constant fluctuation creates a microclimate inside the box that encourages mold growth and warping. I’ve seen photos from the 1950s that look like they’ve been through a flood, all because they sat in a basement shoebox for thirty years. The emulsion—the layer that holds the image—starts to lift off the paper base. Once that happens, there’s no going back.
And don’t forget the adhesives. Many old boxes have glue residues or tape marks. These contain volatile organic compounds (VOCs) that off-gas over time. These gases react with the silver halides in black and white photos or the dye layers in color prints. The result? Stains, discoloration, and fading. It’s not just dirt; it’s a chemical reaction eating your memories alive.
The Enemies of Memory: Light, Heat, and Humidity
Even if you swap the shoebox for something better, you still have to deal with the environment. Light is the most obvious enemy. Ultraviolet (UV) rays break down the chemical bonds in photographic dyes. That’s why photos left on a windowsill fade so quickly. But even indirect light causes damage over time. It’s cumulative. Every hour of exposure adds up.
Heat accelerates every bad process. For every 10 degrees Fahrenheit increase in temperature, the rate of chemical degradation roughly doubles. So, storing photos in an attic or a garage? That’s basically putting them in an oven. In 2024, a study by the Image Permanence Institute showed that photos stored at 75°F degraded twice as fast as those kept at 65°F. It’s a stark reminder that cool is better.
Humidity is the silent killer. High humidity promotes mold and mildew. Low humidity makes paper brittle and prone to cracking. The ideal range is between 30% and 50% relative humidity. But most homes don’t maintain this consistently. Basements are often too damp. Attics are too dry and hot. The living room might be okay, but only if it’s away from vents and windows. Consistency is key. Fluctuations are worse than a steady, slightly imperfect condition.
The Myth of the "Safe" Plastic Sleeve
So, you throw out the shoebox and buy some plastic sleeves from the dollar store. Problem solved? Not quite. Not all plastics are created equal. In fact, some are worse than cardboard. Polyvinyl chloride (PVC) is a common plastic used in cheap photo albums and sleeves. It contains plasticizers that make it flexible. Over time, these plasticizers leach out and stick to your photos. They create a sticky, gooey mess that can dissolve the image layer.
You might notice a rainbow sheen on old photos stored in PVC. That’s the plasticizer migrating. It’s irreversible. Once that happens, the photo is essentially gone. Even if you clean it, the damage is done. This is why archivists scream "NO PVC!" It’s the number one mistake people make when trying to "upgrade" their storage.
Instead, you need archival-quality plastics. Look for polypropylene, polyester (Mylar), or polyethylene. These are inert, meaning they don’t react with the photos. They don’t off-gas. They don’t get sticky. They’re clear, durable, and safe. But here’s the catch: they cost more. A pack of PVC sleeves might be $2. A pack of archival sleeves might be $10. It’s a small price to pay for preservation, but it’s a barrier for many. That’s why education is so important. People need to know what to look for.
The Gold Standard: Archival Materials Explained
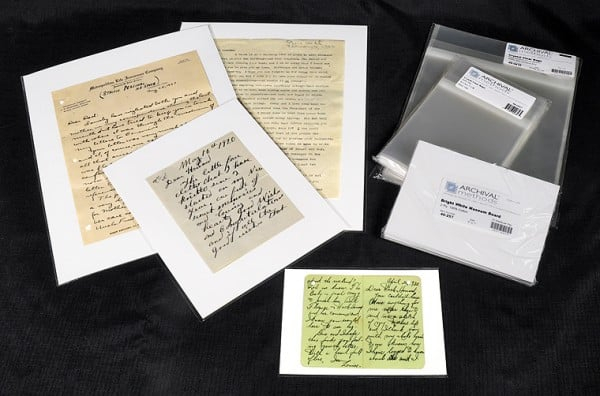
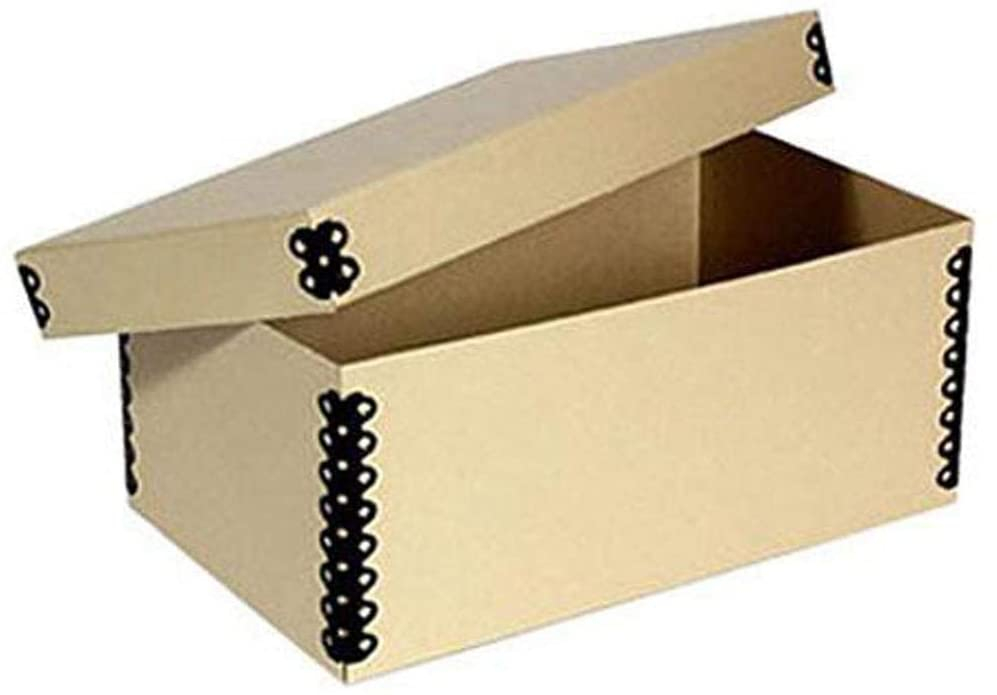
If you want to do it right, you need archival-grade materials. What does "archival" actually mean? It means the material has passed rigorous testing for longevity and chemical stability. It’s acid-free, lignin-free, and buffered to neutralize any acids that might form over time. For paper products, like photo mounts or boxes, look for the term "acid-free" and "lignin-free."
For plastic enclosures, look for the ISO 18902 standard. This international standard specifies the requirements for materials used in housing photographic materials. If a product meets this standard, it’s safe. You’ll often see this mentioned on packaging from reputable archival supply companies. Don’t trust vague terms like "photo-safe" or "memory-keeper." These aren’t regulated. Anyone can slap that label on a box of PVC sleeves.
Another option is paper envelopes made from alpha-cellulose. This is a pure form of cellulose that’s highly stable. It’s acid-free and doesn’t contain lignin. These envelopes are breathable, which helps regulate humidity slightly. They’re also opaque, which protects photos from light. For black and white photos, this is often the preferred method. Color photos can go in either paper or plastic, but plastic allows you to see the image without handling it.
Practical Steps: How to Rescue Your Photos Today
Okay, enough theory. What do you actually do? Start by gathering your supplies. You’ll need archival boxes, acid-free tissue paper, and archival sleeves or envelopes. You can find these online or at specialty art stores. Don’t skimp. Buy from reputable brands like Hollinger Metal Edge, Gaylord Archival, or University Products.
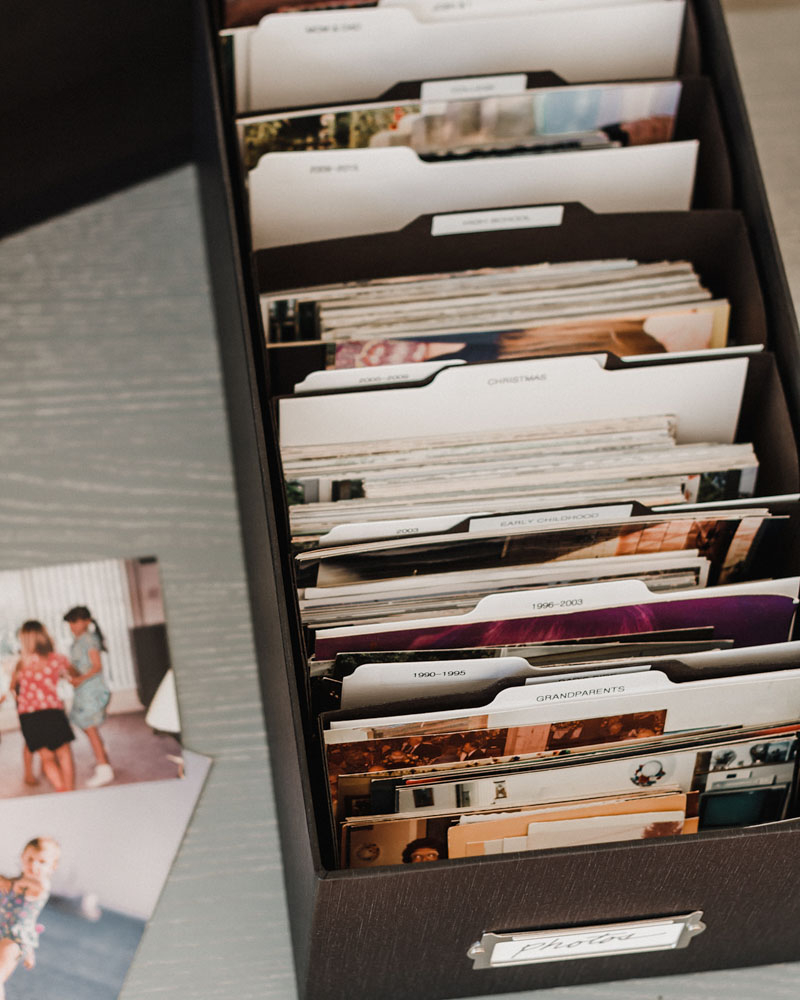
Next, sort your photos. Remove any that are already stuck together. Don’t force them apart. You might need to consult a conservator for that. Separate photos by size and type. Black and white, color, Polaroids. Keep them grouped. This makes it easier to choose the right enclosure.
Handle your photos with clean, dry hands. Or better yet, wear cotton gloves. Oils from your skin can damage the emulsion. Pick up photos by the edges. Never touch the surface. Place each photo in an archival sleeve or envelope. If using sleeves, make sure they’re the right size. Loose sleeves can cause bending. Tight sleeves can cause creasing.
Finally, store the boxes in a cool, dry, dark place. A closet on an interior wall is ideal. Avoid basements, attics, and garages. Keep the boxes off the floor to protect against potential water damage. Label the boxes clearly. Use pencil or archival ink. Regular ballpoint pen ink can fade or bleed.
While physical preservation is crucial, digital backup is your insurance policy. In 2026, scanning technology is better and cheaper than ever. You don’t need a professional scanner for every photo. A good flatbed scanner works fine for most prints. For larger collections, consider a high-speed document scanner with a photo feed.
Scan at a high resolution. 300 dots per inch (dpi) is the minimum for standard prints. 600 dpi is better for smaller photos or if you plan to enlarge them. Save your files in TIFF format for archival purposes. TIFFs are lossless, meaning they don’t compress the data. JPEGs are smaller but lose quality every time you save them. Use JPEGs for sharing, but keep the TIFFs as your master copies.
Store your digital files in multiple locations. The 3-2-1 rule is a good guideline: three copies of your data, on two different types of media, with one copy offsite. For example, keep one copy on your computer, one on an external hard drive, and one in cloud storage. Cloud services like Backblaze or Carbonite offer automatic backup, which is handy. But remember, technology changes. Check your files every few years to make sure they’re still accessible. Migrate them to new formats if needed.
Preserving your photos isn’t just about saving paper and ink. It’s about saving stories. It’s about keeping a connection to the people who came before us. When you hold a photo of your great-grandmother, you’re holding a piece of her life. Don’t let that piece disappear because of a cardboard box. Take action today. Your future self will thank you. And so will the generations after that. It’s not too late. Start small. Pick one box. Sort one pile. You’ve got this.