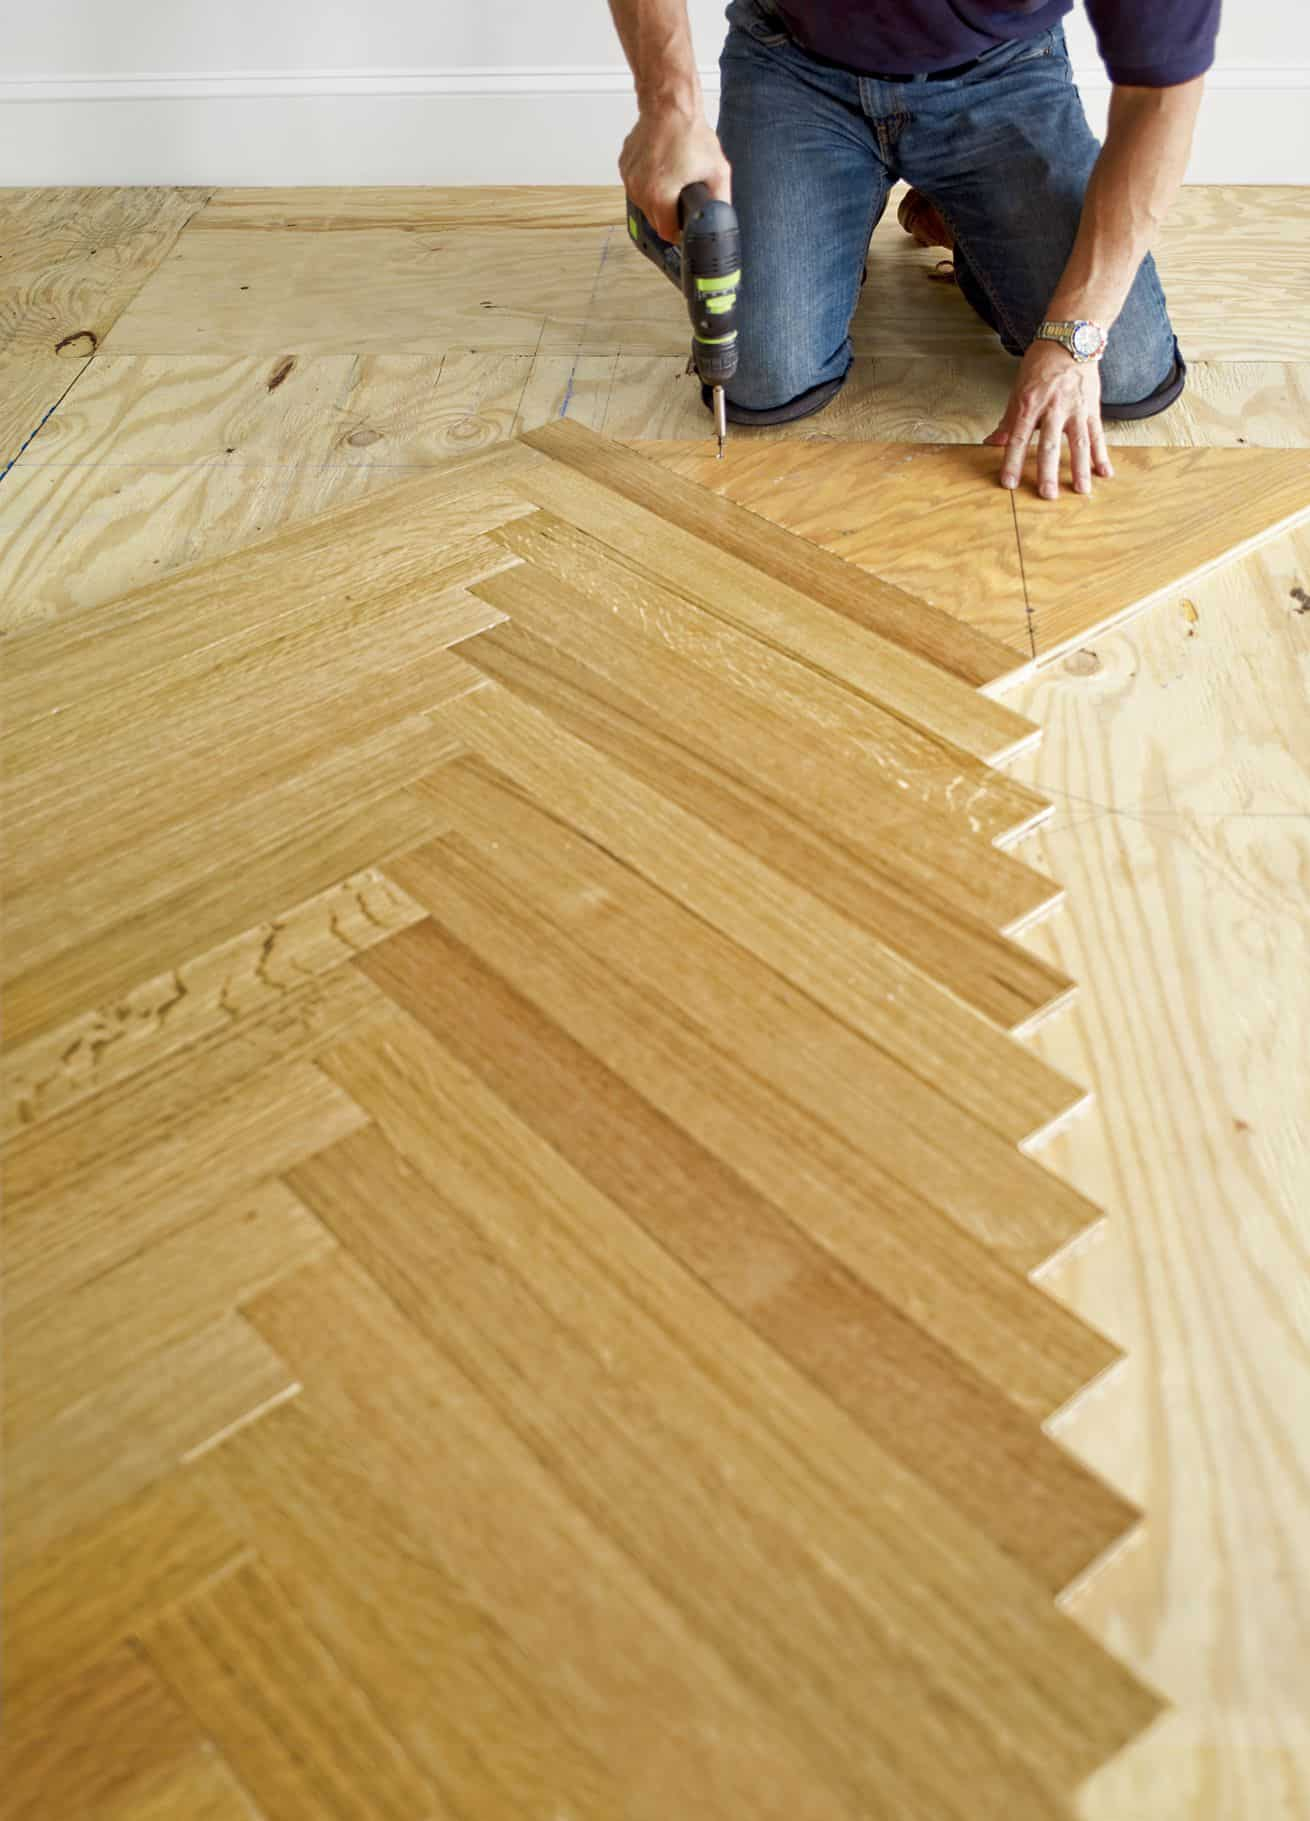
You know that feeling when you walk into a room and the floor just… sings? It’s not loud. It doesn’t shout for attention. But your eyes catch the rhythm, the zig-zag dance of wood or tile, and suddenly the space feels alive. That’s the herringbone promise. It’s classic. It’s chic. It screams "I have taste." But here’s the dirty secret nobody puts in the brochure: getting there is a nightmare.
Seriously. It’s messy. It’s stressful. And if you ask any seasoned contractor, they’ll probably sigh before telling you it’s the one pattern that keeps them up at night. We’re talking about a design that looks simple from afar but is a geometric minefield up close. One tiny slip, one degree off, and the whole illusion shatters. It’s like trying to knit a sweater while riding a unicycle. Possible? Sure. Easy? Absolutely not.
So why do we keep doing it? Because when it’s right, it’s magic. But to get that magic, you have to respect the chaos. You have to understand why even the pros sweat bullets over these planks. Let’s pull back the curtain on the struggle and figure out how to actually get it right, without losing your mind or your budget in the process.
The Geometry Trap: Why Angles Don’t Lie
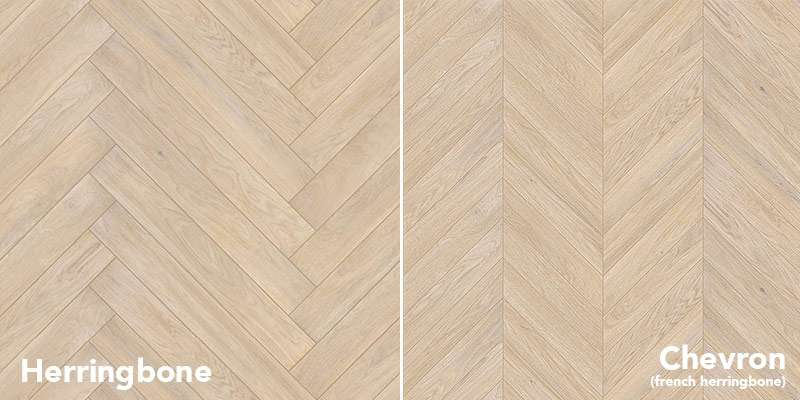
Let’s start with the basics. Herringbone isn’t just laying boards down in a line. It’s a 90-degree intersection of rectangular pieces. Sounds simple, right? Wrong. The problem is that human eyes are incredibly good at spotting patterns. And they are even better at spotting when a pattern breaks.
When you lay a standard straight plank floor, a slight deviation might go unnoticed. The eye follows the long lines. But with herringbone, every single piece connects to another at a precise angle. If your first row is off by even a fraction of an inch, that error compounds. By the time you reach the other side of the room, you’re looking at a gap wide enough to lose a coin in. Or worse, the pattern starts to look like it’s drifting, like a ship losing its rudder.
This is where the math gets tricky. You aren’t just cutting wood; you’re managing cumulative error. In 2026, we have laser levels and digital calipers, but they can’t fix a bad starting point. The "geometry trap" is that the pattern demands perfection from step one. There is no fudging it later. You can’t just "adjust as you go" because the adjustments will create visible jagged lines that ruin the flow. It requires a level of precision that feels unnatural for a construction site, which is usually a place of rough approximations and hammering things into place.
The Subfloor Secret Nobody Talks About
Here’s a truth bomb: your beautiful expensive wood is only as good as what’s underneath it. Most people focus on the finish, the stain, the grain. They forget the subfloor. But for herringbone, the subfloor is god. If it’s not flat, clean, and rigid, you are doomed.
Why? Because herringbone pieces are shorter and interlocked. They don’t have the long-span stability of a straight plank. If there’s a dip in the concrete or a squeaky spot in the plywood, the herringbone blocks will shift. They’ll click. They’ll pop. And visually, the shadows created by uneven joints will make the floor look cheap, no matter how much you paid for the material. Floorboys, a leading voice in LVT installation, points out that getting the subfloor right is the difference between a stunning job and a headache waiting to happen.
In the past, installers might have slapped down some underlayment and hoped for the best. Not anymore. Today, self-leveling compounds are non-negotiable for many pros. You need a surface that is flat within 1/8 inch over 10 feet. That’s tight. Really tight. It means grinding down high spots and filling low ones until the floor is essentially a sheet of glass. It adds time. It adds cost. But skipping this step is like building a castle on sand. It might look good for a week, but gravity always wins.
The Layout Nightmare: Finding Your Center
Okay, so your subfloor is perfect. Now what? You can’t just start in a corner. That’s amateur hour. If you start in a corner, you’ll end up with sliver-thin cuts on the opposite wall, which looks terrible and is structurally weak. You have to find the center of the room. But not just the geometric center—the visual center.
This is where things get subjective and stressful. Do you center on the fireplace? The main entryway? The largest window? Every choice changes how the pattern falls at the edges. A pro will spend hours dry-laying the pattern. Literally hours. They’ll snap chalk lines, lay out loose boards, step back, squint, move a line, and step back again. It’s tedious. It’s boring. But it’s critical.
The goal is to balance the cut pieces on all sides. You want the border cuts to be substantial, not tiny scraps. If you mess up the layout, you’ll find yourself halfway through the room realizing that the left wall has huge chunks and the right wall has nothing but splinters. Then you have to rip it all up. Start over. Cry a little. This is why labor costs for herringbone are higher. You’re paying for the thinking time, not just the nailing time. As noted by experts at This Old House, this is the pattern where even the pros mess up the layout, leading to costly redo’s.
Material Matters: Wood vs. Tile vs. LVT
Not all herringbone is created equal. The material you choose changes the difficulty level significantly. Hardwood is the traditional choice, but it’s also the most unforgiving. Wood moves. It expands with humidity and shrinks with dryness. In a herringbone pattern, this movement is restricted because the pieces are locked together. This can lead to cupping or gapping if the acclimation isn’t perfect. You have to let the wood sit in the room for weeks before you even touch it.
Tile is different. It’s rigid. It doesn’t move. But it’s heavy and brittle. Cutting tile at 45-degree angles (for the borders) is tricky. One wrong move with the wet saw and you’ve cracked a pricey piece of marble. Plus, tile requires grout. And keeping grout lines consistent in a zig-zag pattern is a test of patience. If the spacers slip, the lines wander.
Then there’s LVT (Luxury Vinyl Tile). It’s become huge in 2026 because it’s forgiving. It clicks together, it’s water-resistant, and it’s easier to cut. But here’s the catch: because it’s flexible, it shows every subfloor imperfection. And if the locking mechanisms aren’t aligned perfectly during installation, the seams can peel up over time. Each material has its own personality, its own quirks. Treating them all the same is a recipe for disaster. You have to respect the material.
The Human Factor: Fatigue and Focus
Let’s talk about the installer. Because at the end of the day, a human being is doing this work. And humans get tired. Humans get distracted. Herringbone installation is mentally exhausting. It requires constant vigilance. You’re checking angles, checking alignment, checking spacing, over and over again. Thousands of times.
By hour six, your eyes blur. Your back hurts. You might miss a tiny gap. You might tap a piece too hard and damage the edge. This is why rushing is the enemy. You can’t speed-run a herringbone floor. It needs breaks. It needs fresh eyes. Some crews rotate tasks to keep everyone sharp. Others insist on stopping early in the day to avoid fatigue-induced mistakes.
There’s also the pressure. Clients are watching. They’ve paid a premium for this "luxury" look. They expect perfection. That pressure can lead to anxiety, which leads to shaky hands. It’s a psychological game as much as a physical one. Acknowledging this human element is key. It’s okay to slow down. It’s okay to double-check. In fact, it’s necessary. As one flooring clarity article noted, fixing a bad job is far more expensive than taking the time to do it right the first time.
Small Mistakes, Big Consequences
What’s the "one tiny mistake" that ruins everything? Often, it’s the starter row. If the first line isn’t perfectly square to your reference line, the entire floor will skew. It’s like the butterfly effect. A small flutter in the beginning becomes a hurricane at the end.
Another common blunder is inconsistent spacing. Whether you’re using spacers for tile or leaving expansion gaps for wood, consistency is king. If you vary the gap by even a millimeter here and there, the pattern loses its crispness. It looks sloppy. It looks DIY. And in the world of high-end design, sloppy is the ultimate sin.
Also, don’t ignore the transitions. Where the herringbone meets the hallway, or the carpet, or the door threshold, you need a plan. Mitered corners are elegant but difficult. T-moldings are easier but can look clunky if not chosen carefully. These details matter. They frame the artwork. If the frame is crooked, the painting doesn’t matter. Pay attention to the edges. That’s where the quality shows.
So, how do you get it right? You start with humility. You accept that this is hard. You hire someone who has done it before, preferably many times. You check their references. You look at their past jobs, specifically the edges and the corners. You invest in the subfloor prep. You take the time to layout the pattern properly.
And then, you breathe. You understand that while the goal is precision, the result is warmth. A herringbone floor brings soul to a room. It connects us to history, to craftsmanship, to beauty. Yes, it’s a struggle. Yes, it’s complex. But that’s part of its value. It’s not mass-produced. It’s made by hand, with care, with attention.
In 2026, we have better tools and better materials, but the core challenge remains the same. It’s about patience and precision. It’s about respecting the geometry. If you can navigate the traps, manage the materials, and support the humans doing the work, you’ll end up with something special. A floor that doesn’t just cover the ground, but elevates the space. And honestly? That’s worth the hassle. Just maybe keep some aspirin handy.