We have all been there. It is 11 PM. You are hungry. You stumble into the kitchen, half-asleep, reaching for a snack. But the pantry? It is a black hole. You fumble around, knocking over a box of crackers or maybe dropping a jar of pickles. The sound echoes in the silence. Frustrating, right?
It does not have to be this way. For years, we accepted that pantries—especially the small, awkward ones tucked into corners or under stairs—were destined to remain dim. Running electrical wiring was too expensive or just plain impossible without tearing down drywall. But things have changed. In 2026, the technology for wireless lighting is better than ever. It is brighter, lasts longer, and looks sleeker. You do not need an electrician. You do not even need a drill, most of the time. You just need a little know-how and the right tools. Let’s fix those dark corners together.
Understanding the Challenge of Corner Spaces
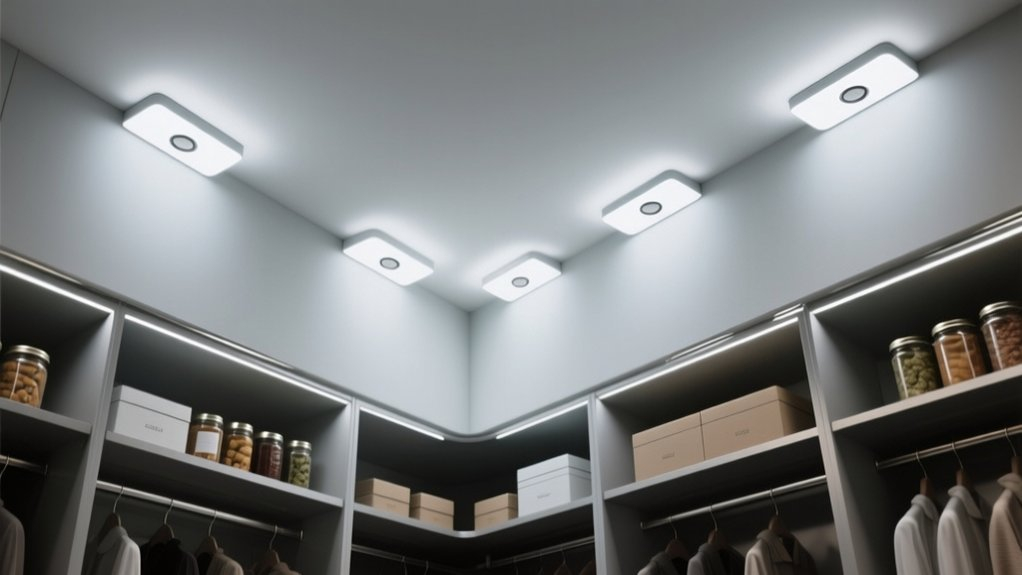
Pantries are weird spaces. They are often deep, narrow, and cluttered. And the corners? They are the worst offenders when it comes to shadows. When you install a single overhead light, it casts long, dark shadows from the shelves themselves. The back corner becomes a mystery zone. You can never quite see if that is the oregano or the thyme until you pull it out into the hallway light.
The problem is compounded by the shape of modern storage. We use bins, baskets, and stackable containers. These items block light. If your light source is too high or too far forward, the stuff in the back stays dark. This is why simply slapping a battery-powered puck light on the ceiling rarely works. It creates a spotlight effect, leaving the edges and corners in gloom. You need illumination that reaches into the crevices.
Furthermore, tight corners often lack flat surfaces. You might have angled walls, exposed studs, or uneven shelving brackets. This makes mounting tricky. Standard adhesive tapes might not stick well to textured paint or dusty wood. Understanding these physical limitations is the first step. You are not just buying a light; you are solving a geometry puzzle. You need light that wraps, bends, or sits low enough to bypass the obstacles.
Choosing the Right Type of Wireless Light
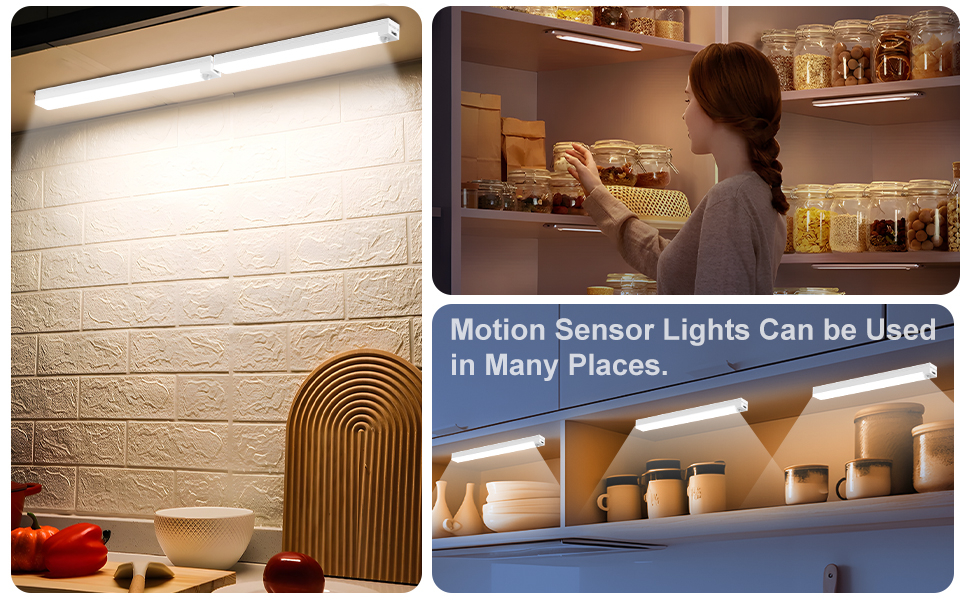
Not all wireless lights are created equal. In the past, you had two choices: cheap, dim battery pucks that died in a week, or expensive hardwired systems. Today, the market is flooded with options. The key is matching the light type to the space. For tight pantry corners, LED strip lights are often the superior choice. Why? Because they are flexible. You can run them along the underside of a shelf, hugging the back wall. This pushes the light source further back, illuminating the items on the shelf below without casting a shadow from the shelf above.
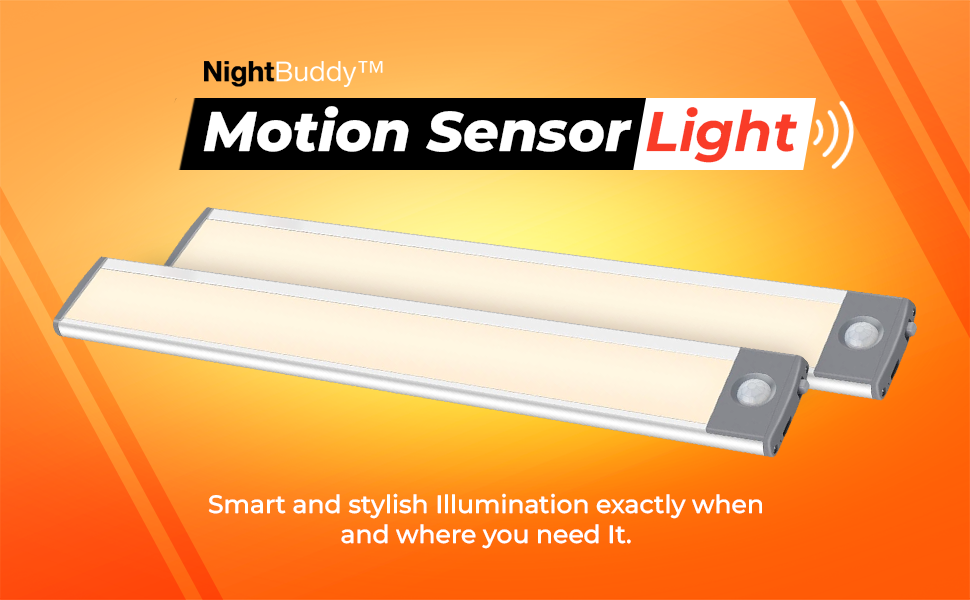
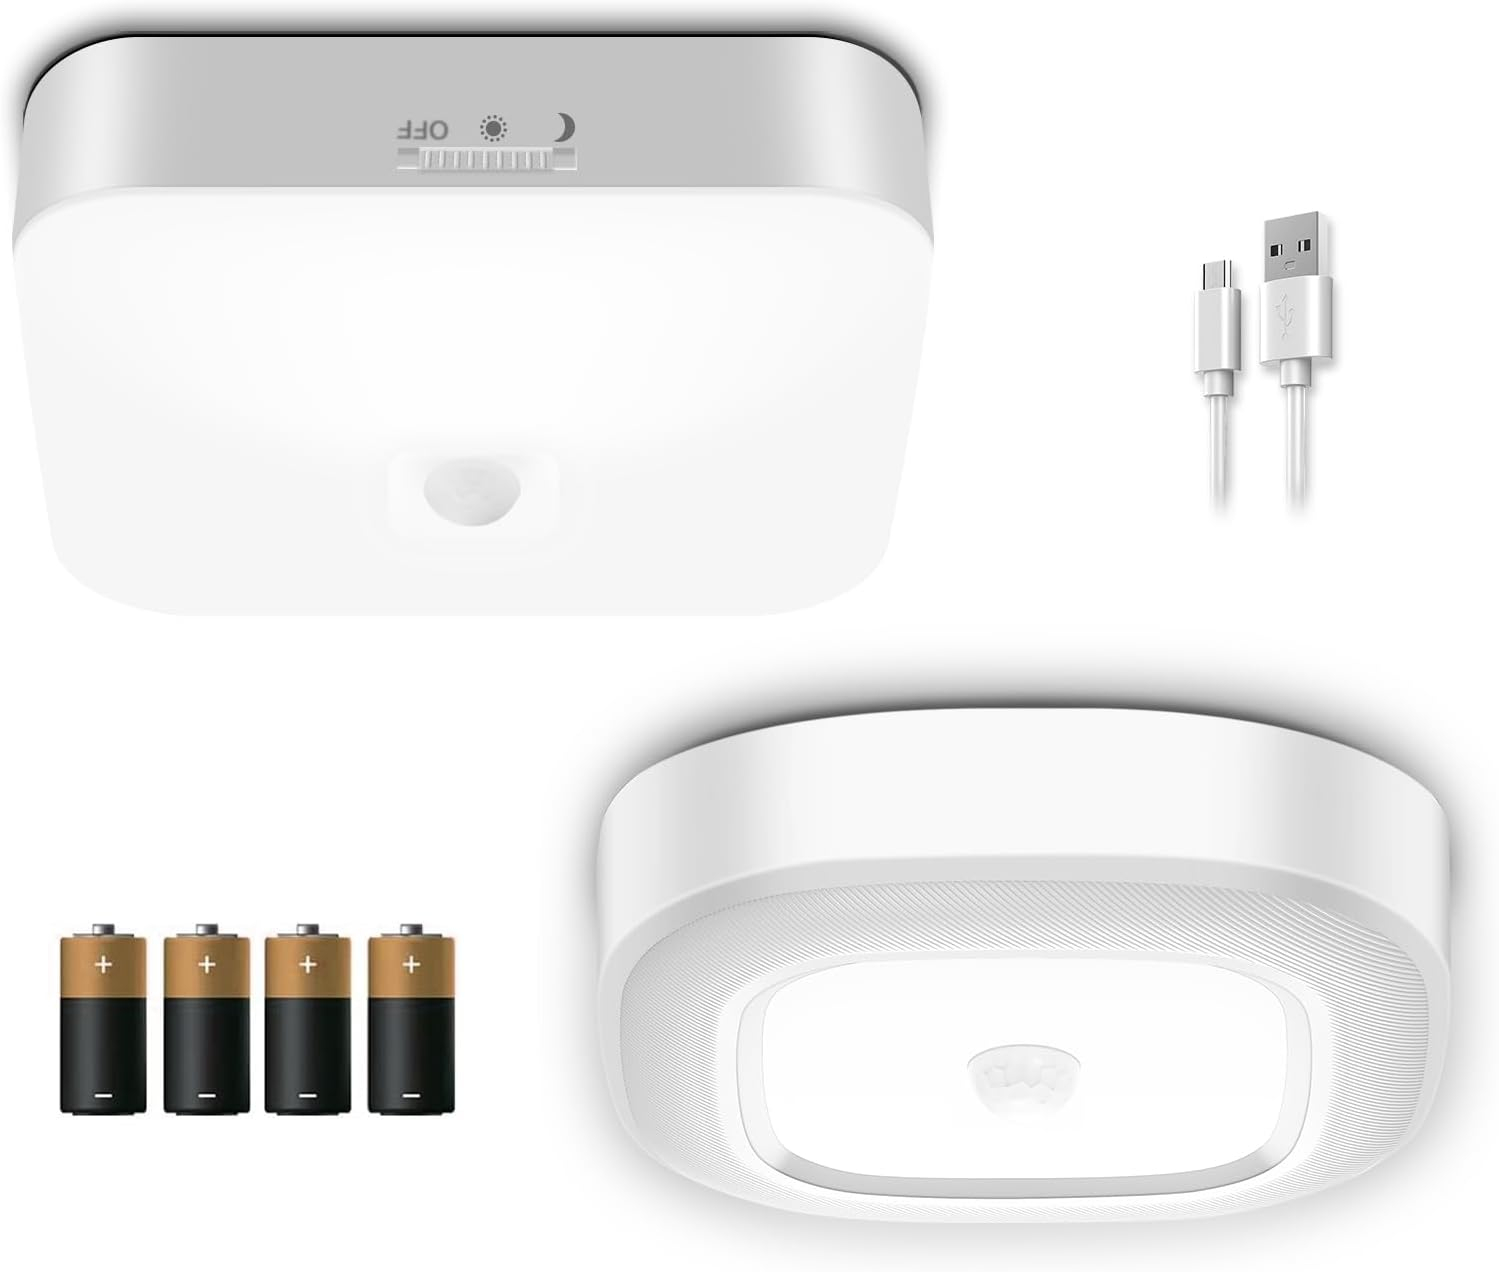
Motion sensor lights are another critical feature to look for. In a pantry, your hands are usually full. You are carrying groceries or pulling out ingredients. You do not want to fumble for a switch. Modern motion sensors in 2026 are highly sensitive and have adjustable timers. They turn on instantly when you step in and fade off gently after you leave. This saves battery life significantly. Look for models with "daylight" sensors too, so they do not turn on if the pantry door is open and the kitchen light is already on.
Rechargeable vs. disposable batteries is the next big decision. Disposable AA or AAA batteries are convenient because you can swap them out instantly. But in a high-traffic area like a pantry, this gets expensive and wasteful. Rechargeable units, typically via USB-C, are the standard now. Many new models allow you to remove the battery pack easily for charging without taking down the entire light fixture. Some even have pass-through charging, meaning you can keep using the light while it plugs in. For a tight corner where access is hard, a long-lasting rechargeable unit is a lifesaver.
Preparation and Surface Cleaning
Here is where most DIY projects fail. Not because the product is bad, but because the surface was dirty. Adhesive backs on LED strips and light bars are strong, but they are not magic. Pantries accumulate dust, flour residue, and grease over time. If you stick a light to a dusty shelf, it will fall down within a month. Maybe not today, maybe not tomorrow, but eventually. And when it falls, it often takes the paint with it.
Start by clearing out the corner completely. Take everything out. Yes, everything. It is a pain, but it is necessary. Once the shelves are bare, take a microfiber cloth and some mild cleaner. Wipe down the area where you plan to mount the lights. If the surface is unfinished wood, consider sanding it lightly to create a smoother base for the adhesive. If it is painted, ensure the paint is not chalking or peeling. Let the surface dry completely. Moisture is the enemy of adhesion.
While you are cleaning, measure twice. Determine exactly where the light needs to go. For corner installations, you want the light to be visible from the entrance but hidden from direct view if possible. Under the front edge of the shelf is common, but for deep corners, running the strip along the side wall or the back corner vertical edge can be more effective. Mark your lines with a pencil. Use a level if you are particular about straight lines, though in a tight, cluttered pantry, function usually trumps perfect aesthetics.
Installation Techniques for Tricky Angles
Installing LED strips in a corner requires a specific technique. You cannot just bend a rigid strip at a 90-degree angle; it will break the circuit or damage the LEDs. Instead, you need to cut and connect or use specialized corner connectors. Most modern LED strips have cut marks every few inches. Measure the distance to the corner, cut the strip at the designated line, and then use a small connector piece to bridge the gap around the corner. This keeps the light continuous and bright.
If you are using rigid light bars instead of strips, you might need to angle them. Some kits come with magnetic mounts that allow you to adjust the angle of the light. This is huge for corners. You can mount the base on the side wall and angle the light bar to shine across the back shelf. This cross-lighting technique eliminates shadows better than direct downward lighting. It bounces light off the back wall and fills the space evenly.
For uneven surfaces, adhesive alone might not hold. In these cases, use small mounting clips. Many LED strip kits include plastic clips that screw or stick into place. If you cannot screw into the shelf (maybe it is glass or thin particle board), use high-strength double-sided mounting tape designed for heavy loads. Brands like 3M VHB tape are excellent for this. Apply the tape to the clip, press firmly for 30 seconds, and let it cure for an hour before attaching the light. Patience here prevents future headaches.
Managing Power and Maintenance
Once the lights are up, you need to think about power management. Even the best rechargeable batteries will die eventually. The goal is to make recharging as effortless as possible. If your pantry is near a kitchen outlet, consider using a long, flat USB cable that can run discreetly along the trim to a hidden power bank or wall adapter. This converts your wireless light into a semi-permanent wired solution without the hassle of actual electrical work.
If you are sticking to pure battery power, check the runtime specs carefully. In 2026, many high-quality motion sensor lights claim runtimes of 3 to 6 months on a single charge. However, this depends heavily on usage. A busy family kitchen pantry will drain batteries faster than a guest coat closet. Look for lights with adjustable sensitivity. Lowering the sensitivity slightly means the light only triggers when someone is fully inside, not when you just walk past the open door. This small tweak can double your battery life.
Maintenance is mostly about keeping the sensors clean. Dust can accumulate on the motion sensor lens, causing it to become less responsive. Every few months, give the sensor a quick wipe with a dry cloth. Also, check the adhesive mounts. Humidity changes in pantries (from storing onions or potatoes) can weaken glue over time. If you notice any sagging, reinforce it immediately. It is easier to fix a loose strip today than to repair a broken LED circuit next week.
Despite our best efforts, things can go wrong. One common issue is inconsistent motion detection. If the light flickers or fails to turn on, check the sensor’s field of view. In tight corners, nearby objects like tall cereal boxes or large appliances might block the sensor. Reposition the light slightly higher or clear the immediate area in front of the sensor. Some sensors also struggle with very slow movements. If you are creeping in for a midnight snack, try waving your hand slightly to trigger it.
Another frequent complaint is glare. If the LEDs are too bright or positioned incorrectly, they can blind you when you open the door. This is especially true with white or glossy shelf surfaces that reflect light. The solution is diffusion. Many LED strips come with a milky white cover that softens the light. If yours did not, you can buy aftermarket diffuser channels. Alternatively, angle the lights away from direct eye level. Pointing them slightly toward the back wall rather than straight down can reduce harsh glare and create a softer, ambient glow.
Finally, there is the issue of color temperature. Nothing kills the vibe of a pantry like sickly blue light. It makes food look unappetizing and feels clinical. Aim for "warm white" or "soft white" bulbs, typically around 2700K to 3000K. This mimics traditional incandescent lighting and makes spices, grains, and canned goods look natural and inviting. If your light allows, adjust the color setting to match the rest of your kitchen. Consistency in lighting design makes the space feel intentional and polished, not just functional.
Lighting a dark pantry corner does not require a major renovation. It just requires a bit of planning and the right wireless tech. By choosing flexible LED strips, prioritizing motion sensors, and preparing your surfaces properly, you can transform a frustrating black hole into a functional, welcoming space. No wires, no drills, no stress. Just light. And isn’t that what we all want? A little less fumbling in the dark and a little more ease in our daily lives. Go ahead, give it a try. Your future self, searching for that jar of pickles at midnight, will thank you.