You know that feeling when you walk into a room and something just feels… off? Maybe it’s too dark in the corners, or maybe there are weird shadows on your face when you’re trying to apply makeup. Chances are, the culprit isn’t the paint color or the furniture. It’s the lights. Specifically, how they’re spaced.
We’ve all been there. You spend thousands on a renovation, pick out the sleekest LED downlights, and then—bam. The ceiling looks like a polka-dot disaster, or worse, the room feels like an interrogation cell. It’s frustrating. But here’s the good news: getting it right isn’t rocket science. It’s actually pretty simple math mixed with a bit of common sense.
In 2026, LED technology has gotten so efficient that we can do more with less, but that doesn’t mean we can be sloppy with placement. Whether you’re retrofitting an old home or building from scratch, understanding how to space these fixtures is the difference between a space that feels cozy and inviting versus one that feels sterile and cold. Let’s dive in and fix those lighting mistakes before you even cut the first hole in the drywall.
The Golden Rule of Thumb (And Why It’s Not Enough)
If you’ve ever googled this topic, you’ve probably seen the "half the ceiling height" rule. It goes like this: if your ceiling is 10 feet high, you space your lights 5 feet apart. Simple, right? Well, yes and no. It’s a great starting point, a rough sketch if you will, but it ignores the nuance of real life.
Think about it. A 10-foot ceiling in a kitchen needs different light than a 10-foot ceiling in a bedroom. In the kitchen, you’re chopping vegetables and reading recipes. You need bright, even task lighting. In the bedroom, you’re winding down. You want soft, ambient glow. Using the same spacing for both would be a mistake. The half-height rule gives you a baseline distance between fixtures, but it doesn’t tell you how many you need or where to put them relative to your walls.
Also, beam angle matters immensely. In the past, halogen bulbs threw light everywhere. Modern LEDs are directional. A narrow 24-degree beam will create a tight spotlight effect, requiring lights to be closer together if you want even coverage. A wider 60-degree beam spreads light further, allowing for wider spacing. Ignoring this is why so many DIY jobs end up with dark spots between the lights. So, while the half-height rule is a handy napkin calculation, don’t treat it like gospel. It’s just step one.
Kitchen Lighting: Task Over Trend
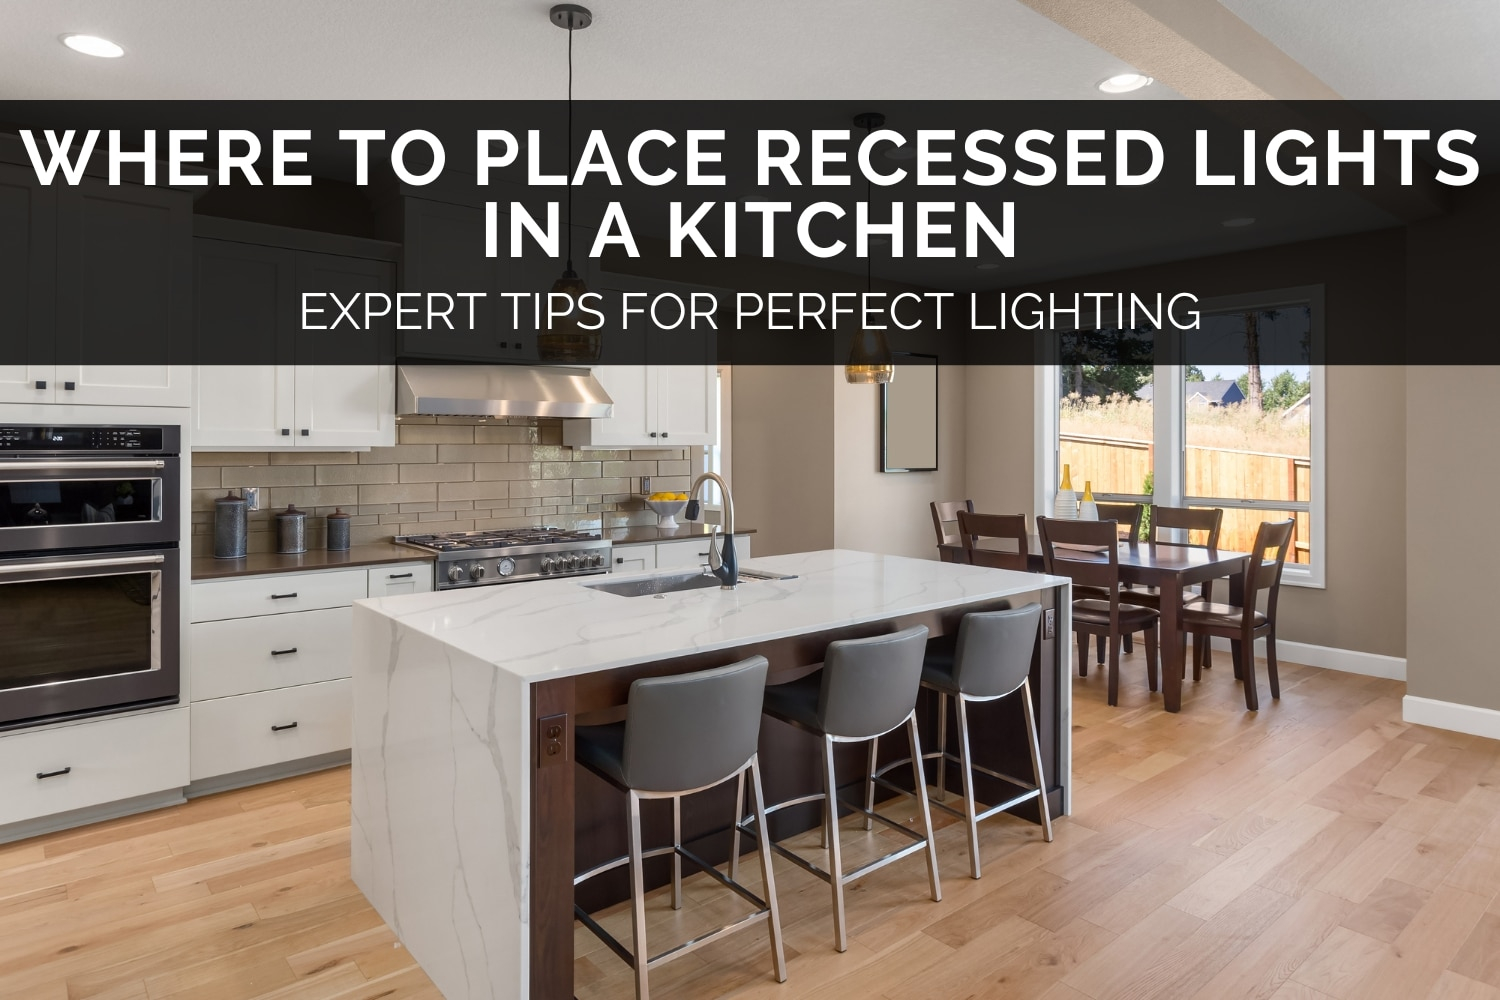
The kitchen is arguably the most important room to get right. It’s where we work, eat, and socialize. Poor lighting here isn’t just an aesthetic issue; it’s a safety hazard. Nobody wants to slice their finger because they couldn’t see the onion clearly. For kitchens in 2026, the trend is moving away from uniform grids and toward layered lighting, but downlights still form the backbone.
Start by mapping out your work zones. Where are the countertops? The sink? The stove? You want your downlights positioned so the light falls on the counter edge, not behind your head when you’re standing at the sink. A good rule of thumb is to place the center of the downlight about 12 to 18 inches from the wall for standard counters. This ensures the light hits the workspace without creating a shadow from your body.
Spacing wise, you’ll want them closer together than in other rooms. Aim for about 3 to 4 feet apart depending on the lumen output. If you have a large island, don’t just rely on pendants. Add two or three downlights above the island to provide general illumination when the pendants are off or dimmed. Remember, kitchens need higher lux levels (around 300-500 lux), so err on the side of more light rather than less. You can always add dimmers, but you can’t easily add more holes in the ceiling later.
Living Rooms: Creating Mood and Depth
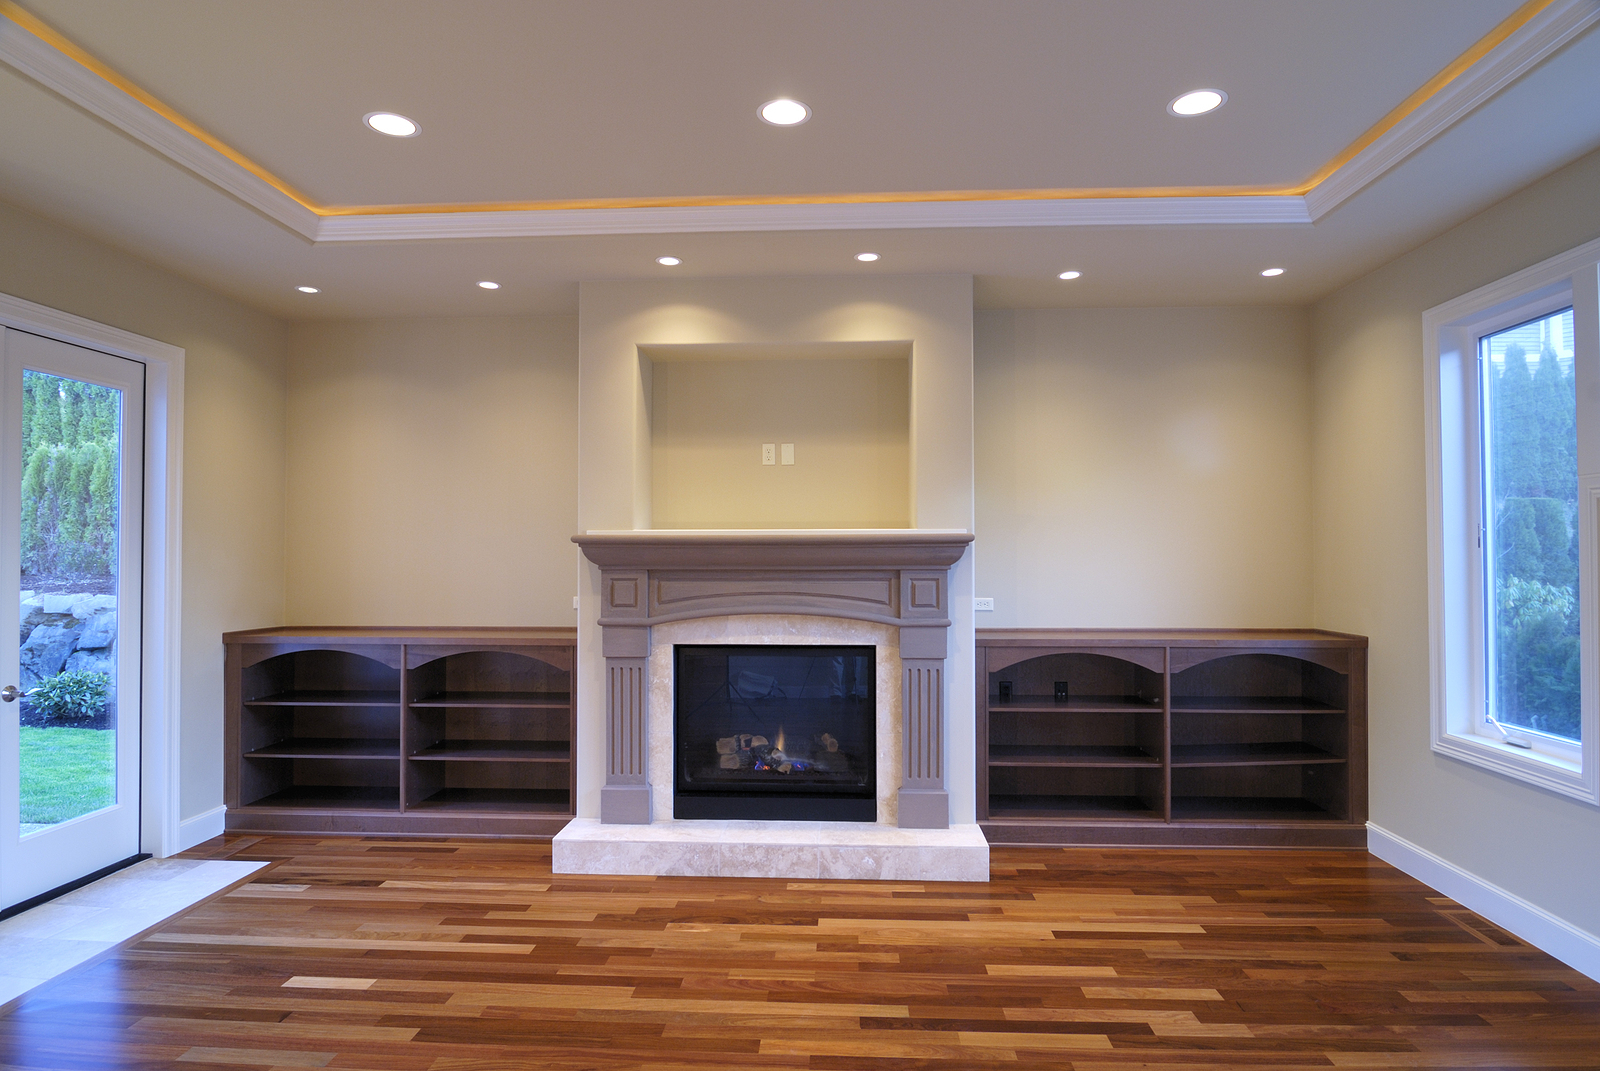
Living rooms are tricky because they serve multiple purposes. One minute you’re reading a book, the next you’re watching a movie, and then you’re hosting friends for drinks. The lighting needs to be flexible. Unlike the kitchen, you don’t want flat, even light everywhere. That kills the vibe. You want pools of light and shadow to create depth and interest.
Here, spacing is more about art than math. Instead of a perfect grid, think about grouping. Place downlights closer to the walls to wash them with light, which makes the room feel larger. Keep the center of the room relatively open to avoid glare on the TV screen. A common mistake is putting a light directly in the center of the room. Avoid this. It creates a harsh spotlight effect that makes everyone look tired.
For a standard 12×15 foot living room, you might only need four to six downlights, placed strategically around the perimeter. Use wider beam angles (40-60 degrees) to soften the spread. And please, for the love of good design, put them on dimmers. In 2026, smart dimmers are cheap and easy to install. Being able to drop the light level from 100% to 20% transforms the room from a daytime family hub to a nighttime lounge instantly.
Bedrooms: Softness Is Key
If there’s one room where you should go easy on the downlights, it’s the bedroom. This is your sanctuary. Bright, overhead light signals "wake up" to your brain, which is the last thing you want at 10 PM. The goal here is low-level, ambient illumination that helps you navigate without blasting your retinas.
Many people make the mistake of treating the bedroom like an office, installing a grid of bright LEDs. Don’t do it. Instead, use fewer fixtures with lower lumen outputs. Space them further apart, perhaps 6 to 8 feet, and focus them on areas like the closet doors or a reading nook. Avoid placing any downlight directly above the pillow area of the bed. Nothing ruins a romantic evening or a peaceful sleep like staring into a bright LED while lying down.
Consider using "wall washer" fixtures or adjusting the trim to direct light away from the eyes. The spacing should be irregular. Maybe two lights near the closet, one near the dresser, and that’s it. Let your bedside lamps do the heavy lifting for task lighting. The downlights are just there to take the edge off the darkness. It’s about subtlety. If you notice the lights immediately, they’re probably too bright or too numerous.
Bathrooms: Vanity vs. General Light
Bathrooms are small, but they demand high performance. You need enough light to shave, apply makeup, or check for spinach in your teeth. The biggest error people make here is relying solely on a single ceiling downlight. This creates terrible shadows under your eyes and chin, making you look like a raccoon. Not flattering.
For general lighting, one or two downlights in the center of the room are usually sufficient, spaced about 4 feet apart if the room is long. But the critical spacing is at the vanity. You need lights on either side of the mirror, not just above it. If you must use downlights, place them about 3 feet apart, centered on the sink area, but ensure they are high enough and angled to minimize facial shadows.
In 2026, many modern bathrooms are moving toward vertical vanity strips, but if you’re sticking with downlights, choose ones with high CRI (Color Rendering Index) ratings, ideally 90+. This ensures skin tones look natural. Keep the spacing tight around the vanity zone (about 2-3 feet from the mirror plane) and wider in the shower or toilet area. Waterproof ratings (IP65 or higher) are non-negotiable for any light within reach of the shower spray.
Hallways and Corridors: The Forgotten Spaces
Hallways are often an afterthought. We slap a light in the middle and call it a day. But hallways are transition spaces. They connect the rooms. If they’re too dark, the whole house feels gloomy. If they’re too bright, they feel like a hospital corridor. The key is consistency and rhythm.
Space your downlights evenly along the center line of the hallway. A good distance is about 4 to 6 feet apart, depending on the length. You want a steady pulse of light that guides you through the house. Avoid placing lights directly over door swings, as the open door will block the light and create a weird cutoff shadow.
If your hallway is narrow, consider using wall-wash trims instead of standard downlights. This bounces light off the walls, making the narrow space feel wider and more welcoming. Also, link these lights to a motion sensor or a smart home system. There’s nothing quite like walking into a dark house and having the path light up automatically. It’s a small luxury that feels huge. Just ensure the spacing allows the sensors to detect movement continuously without gaps.
Even with the best intentions, things go wrong. One of the most frequent blunders is ignoring joists and obstacles. You plan a perfect grid, start cutting, and hit a steel beam or a duct. Now you’re shifting lights haphazardly, ruining your symmetry. Always scan your ceiling with a stud finder and review your blueprints before marking a single dot. Flexibility is key, but planned flexibility is better than panic adjustments.
Another huge miss is mixing color temperatures. Don’t put a 3000K warm white light next to a 4000K cool white light. It looks messy and cheap. Stick to one temperature throughout a connected space. In 2026, tunable whites are popular, but if you’re using fixed chips, keep them consistent. Also, don’t skimp on the trim. Baffle trims reduce glare, while reflector trims boost brightness. Choosing the wrong trim for the wrong room can undo all your careful spacing calculations.
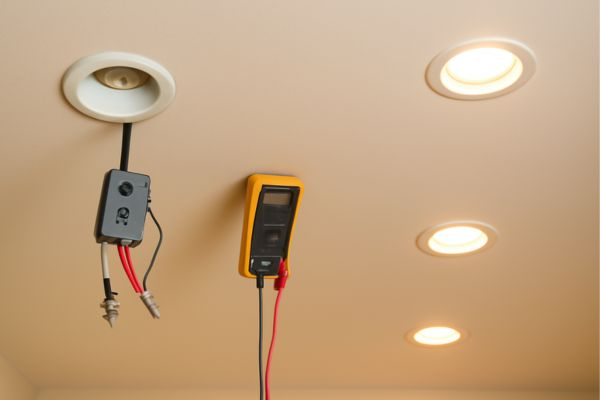
Lastly, forgeting about dimmer compatibility. Not all LEDs work with all dimmers. Flickering lights are a sign of incompatibility, not just bad wiring. Check the specs. Ensure your driver and dimmer switch are matched. It’s a small detail, but it makes the difference between a professional installation and a frustrating DIY fail. Take the time to test one light before you wire them all up.
Getting your LED downlight spacing right is less about rigid formulas and more about understanding how you live in your space. It’s about balancing the technical requirements of lumens and beam angles with the emotional needs of comfort and mood. By tailoring your approach to each room—bright and functional in the kitchen, soft and sparse in the bedroom—you create a home that doesn’t just look good, but feels good.
Remember, light is the easiest way to change the character of a room without moving a single piece of furniture. So take a moment to plan. Sketch it out. Walk through the space in your mind. Imagine where you’ll stand, what you’ll do, and how you want to feel. With a little thought and these guidelines, you’ll avoid the common pitfalls and end up with a lighting scheme that works for you, day and night. And honestly, isn’t that worth a few extra minutes of planning?