You know that feeling. You’ve just finished a brutal workout, or maybe you’re just trying to kickstart your morning with some serious discipline. You walk over to your garage, lift the lid, and… the water is tepid. Not cold. Not refreshing. Just kinda there. It’s the worst. Especially when you spent hundreds, maybe thousands, of dollars building what was supposed to be your personal recovery sanctuary.
It happens more often than you’d think. People buy the biggest tub they can find, slap on the cheapest chiller they see on Amazon, and wonder why it takes three days to get below 50 degrees. Or worse, it never gets there at all. Sizing isn’t just a technical detail; it’s the difference between a setup you use every day and one that becomes an expensive coat rack. Let’s fix that.
Why Getting the Size Wrong Costs You More Than Money
Most folks look at chillers and see a price tag. They don’t see the hidden cost of getting it wrong. An undersized chiller is basically a money pit. It runs constantly, screaming into the void, trying to fight thermodynamics and losing. The compressor overheats, the components wear out way before their time, and your electric bill spikes. You’re stuck with lukewarm water when you need that icy shock to wake up your nervous system.
On the flip side, going too big isn’t great either. Sure, it’ll cool fast, but you paid for power you don’t need. It’s like buying a semi-truck to go to the grocery store. It works, but it’s inefficient and clunky. In 2026, efficiency matters. Energy prices aren’t getting cheaper, and nobody wants their eco-friendly recovery routine to have a massive carbon footprint. The sweet spot is right in the middle. It’s about balance.
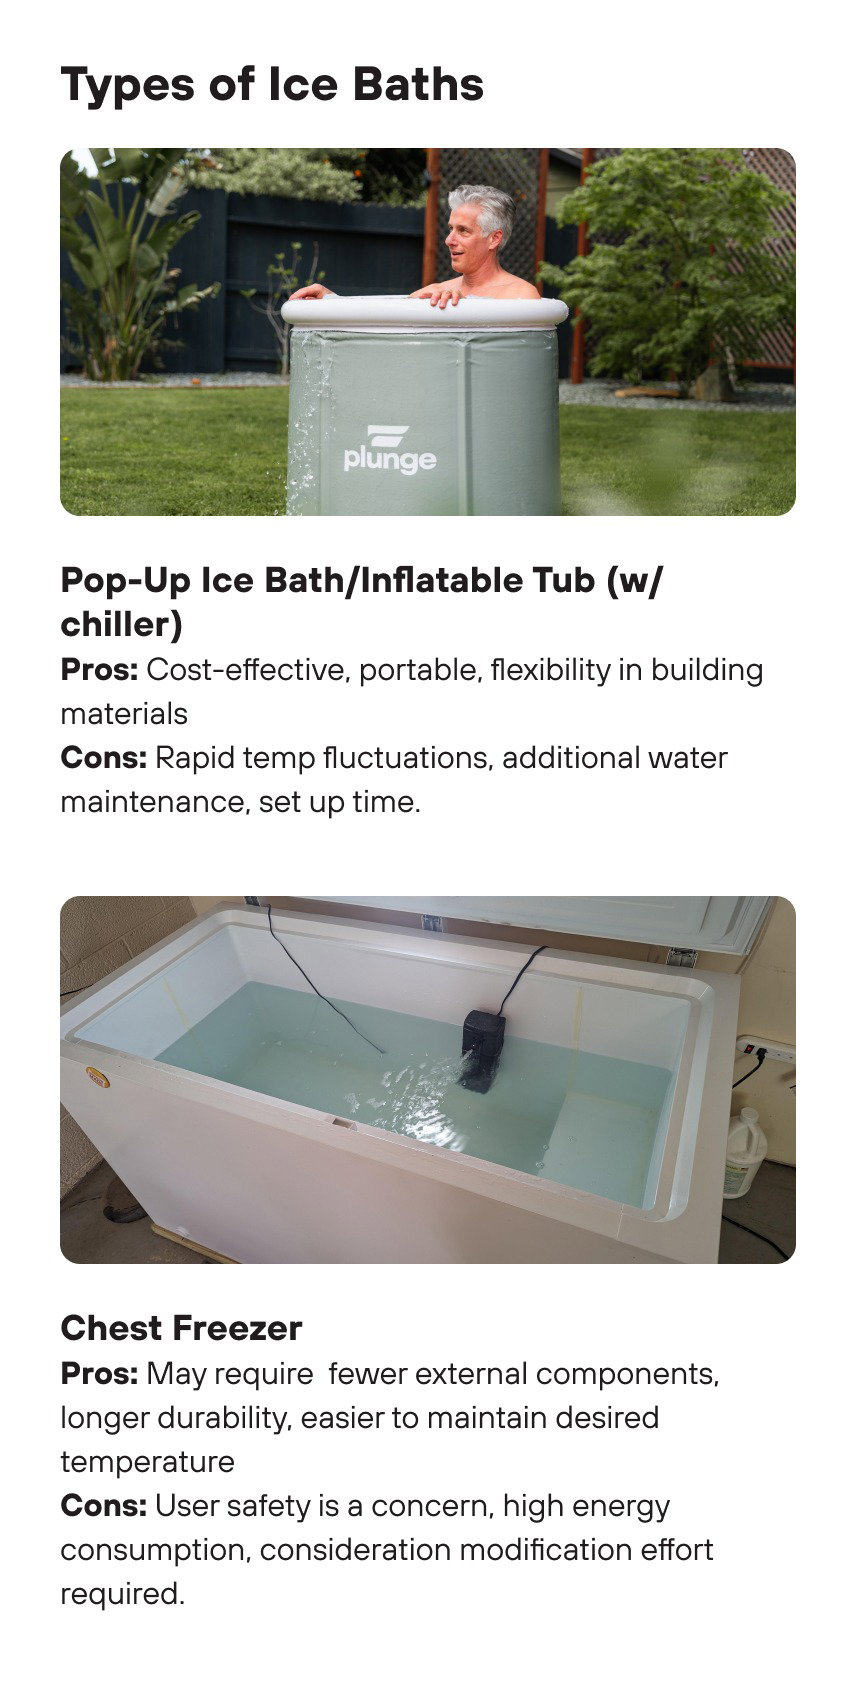
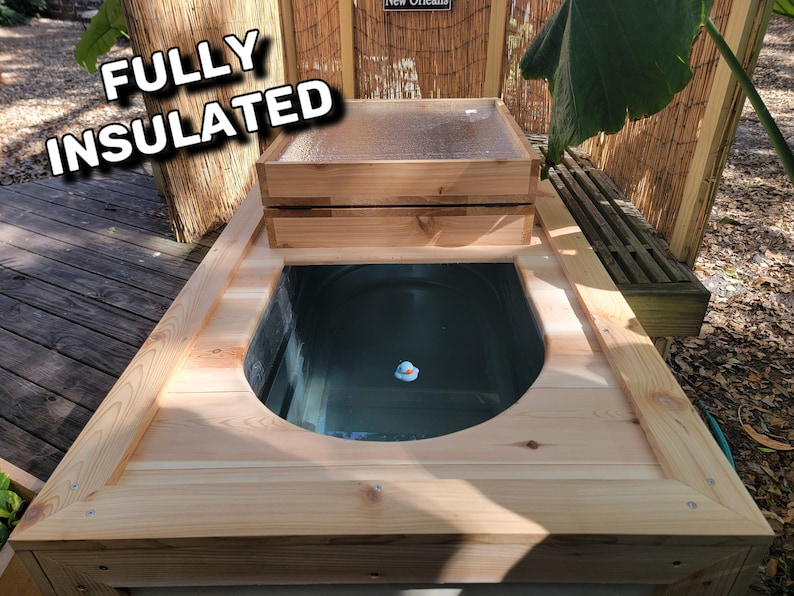
Think of it like this: if you leave the lid open a lot, or if your tub is in direct sunlight in July, you need more muscle. But if you have a well-insulated chest freezer conversion with a tight-fitting lid, you barely need anything at all. Andrew Conner, a well-known voice in the DIY space, noted that while 1/2 HP is common, good insulation means you often don’t need that much power. Don’t let marketing hype upsell you on horsepower you’ll never use.
Understanding Horsepower vs. Actual Cooling Capacity
Here is where things get tricky. Manufacturers love to talk about "Horsepower" (HP). It sounds powerful. It sounds impressive. But HP is a measure of input energy, not output cooling. Two different 1/2 HP chillers can have vastly different cooling capacities depending on the efficiency of their compressors and heat exchangers. In 2026, we need to look past the HP label and look at BTUs (British Thermal Units) or Watts of cooling power.
A general rule of thumb? For every 100 gallons of water, you want enough capacity to drop the temperature by about 1 degree per hour, assuming moderate ambient temperatures. If you have a 80-gallon tub, a 1/4 HP or small 1/2 HP unit might be perfect. If you’re running a 150-gallon stock tank outdoors in Texas? You’re gonna need something beefier, likely a full 1 HP or even dual-compressor setup.
Don’t get bogged down in complex physics equations. Just remember: insulation is your best friend. A poorly insulated tub will lose cold faster than your chiller can make it, no matter how big the motor is. That’s why so many DIYers are sticking with modified chest freezers or high-end rotomolded coolers. They hold the cold. The chiller just has to maintain it, not fight the entire environment. This distinction saves you from buying an oversized, noisy beast.
Calculating Your Pump Needs Without Burning Out the Motor
The pump is the heart of the system, circulating water through the chiller. If the heart stops, the body dies. Simple as that. But here’s the catch: pumps are rated for maximum flow at zero height (head pressure). As soon as you add tubing, elbows, filters, and vertical lift, that flow rate drops dramatically. If you buy a pump based solely on its max GPH (gallons per hour), you’ll likely end up with weak circulation.
You need to calculate the "Total Dynamic Head." Sounds fancy, right? It’s just the resistance your water faces. Every foot of vertical pipe adds resistance. Every 90-degree elbow adds resistance. Your chiller’s internal coils add resistance. Most residential DIY setups need a pump that can handle at least 10-15 feet of head pressure while still moving 400-600 GPH. If the flow is too slow, the water won’t pass through the chiller fast enough to get cold. If it’s too fast, you might cavitate the pump or create excessive noise.
Also, consider the type of pump. Magnetic drive pumps are quieter and leak-proof since there’s no seal to wear out, but they can be sensitive to debris. Standard impeller pumps are tougher but louder. In 2026, magnetic drives are becoming the standard for home setups because nobody wants a jet engine humming in their garage while they try to meditate. Make sure your pump is rated for continuous duty. Cheap aquarium pumps aren’t built to run 24/7. They will fail. And usually, they fail at the worst possible moment.
The Hidden Impact of Ambient Temperature and Placement
Where you put your plunge matters just as much as what you buy. A chiller works by pulling heat out of the water and dumping it into the air. If that air is already 95 degrees Fahrenheit, the chiller has to work twice as hard. It’s like trying to cool a room with the windows open in summer. It’s a losing battle. If you live in a hot climate, you need to size up your chiller by at least 20-30% compared to someone in a cooler region.
Placement is key. Never box a chiller in. It needs airflow. If you shove it into a tight corner or a closed cabinet without active ventilation, it will overheat and shut down. Many modern units have thermal protection switches, which is nice, but it means your ice bath turns into a warm bath until it cools back down. Give it space. At least 12 inches on all sides. Better yet, install a small exhaust fan if it’s in an enclosed space.
Sunlight is another silent killer. If your tub sits in direct sun, the solar gain can add thousands of BTUs of heat load. A white tub reflects some of this, but a black stock tank absorbs it all. If you can’t move the tub to the shade, you must account for this extra heat load in your chiller sizing. Otherwise, you’ll be chasing your tail all summer long. It’s not just about the water volume; it’s about the environment surrounding it.
Filtration and Flow: Keeping the System Clean and Efficient
You might think filtration is separate from sizing, but it’s deeply connected. A clogged filter restricts flow. Restricted flow means the pump works harder and moves less water through the chiller. Less water movement means uneven cooling and potential freezing in the chiller lines. It’s a domino effect. In 2026, integrated filter housings are common, but you need to size them correctly for your pump’s flow rate.
Cartridge filters are popular because they’re easy to clean, but they offer high resistance when dirty. Sand filters offer lower resistance but are bulky. For most DIY cold plunges, a simple 10-inch cartridge housing with a 20-micron pleated filter is sufficient. Change it regularly. Don’t wait until it looks like mud. A clean filter ensures your pump operates at its intended curve, delivering the flow rate you calculated earlier.
Also, consider the tubing diameter. Don’t skimp here. Using 1/2 inch tubing when your pump expects 1 inch creates a bottleneck. It’s like trying to drink a milkshake through a coffee stirrer. Stick to 1-inch or larger PVC or flexible hose for the main loops. This reduces friction loss significantly. Lower friction means your pump doesn’t have to work as hard, extending its life and keeping your electricity costs down. It’s a small detail that makes a huge difference in long-term reliability.
Let’s look at some actual setups. Take Sarah, who converted a 7 cubic foot chest freezer. It holds about 50 gallons. She lives in Oregon, where summers are mild. She installed a 1/4 HP chiller and a small magnetic drive pump. It keeps her water at 39 degrees year-round with minimal effort. The chiller cycles on and off rarely. Her electric bill barely noticed. This is the ideal scenario: right-sized equipment for the environment.
Then there’s Mike. He bought a 150-gallon galvanized stock tank and put it on his deck in Arizona. He started with a 1/2 HP chiller. It struggled. On 100-degree days, the water hovered around 55 degrees. He was frustrated. He had to upgrade to a 1 HP unit and build a shaded enclosure with a misting fan to help dissipate the heat. Now it works, but he spent double what he planned. If he had sized for his climate initially, he would have saved money and hassle.
These stories show that there is no "one size fits all." Your location, your tub material, your insulation, and your usage habits all dictate the right size. Don’t just copy what you saw on Instagram. Look at your specific situation. Are you plunging once a week or three times a day? Do you keep the lid on? These factors change the math. Use online calculators as a starting point, but adjust for your reality. Plunge Junkies and other sites offer good calculators, but remember they assume average conditions. Adjust up if your conditions are harsh.
Getting your DIY cold plunge right isn’t about buying the most expensive gear. It’s about understanding the relationship between volume, insulation, ambient heat, and mechanical capacity. When you balance these elements, you get a system that hums along quietly, keeping your water crisp and ready whenever you are. It’s satisfying. It’s efficient. And honestly, it just feels better knowing you built something that actually works as intended.
So take a step back. Measure your tub. Check your local summer highs. Look at your insulation. Then pick your chiller and pump with confidence. You don’t need to be an engineer to do this. You just need to pay attention to the details. The reward is that perfect, shivering plunge that resets your mind and body. And that? That’s worth getting right.