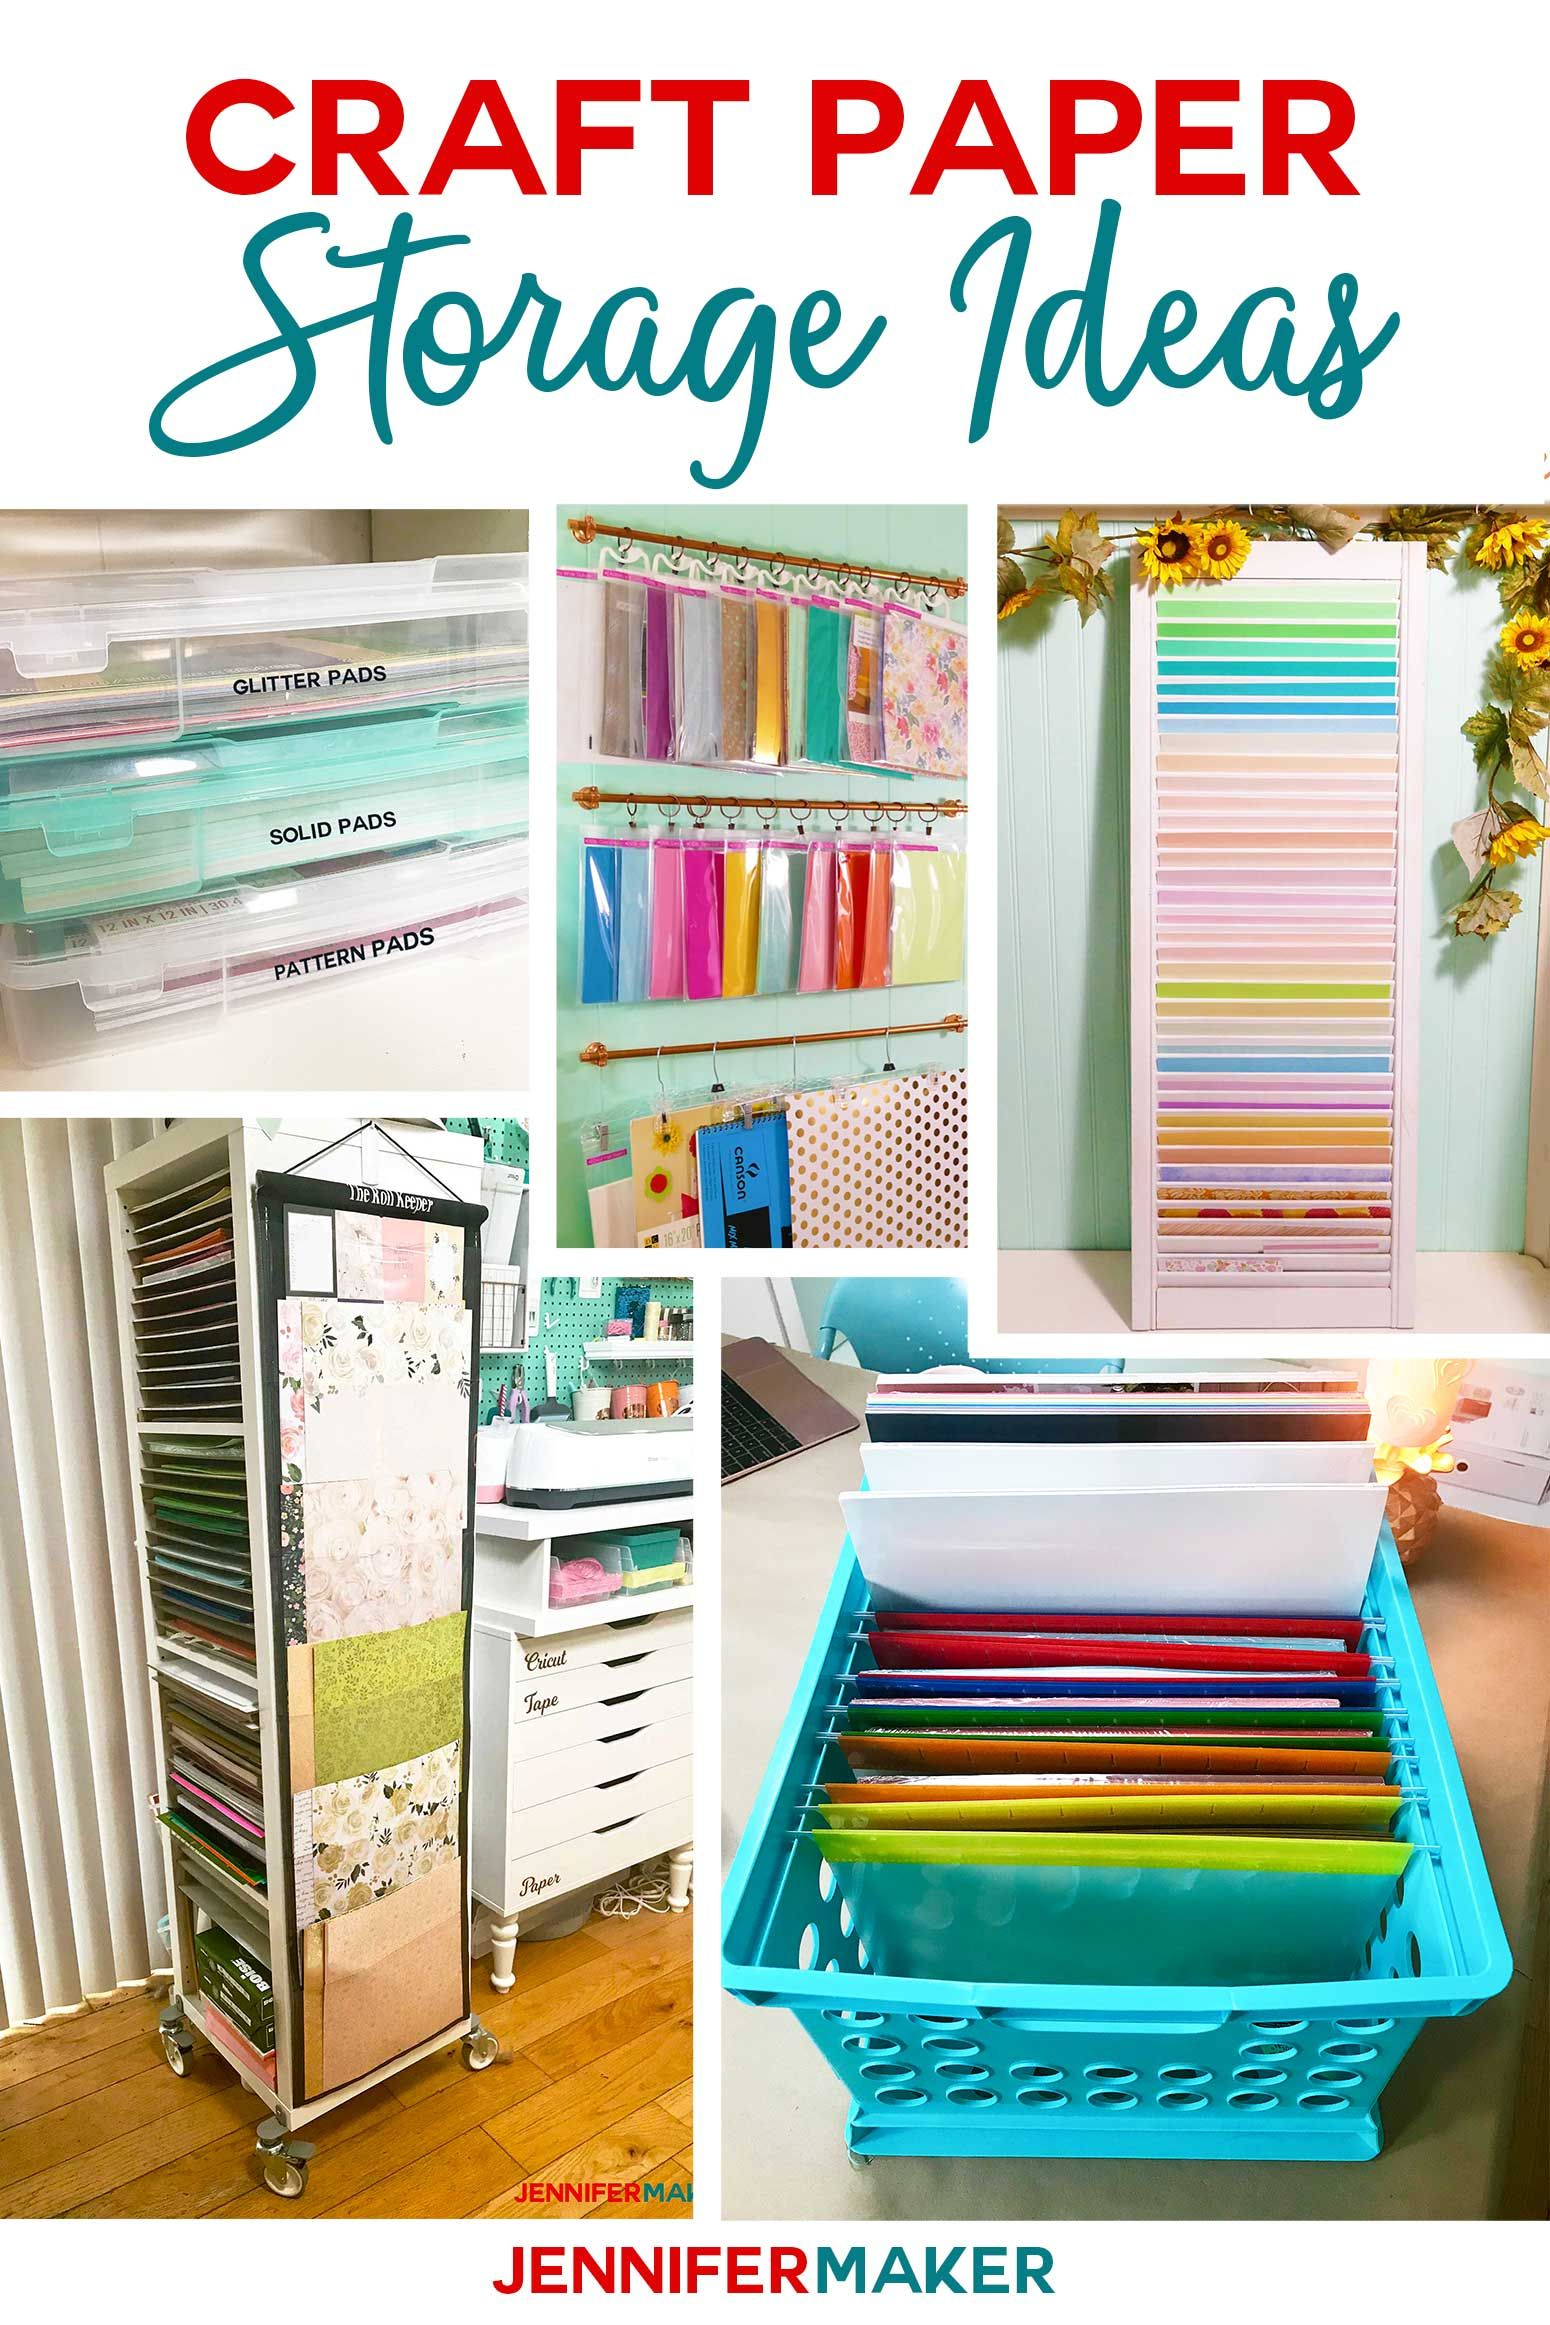
You know that feeling when you walk into your craft room and just want to turn around and leave? I do. For years, my "studio" was basically a closet with delusions of grandeur. It was six feet by eight feet, if you were generous with the tape measure. Every surface was buried under fabric scraps, half-finished quilts, and enough ribbon to tie up every gift in the tri-state area. I couldn’t find my scissors. I couldn’t find my peace of mind.
Then, this year, something shifted. I stopped trying to squeeze more stuff onto the floor and started looking up. Way up. It wasn’t just about buying shelves. It was a mindset change. A total rewire of how I viewed the empty air above my head. That shift didn’t just organize my supplies; it saved my hobby. And honestly? It might just save yours too.
The Psychology of Looking Up
Most of us are trained to look down. We look at the floor for dropped pins. We look at desks for our work. We look at low cabinets for storage. But in a tiny room, the floor is prime real estate. It’s where you stand. It’s where you move. When you clutter the floor, you shrink the room. You make it feel like a cage. By shifting your gaze upward, you’re not just finding space; you’re reclaiming freedom.
There’s a psychological boost to seeing clear floors. It reduces anxiety. In 2026, with life moving faster than ever, having a visual break is crucial. When your eyes travel up to organized bins or hanging tools, the room feels bigger. Airier. Less suffocating. It’s not magic, but it feels like it. You stop feeling trapped by your stuff and start feeling supported by it.
This approach turns unused wall space into a functional zone. It helps you maximize every inch without feeling cramped. Think about it. Your walls are likely seven or eight feet tall. If you only use the bottom three feet, you’re ignoring more than half your potential storage. That’s wasted opportunity. That’s clutter waiting to happen elsewhere. By utilizing the vertical plane, you create a holistic environment that considers both physical space and mental clarity.
Floor-to-Ceiling Shelving Units
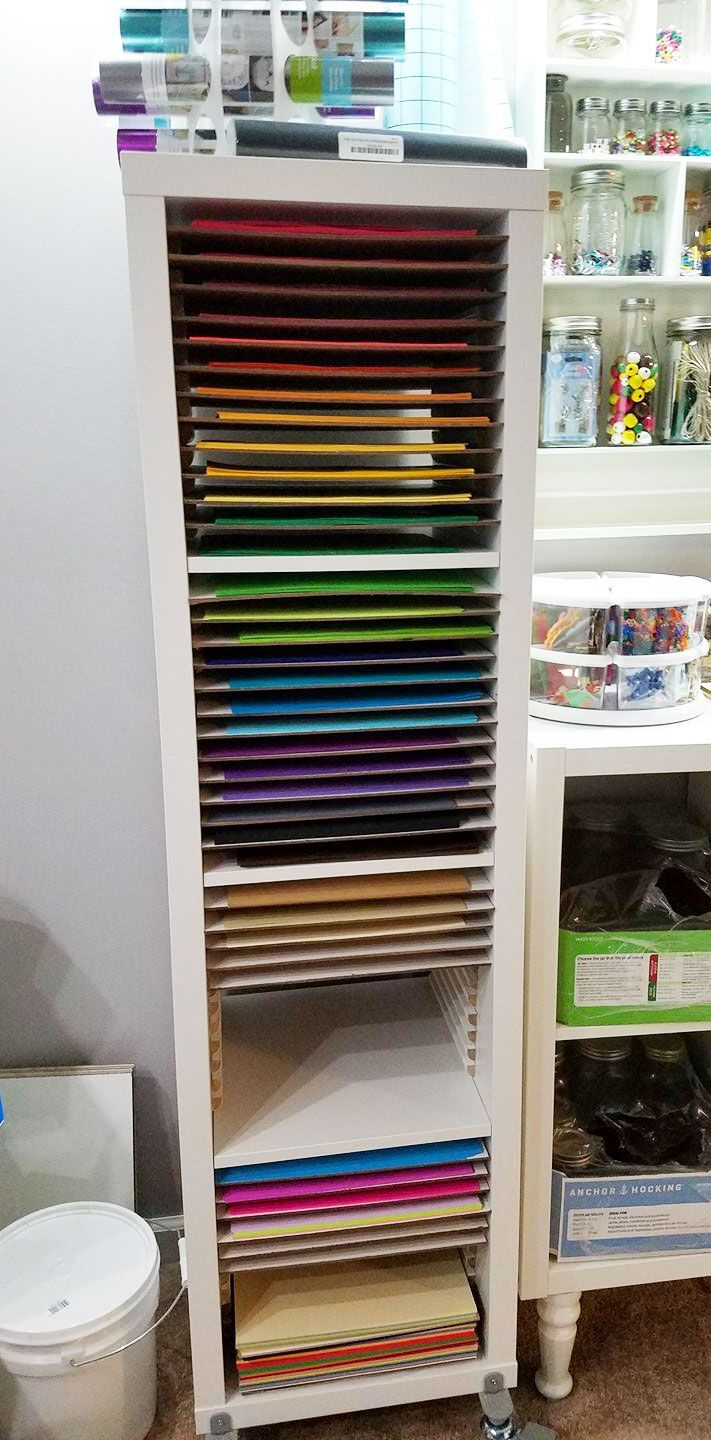
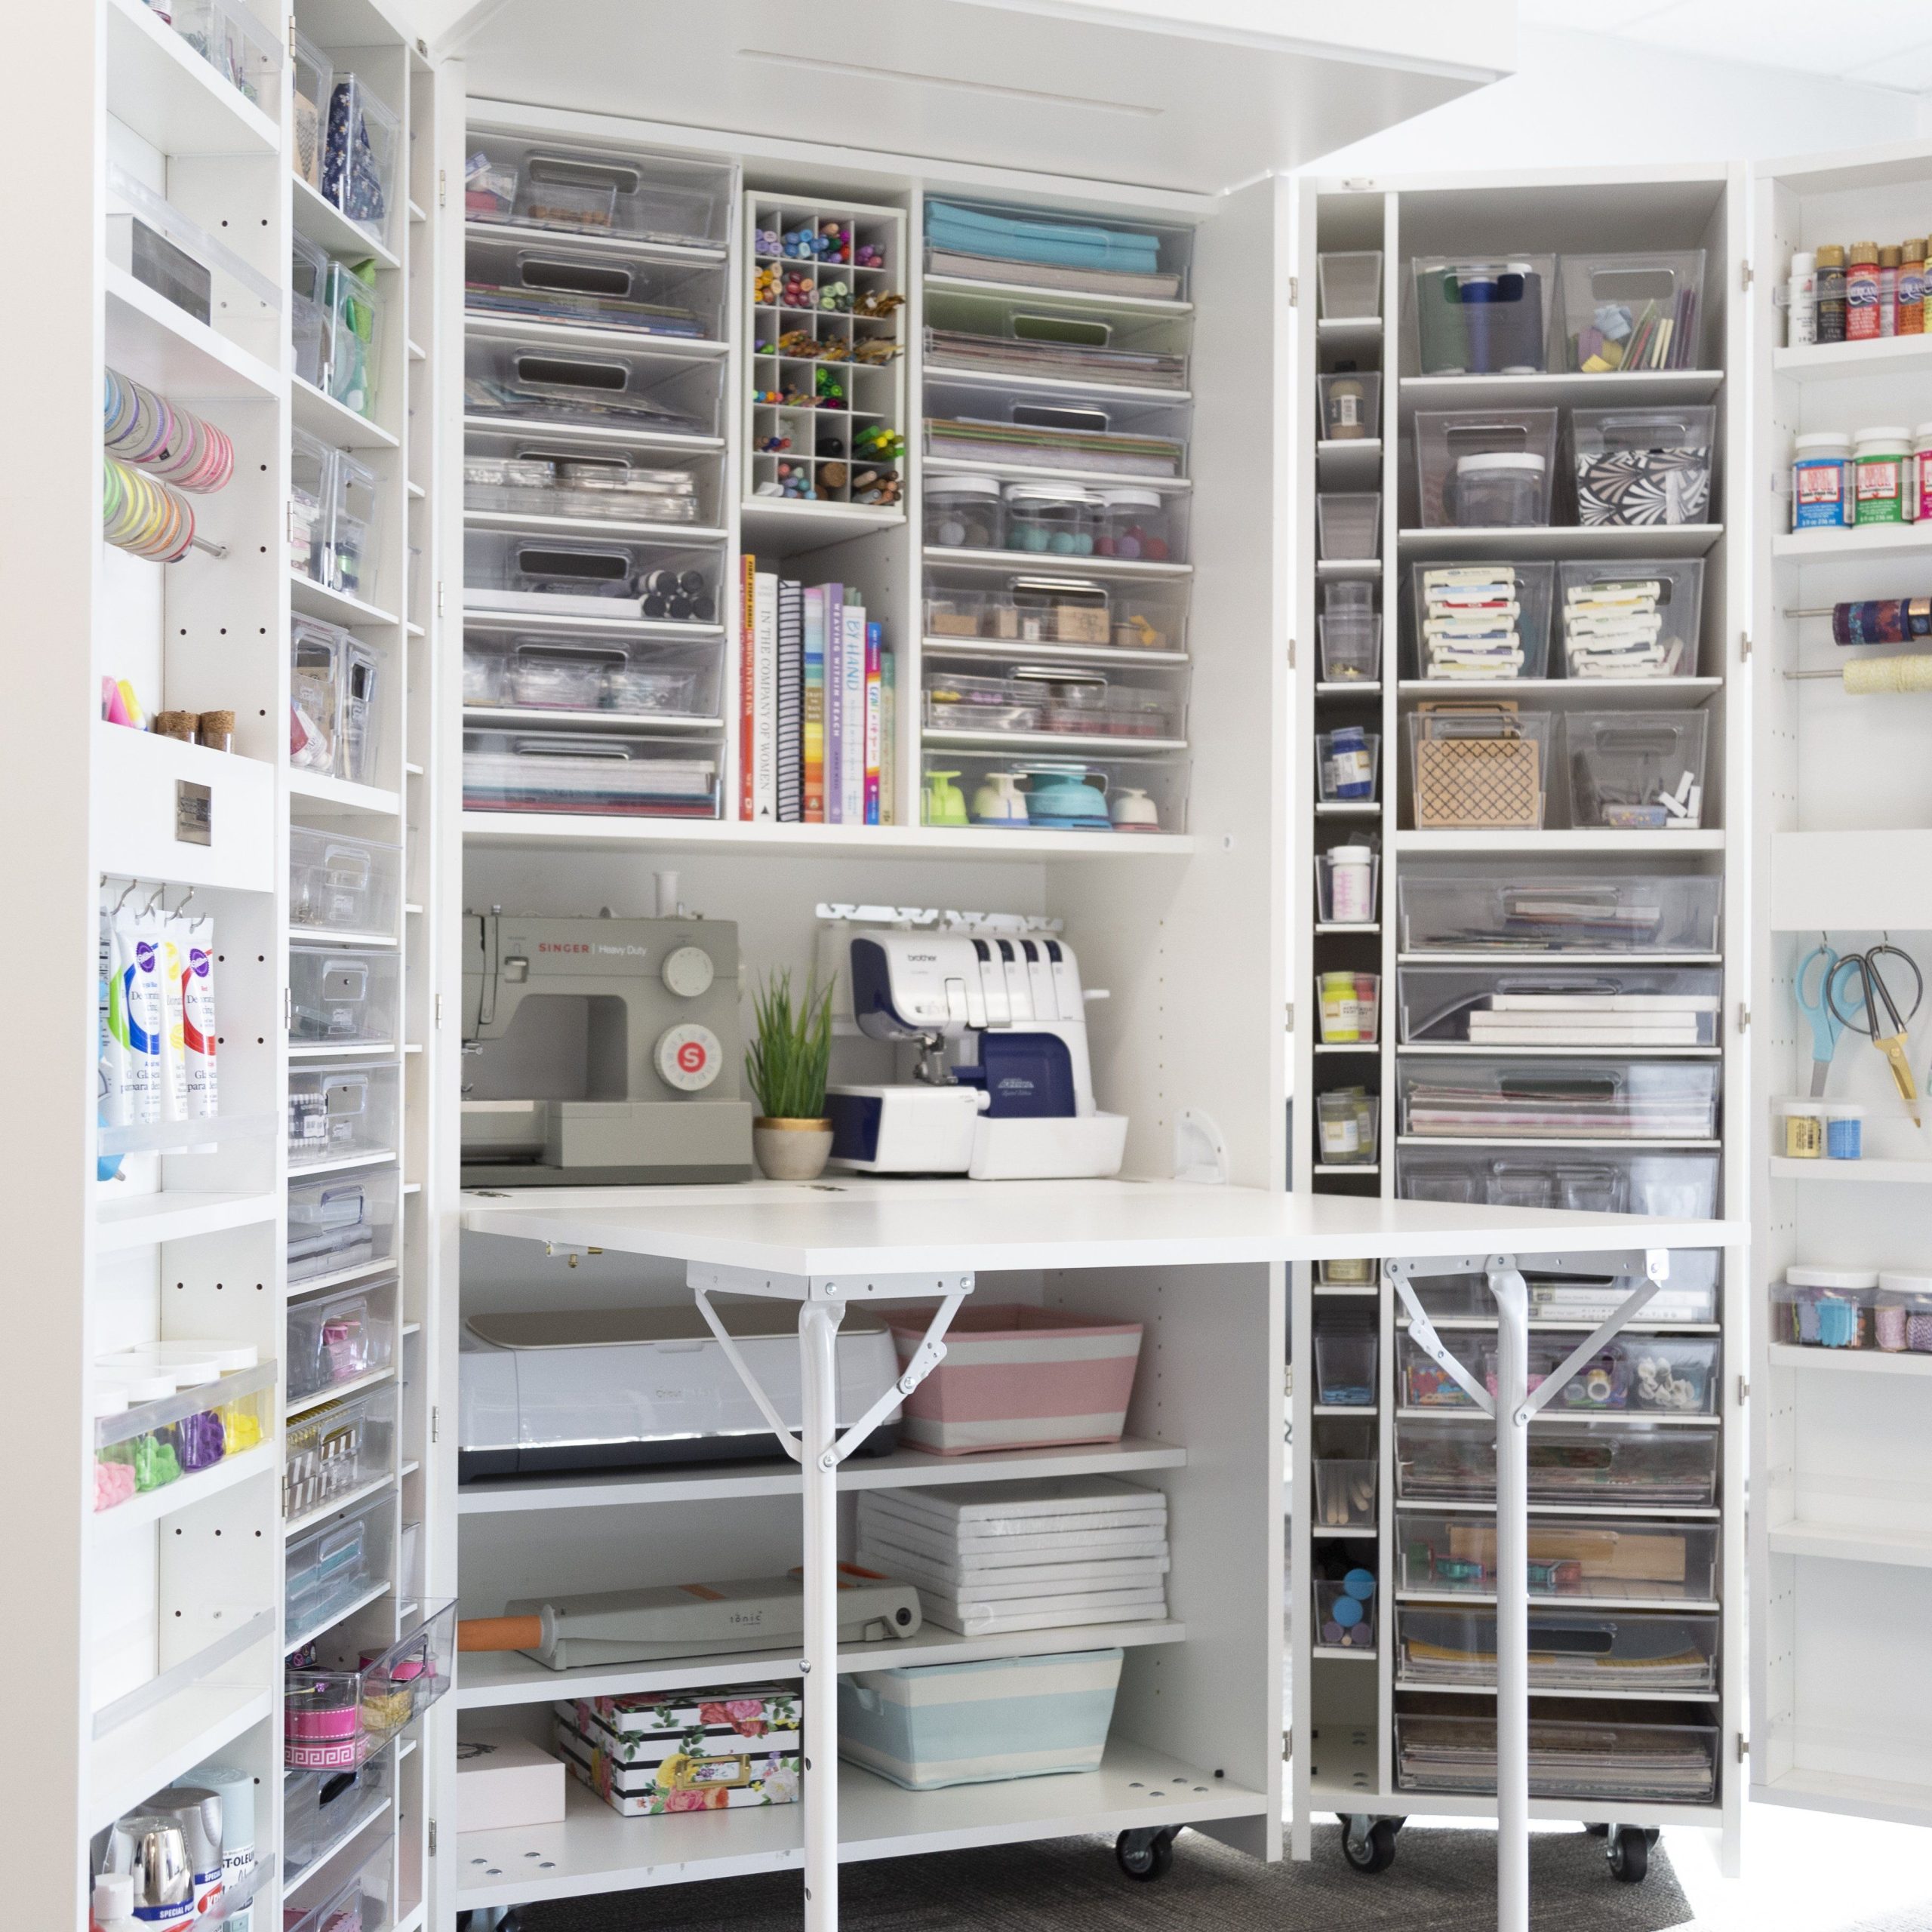
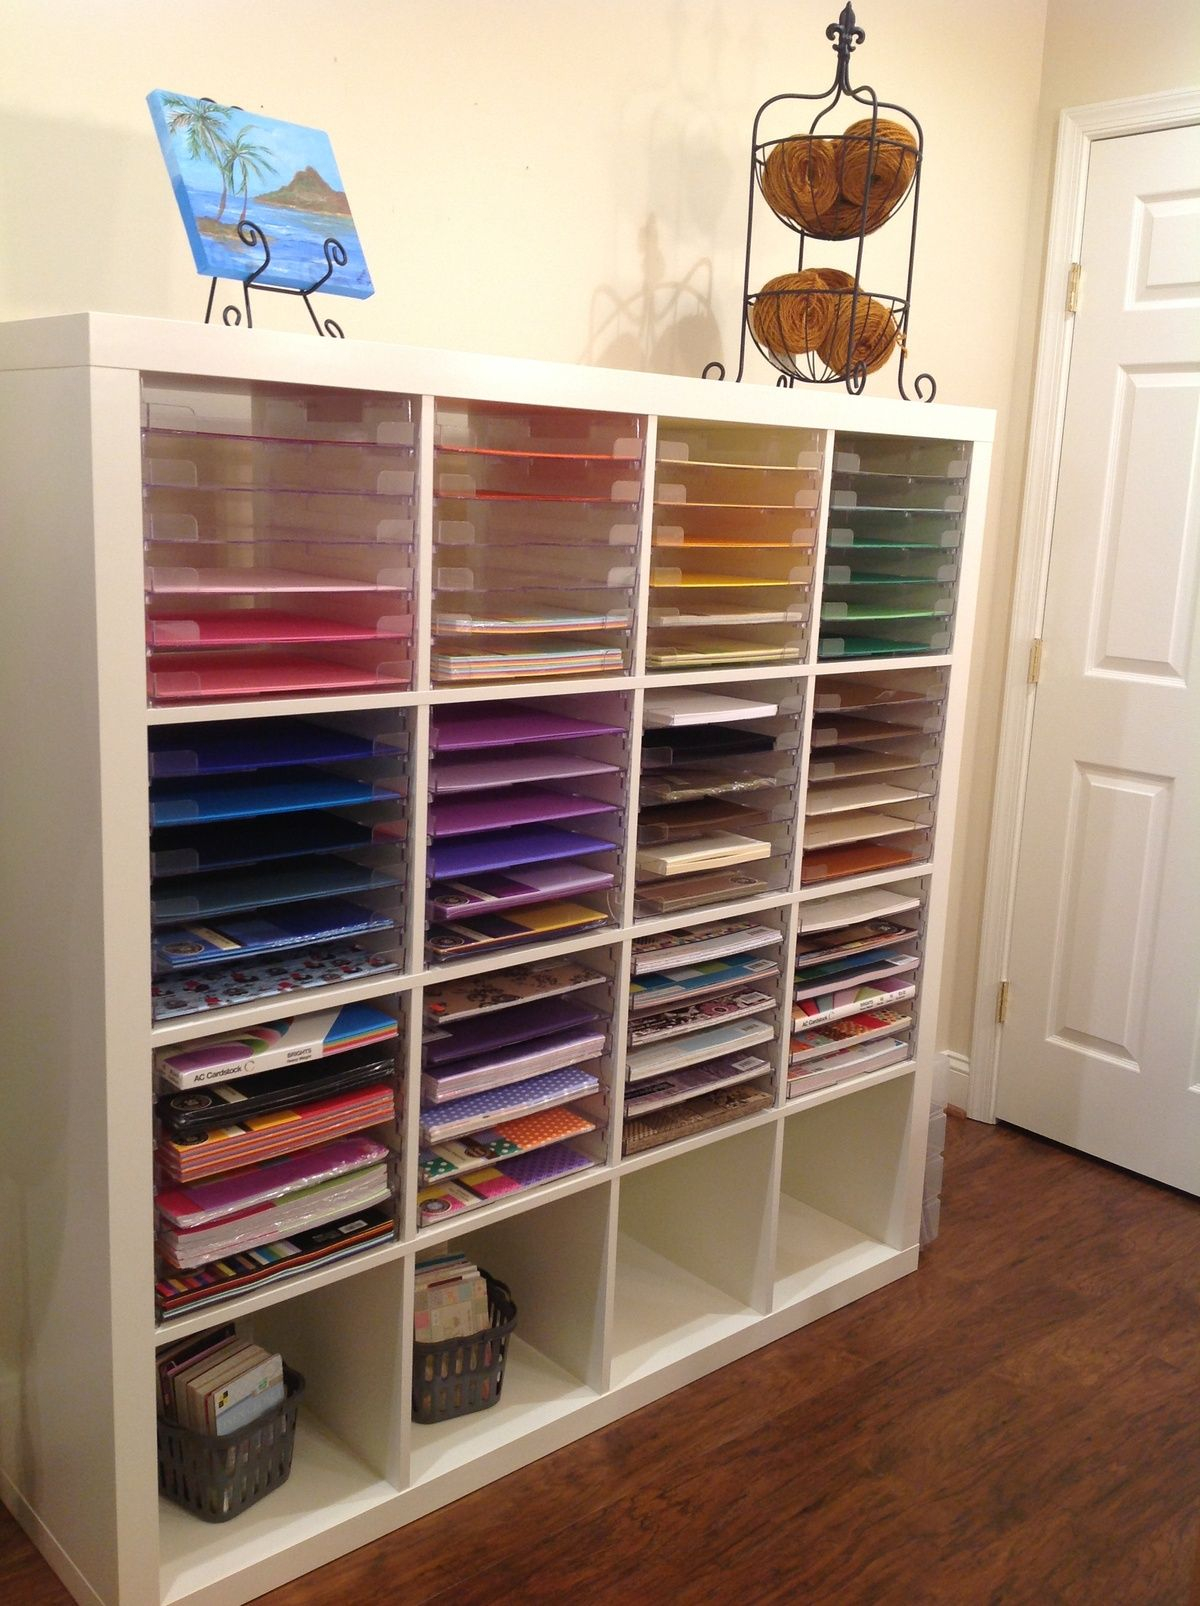
The biggest game-changer for me was installing floor-to-ceiling shelving. Not just any shelves, but ones that go all the way to the ceiling. This draws the eye upward and makes the ceiling feel higher. It also provides an insane amount of storage without taking up any extra footprint. I used adjustable brackets so I could move shelves as my needs changed. Flexibility is key in small spaces.
I stored bulky items on the top shelves. Things I don’t need every day. Like extra paper stock, seasonal decor, or bulk buys of adhesive. Since they’re up high, they’re out of sight but not out of mind. I use a small step stool to reach them, which is fine because I’m not grabbing glue sticks every five minutes. The lower shelves hold my daily drivers. Paints, brushes, current project materials. Everything within arm’s reach.
Don’t forget the corners. Corners are often dead space. But with corner shelving units, they become powerhouses. I repurposed a Lazy Susan on one corner shelf for small jars of beads and buttons. It spins! No more digging through dark corners. It’s efficient and kinda fun. These vertical systems keep items visible and within reach while maintaining precious floor space. It’s a win-win situation.
Pegboards and Wall-Mounted Systems
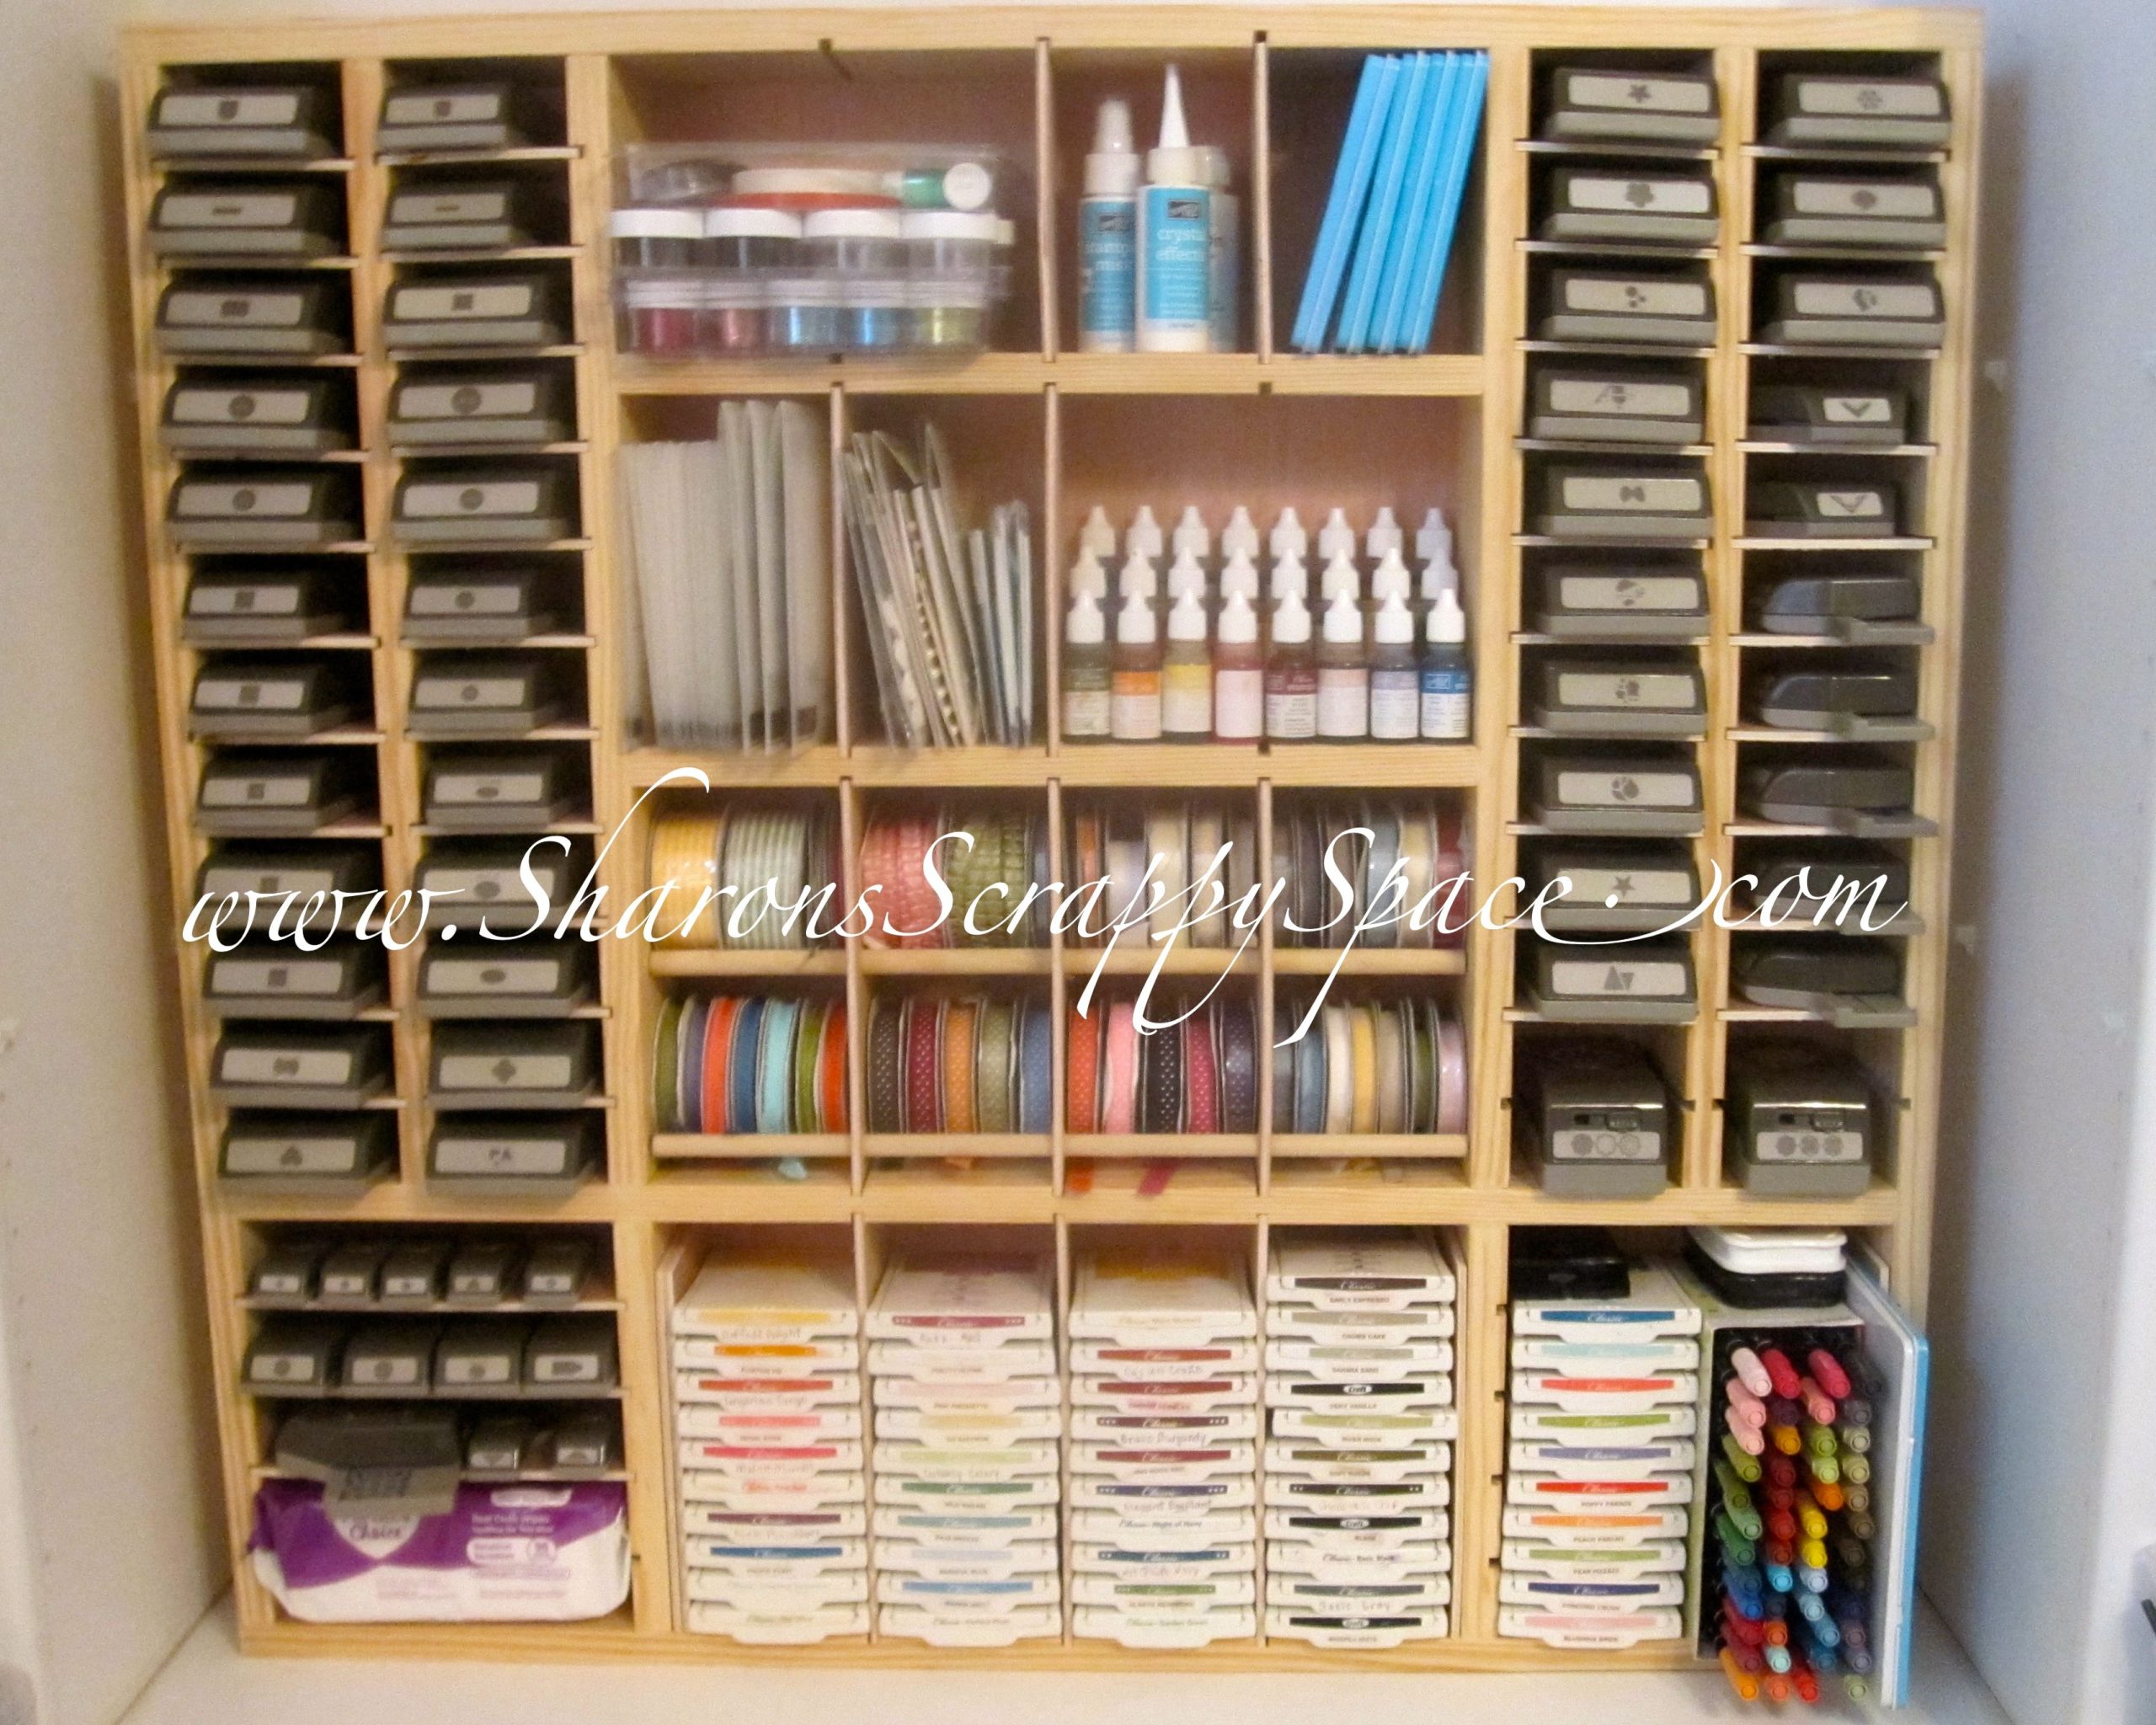
Pegboards aren’t just for garages anymore. They are the unsung heroes of the craft world. I covered an entire wall with a white pegboard system. It looks clean, modern, and incredibly useful. I can hang scissors, rulers, tape dispensers, and even small baskets for loose items. The best part? I can rearrange it whenever I want. If I start a new project that needs different tools, I just move the hooks. No drilling required.
Wall-mounted rails and grids are another option. They offer a sleeker look if pegboards feel too industrial. I used magnetic strips for metal tools like tweezers and exacto knives. They stick right to the wall, saving drawer space. It’s satisfying to snap a tool back into place after using it. That little click encourages tidiness. You’re more likely to put things away when it’s easy and visually pleasing.
Over-the-door organizers are also fantastic for tiny rooms. I hung a clear-pocket shoe organizer on the back of my door. It holds spools of thread, small tubes of paint, and markers. It’s transparent, so I can see everything at a glance. No more guessing games. These creative solutions utilize unused spaces to reduce clutter and boost functionality. It’s about making every square inch count, even the ones behind doors.
Floating Shelves for Visual Lightness
Floating shelves are great because they don’t have visible brackets. This creates a clean, open look. They feel less heavy than traditional bookshelves. In a small room, visual weight matters. Bulky furniture makes the space feel smaller. Floating shelves seem to defy gravity, which keeps the room feeling airy. I installed three long floating shelves above my desk.
I use these for display and light storage. Pretty jars filled with sequins. Stacks of colorful cardstock. Small potted plants for a touch of green. It’s not just about function; it’s about inspiration. Seeing beautiful things arranged neatly makes me want to create. It turns storage into decor. You don’t have to hide everything away. Some things deserve to be seen.
Glass jars are perfect for this. They let light pass through and show off the contents. I label them clearly, but the labels are minimal. Just simple black text on white tape. It looks chic and organized. Tall shelving for fabric rolls also works well here. Standing fabric bolts vertically saves space and lets you see the patterns. It’s like a mini fabric store in your home. Neat, inspiring displays boost creativity.
Double-Duty Furniture Solutions
Furniture in a tiny craft room needs to work hard. Really hard. I swapped my old desk for one with built-in drawers. This eliminated the need for separate plastic organizers taking up floor space. The desk itself became the storage unit. It’s streamlined and efficient. I also added a storage ottoman that serves as seating and a box for extra supplies. It’s comfortable and practical.
Rolling carts are another essential. I have a three-tier cart that holds my most-used tools. When I’m working at the desk, it’s right beside me. When I need more space, I roll it under the table or into a corner. It brings supplies to you rather than dedicating permanent space. Mobility is crucial in small areas. You need to be able to adapt the room to your current task.
Consider multi-purpose pieces. A folding table that can be tucked away when not in use. A bench that opens up for storage. These items maximize utility without overwhelming the room. In 2026, smart furniture design is more accessible than ever. You don’t need custom carpentry to get these benefits. Many affordable options exist that serve multiple purposes. Choose wisely, and your room will thank you.
Setting up the system is only half the battle. Keeping it that way is the real challenge. I’ve learned that maintenance is easier when everything has a home. If a item doesn’t have a designated spot, it becomes clutter. I spend five minutes at the end of each session putting things back. It’s a small habit that prevents huge messes. Consistency is key.
Labeling helps immensely. Not just for me, but for anyone else who might use the room. Clear labels reduce decision fatigue. You don’t have to think about where something goes; you just read the label and put it there. It removes the mental load of organizing. I use a label maker for a uniform look, but handwritten tags work too. The method doesn’t matter as much as the consistency.
Regularly audit your supplies. Crafts change. Interests shift. I go through my bins every few months and donate or discard items I no longer use. This prevents the vertical storage from becoming a vertical junkyard. Keep it curated. Keep it relevant. This holistic approach considers the physical, psychological, and creative dimensions of your crafting experience. It transforms not just spaces, but lives.
So, where do you start? Look up. Literally. Take a good hard look at your walls. What’s empty? What’s underutilized? Start small. Maybe just one pegboard. Or a single floating shelf. See how it feels. Notice the difference in the room’s energy. Then build from there. You don’t have to do it all at once. But remember, the secret isn’t just in the shelves. It’s in the perspective.
Your tiny craft room doesn’t have to be a source of stress. It can be a sanctuary. A place of order and inspiration. By embracing vertical storage, you’re not just organizing stuff. You’re creating space for your creativity to breathe. And in a world that’s constantly demanding more from us, that space is priceless. Give it a try. Your future self, standing in a clear, open room, will thank you.