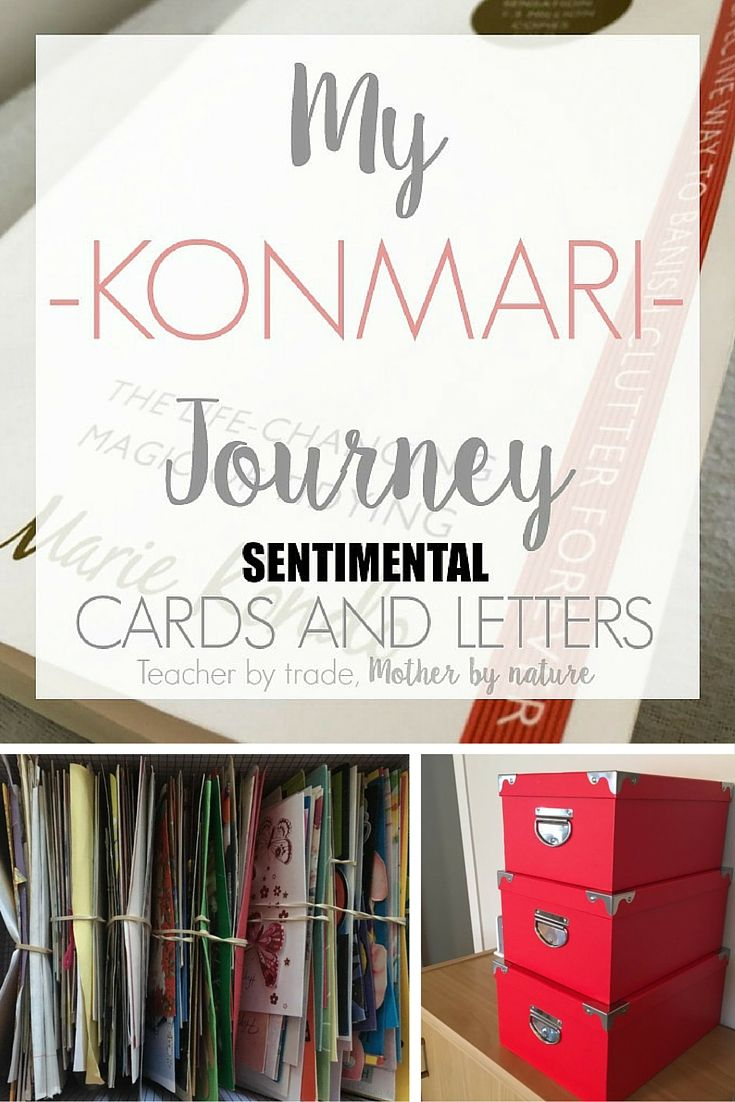
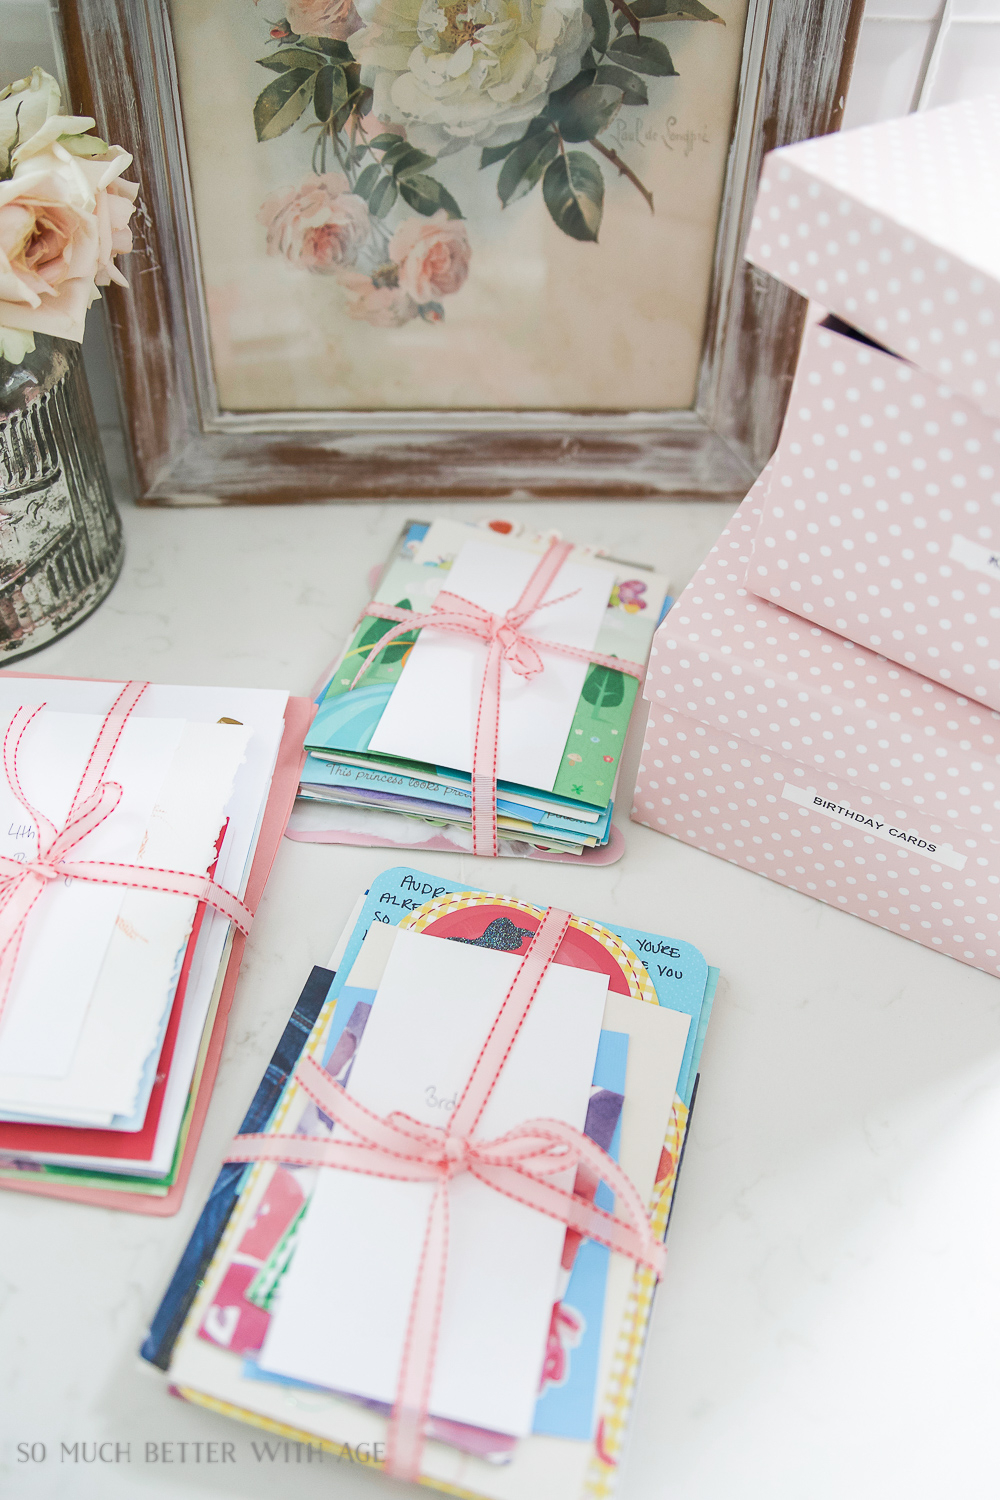
We’ve all been there. You open a drawer, maybe the one in the kitchen or that overstuffed box under the bed, and out spills a cascade of paper. Birthday wishes from three years ago. Holiday greetings from relatives you haven’t seen in a decade. A sympathy card that still makes your throat tight when you read the handwritten note inside. It’s a lot. And honestly? It feels kinda wasteful to just toss them in the recycling bin, doesn’t it? But keeping them stacked in a dark corner isn’t really honoring the sentiment, either.
In 2026, we’re seeing a huge shift in how people handle these little paper treasures. It’s not just about hoarding memories; it’s about curating them. We want our homes to feel personal, but we also want them to be clutter-free. The solution isn’t to get rid of the cards, but to change their form. By turning old greeting cards into functional art, jewelry, or decorative accents, you keep the emotion alive without the bulk. It’s sustainable, it’s creative, and it turns a pile of "stuff" into something that actually sparks joy every time you see it.
Let’s face it, life gets busy. Sometimes the idea of starting a craft project feels like one more thing on an endless to-do list. But repurposing cards is different. It’s low stakes. You aren’t trying to win a competition; you’re just giving a second life to something that already meant something to you. Whether you have five minutes or five hours, there’s a way to transform those folded pieces of cardboard into keepsakes that fit seamlessly into your modern life. Ready to dive in? Let’s look at how you can make those memories last longer, and look better doing it.
Turning Fronts into Artful Gift Tags and Bookmarks
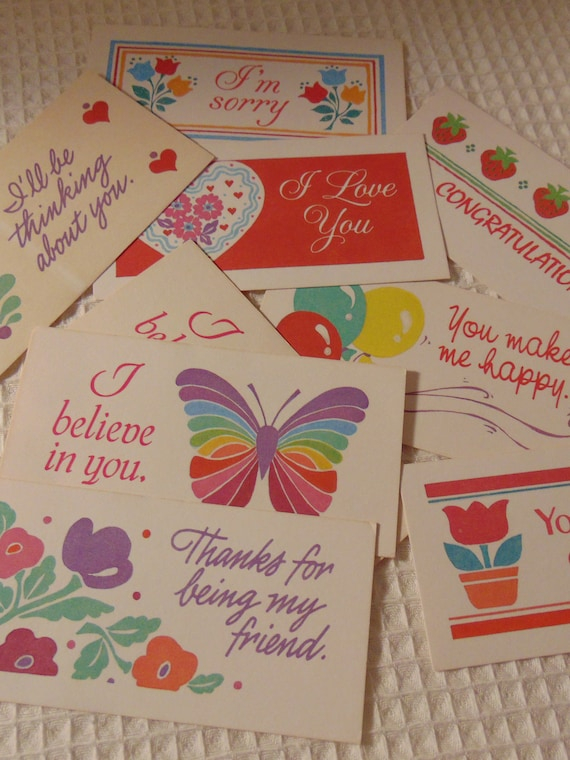
One of the simplest ways to start is by separating the wheat from the chaff, so to speak. Most greeting cards have a beautiful illustration on the front and a generic message on the inside. If the inside is blank or just has a printed poem, cut the front panel off. These rectangular slices of art are perfect for making unique gift tags. In a world where everything feels mass-produced, handing someone a present with a tag made from a vintage floral card or a whimsical animal illustration adds a layer of thoughtfulness that store-bought tags just can’t match.
To do this, you don’t need much. Just a pair of sharp scissors, a hole punch, and some twine or ribbon. Cut the front of the card into standard tag shapes, or leave them as rectangles for a modern look. Punch a hole in the corner and thread your string through. You can even write the recipient’s name on the back if there’s space, or leave it blank for a clean aesthetic. It’s a small detail, but it shows you put care into the presentation. Plus, it’s a great way to use up those cards from holidays past that have imagery you still love.
Bookmarks are another fantastic option for these front panels. If you have cards with vertical designs, they’re practically pre-made bookmarks. You can reinforce them by gluing them onto a slightly thicker piece of cardstock or even laminating them for durability. For a more rustic vibe, try punching a hole at the top and adding a tassel made from yarn or embroidery floss. It’s a lovely way to keep a loved one’s wish close while you read. I’ve found that using these as bookmarks makes reading feel a bit more special, like the sender is cheering you on from the sidelines.
Creating Collage Wall Art and Framed Memories
If you have a large collection of cards, especially from a specific event like a wedding or a milestone birthday, consider turning them into a collage. This is where you can get really creative with layout and design. Instead of letting them sit in a box, you’re creating a visual story. Start by selecting cards with complementary colors or themes. You don’t have to use the whole card; sometimes just a small flower, a snippet of text, or a particular character is enough to make an impact.
Arrange the cutouts on a large piece of poster board or canvas before you glue anything down. Play with overlapping elements, varying sizes, and negative space. Once you’re happy with the composition, use acid-free glue to secure the pieces. Framing the finished collage protects it and turns it into a proper piece of wall art. This works particularly well for wedding cards, where you might have dozens of well-wishes. You could even include snippets of the handwritten messages alongside the illustrations for a mixed-media effect that captures both the visual and emotional essence of the day.
For a simpler approach, try framing individual card fronts in a gallery wall setup. Use identical frames for a cohesive look, or mix and match frame styles for an eclectic vibe. This is great for cards that have particularly stunning artwork—maybe a watercolor landscape or a bold graphic design. By treating them like prints, you elevate their status from "greeting card" to "home decor." It’s a subtle way to keep memories visible in your daily life without them feeling like clutter. And if you change your decor style later, you can easily swap out the cards for new ones.
Crafting Functional Keepsake Boxes and Storage
Let’s talk about utility. One of the most popular trends in 2026 is upcycling cards into small storage boxes. These aren’t just for show; they’re practical containers for jewelry, loose change, or other tiny treasures. The stiffness of greeting card stock makes it ideal for this kind of structural crafting. You can find free templates online that guide you on where to cut and fold, turning a flat card into a sturdy little box with a lid.
The process is surprisingly satisfying. You trace the template onto the back of the card, cut along the lines, and score the fold lines with a bone folder or the back of a butter knife. Then, you assemble it using double-sided tape or strong craft glue. The result is a unique box that features the original artwork on the outside. Imagine keeping your earrings in a box made from a card your best friend sent you on your 30th birthday. Every time you open it, you get a little hit of nostalgia. It’s functional, yes, but it’s also deeply personal.
You can also make larger boxes by gluing multiple cards together to create stronger sides. These are great for storing photos, letters, or other memorabilia. Decorate the outside with ribbons, buttons, or additional cutouts from other cards to customize the look. This is a great project if you have kids, too. They can help with the gluing and decorating, and it teaches them about reusing materials. Plus, having a special box for their own keepsakes encourages them to value their own memories. It’s a win-win for organization and sentimentality.
Designing Garlands and Festive Decorations
Holiday cards often have vibrant colors and festive imagery that can brighten up a room long after the season has passed. Instead of packing them away until next December, turn them into garlands. This is a classic craft that never goes out of style because it’s so versatile. You can cut the cards into shapes like stars, hearts, circles, or even simple squares. String them together on fishing line, twine, or ribbon to create a banner that can hang across a mantle, a window, or a bookshelf.
The beauty of this project is its flexibility. You can make a garland that’s specific to one holiday, or mix cards from different seasons to create a year-round decoration. For example, combine autumn leaves from Thanksgiving cards with snowflakes from Christmas cards for a cozy winter vibe. Or, use birthday cards with balloons and cakes to make a permanent party banner for a playroom or kitchen. It adds a pop of color and personality to any space.
If you’re feeling ambitious, try making 3D decorations. Fold cards in half and cut out half-shapes to create ornaments that pop out when hung. These can be used on a tree, obviously, but also as mobile elements hanging from ceiling fans or light fixtures. They catch the light beautifully and add movement to a room. It’s a playful way to keep the spirit of celebration alive throughout the year. And since you’re using materials you already have, it’s completely free. What’s not to love?
Making Personalized Jewelry and Wearable Art
This might sound surprising, but greeting cards can be turned into wearable art. With the right techniques, you can create pendants, earrings, and even bracelets. The key here is sealing the paper to make it durable and water-resistant. Many crafters use decoupage glue or resin to coat the cardstock. Once sealed, the paper becomes hard and glossy, almost like plastic or enamel. You can then punch holes in it and attach jewelry findings like jump rings and earring hooks.
Start by selecting small, detailed images from your cards. A tiny flower, a butterfly, or a geometric pattern works well. Cut them out carefully and apply several layers of sealant, letting each layer dry completely. This process takes patience, but the result is a lightweight, unique piece of jewelry. Imagine wearing a pendant made from a card your grandmother sent you. It’s a subtle way to carry a piece of her love with you every day. It’s conversation-starting, too. People will ask about it, giving you a chance to share the story behind the piece.
For a quicker version, try making paper beads. Roll strips of cardstock tightly around a skewer or toothpick, applying glue as you go to keep them rolled. Once dry, slide them off and seal them. These beads can be strung onto necklaces or bracelets. The spiral pattern created by the rolled paper adds an interesting texture and visual element. It’s a great way to use up the backs of cards or sections with text. The resulting jewelry is colorful, lightweight, and entirely one-of-a-kind. It’s fashion with a backstory.
While the artwork on the front of cards is lovely, the handwritten messages inside are often the most valuable part. In an age of digital communication, a few lines written in someone’s actual handwriting are rare and precious. Preserving these notes in shadow boxes allows you to display them respectfully. A shadow box is a deep frame that gives you space to arrange items in 3D. You can layer the handwritten note with other mementos from the same period, like a photo, a ticket stub, or a dried flower.
To do this, carefully cut out the message, leaving a border if possible. Mount it on a background fabric or paper that complements the ink color. Arrange the other items around it to create a balanced composition. The depth of the shadow box protects the paper from touching the glass, which helps prevent damage over time. This is particularly meaningful for sympathy cards or letters from loved ones who have passed away. It creates a tangible memorial that you can look at whenever you need comfort or connection.
You can also create a "memory wall" using multiple small frames, each containing a different message. This works well for milestone events like graduations or retirements, where you might have received many cards with heartfelt advice or well-wishes. Reading them occasionally can be incredibly uplifting. It reminds you of the support network you have. By displaying them, you’re not just storing words; you’re keeping the voices of your loved ones present in your home. It’s a powerful way to honor relationships and the moments that define them.
So, what’s the takeaway here? Those cards sitting in your drawer aren’t just paper. They’re vessels of connection, love, and memory. By taking the time to repurpose them, you’re doing more than just decluttering. You’re actively choosing which memories deserve a place in your daily life. You’re turning passive storage into active appreciation. And in 2026, with so much noise and digital distraction, having physical, handmade reminders of the people who care about us is more important than ever.
Don’t let the perfectionism stop you. Your cuts don’t have to be straight. Your glue doesn’t have to be invisible. The charm of these projects lies in their imperfection and their history. Each scratch or smudge tells a story. So grab those scissors, pull out that box of cards, and start creating. You might be surprised by how much joy comes from giving old things new purpose. And who knows? You might just find yourself looking forward to the next holiday, not for the gifts, but for the raw materials you’ll get to work with afterward.