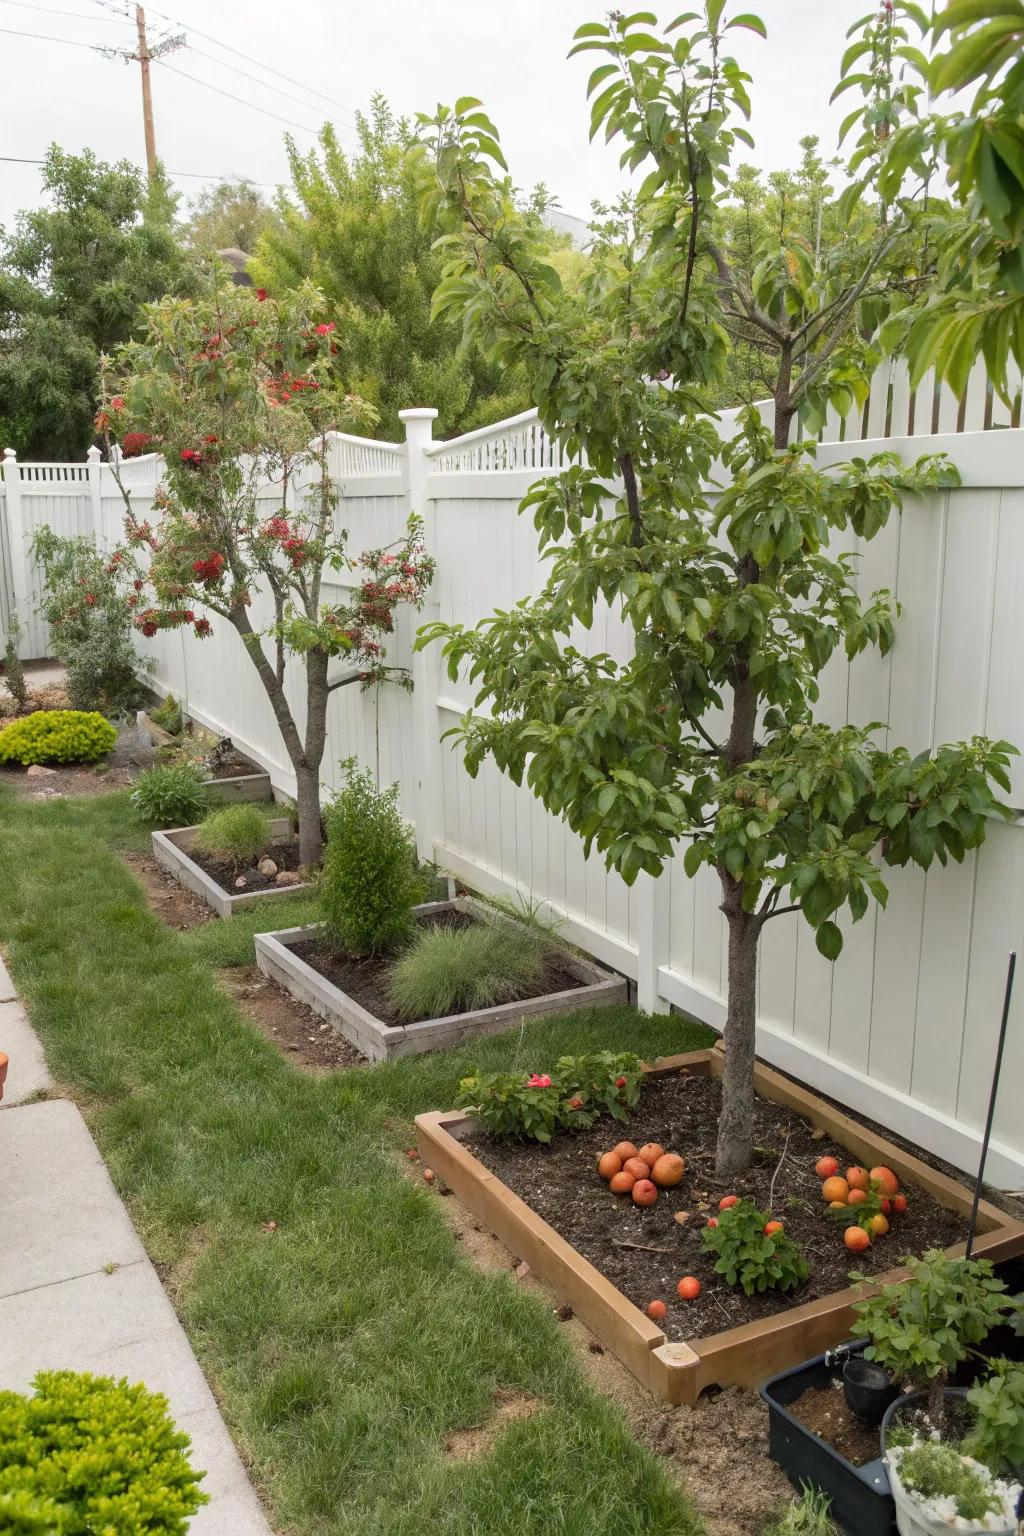
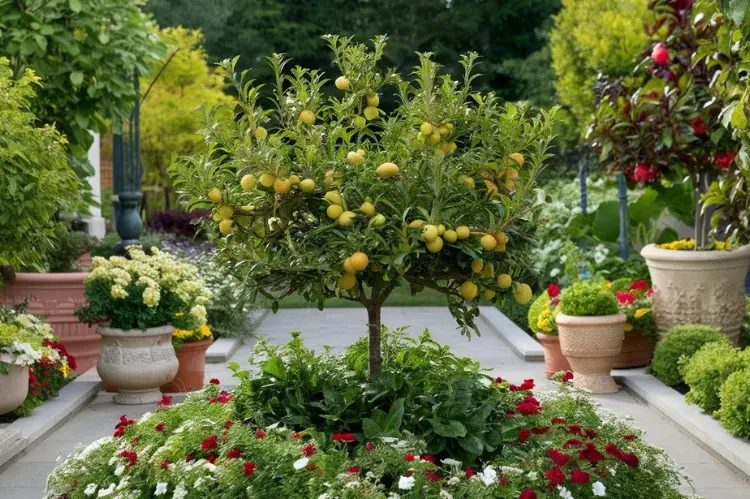
There is something quietly magical about watching a tree grow flat against a wall. It defies nature, or at least, it seems to. You expect branches to reach out, to take up space, to cast wide shadows. But here, the wood hugs the brick or stone, turning a bare vertical surface into a living tapestry. In 2026, as our urban spaces get tighter and our desire for greenery grows stronger, this ancient French technique has found a new rhythm. It’s not just for grand estates anymore. It’s for the alleyway garden, the tiny courtyard, and the side of the garage that’s been staring back at you, blank and boring, for years.
Maybe you’ve seen those photos on social media—perfectly symmetrical apple trees looking like intricate ironwork. It looks intimidating. It looks like you need a degree in horticulture and a team of assistants. But honestly? It’s mostly just patience and some wire. The hard part isn’t the growing; it’s the setup. Getting that support system right is the difference between a thriving, fruit-bearing masterpiece and a tangled mess that falls over in the first windstorm. Let’s fix that. Let’s build something that lasts.
Espalier (pronounced es-pal-yay) is basically gardening in two dimensions. Instead of letting a tree grow into a bushy sphere, you train it to grow in a single plane. This saves massive amounts of ground space, which is why it’s huge in cities right now. But the tree needs help. It can’t hold itself up against gravity and wind while growing sideways. That’s where you come in. You’re building the skeleton. The tree provides the flesh. If the skeleton is weak, the whole thing collapses. If it’s too rigid, the tree chokes. Finding that balance is the art.
Choosing Your Battlefield and Materials
Before you buy a single screw, look at your wall. Not all walls are created equal. In 2026, we see a lot of composite siding and insulated concrete forms, not just old-school brick. If you have a solid masonry wall, you’re in luck. It’s sturdy and handles weight well. If you have wood siding or a fence, you need to find the studs or posts. You cannot hang a heavy, fruit-laden apple tree on drywall anchors or thin vinyl. It will rip right out. Take a stud finder and map it out. Mark every 16 or 24 inches. This grid is your foundation.
Now, let’s talk metal. For decades, people used galvanized steel wire. It’s cheap and it works. But in coastal areas or humid climates, rust is still a problem, even with galvanization. Many gardeners in 2026 are switching to stainless steel cable, specifically 3/16-inch or 1/4-inch diameter. It’s more expensive upfront, but it lasts forever. It doesn’t sag as much over time, either. Another option gaining traction is high-tensile aluminum wire, often coated in green vinyl to blend in with the foliage. It’s lighter and easier to work with, though it can stretch if you don’t tension it properly. Avoid copper; it stains the wall and the fruit, and it’s too soft for large trees.
You’ll also need hardware. Eye bolts, turnbuckles, and vine eyes. Vine eyes are small, screw-in loops that look elegant and keep the wire slightly off the wall. This gap is crucial. It allows air to circulate behind the branches, preventing mold and rot. If the wood sits flush against the damp wall, you’re asking for disease. Get stainless steel hardware to match your wire. Mixing metals causes galvanic corrosion, which eats away at your setup faster than you’d think. Spend the extra few dollars here. You won’t regret it when you’re harvesting pears ten years from now.
Don’t forget the tools. You’ll need a drill with a masonry bit if you’re hitting brick or concrete. A level is non-negotiable. Crooked wires look terrible and make training the tree a nightmare. Wire cutters, obviously. And if you’re using turnbuckles to tighten the lines, a pair of pliers helps. Some kits, like the popular Espalar systems, come with specialized rivet guns and hex drivers. These are nice, but not strictly necessary if you’re doing a simple horizontal layout. Keep it simple. The fancier the tool, the more likely it is to sit in the shed unused.
Designing the Pattern: Horizontal vs. Diamond
What shape do you want? This is the fun part. The most common design is the horizontal cordon. Think of it like a ladder lying on its side. You have one main vertical trunk, and branches coming off it horizontally at regular intervals. This is the easiest for beginners. It’s forgiving. If you mess up a prune, it’s easy to correct. It works great for apples and pears, which naturally want to grow somewhat upright but can be bent down. You typically space the wires 15 to 18 inches apart vertically. This gives the branches room to thicken without crowding each other.
Then there’s the diamond pattern, or lozenge. This is flashier. It looks like a lattice or a net. It’s stunning on a large wall, creating a formal, almost architectural look. HGTV and other design outlets have highlighted this motif recently for dense urban neighborhoods where aesthetics matter as much as function. But beware: it’s harder to maintain. You have to train branches diagonally, which goes against the natural grain of many fruit trees. It requires more frequent pruning and tying. If you’re new to this, maybe stick to horizontals for your first go. Save the diamonds for when you’ve got the hang of the rhythm.
Consider the mature size of your tree. An apple tree on a dwarf rootstock might only need three or four wires. A vigorous pear might need six or seven. Don’t skimp on height. It’s better to have extra wires you don’t use than to run out of space when the tree takes off. Also, think about the width. How far out do you want the branches to go? Standard espaliers extend about 6 to 8 feet wide. If your wall is narrow, you might do a single vertical cordon, which is just one stem going straight up with short spurs. It’s minimalist and modern.
Sketch it out on paper first. Or use chalk on the wall. Visualize the lines. Imagine the tree in five years. Will it block a window? Will it hit a light fixture? Espalier is permanent. Once those holes are drilled, you’re committed. Take your time here. Measure twice, drill once. It’s a cliché because it’s true. A little planning saves a lot of patching spackle later. And remember, symmetry is key for the formal look, but asymmetry can work if you’re going for a more natural, wabi-sabi vibe. Just be intentional about it.
Installing the Framework Step-by-Step
Start at the bottom. Install your first eye bolt or vine eye about 12 to 15 inches off the ground. You don’t want the lowest branch dragging in the dirt. Use a level to make sure it’s perfectly horizontal relative to where the next one will be. If you’re doing multiple rows, measure up 15 inches and mark the next spot. Do this all the way up the wall. Consistency is everything. If one wire is higher on the left than the right, your tree will grow crooked, and you’ll be fighting it forever.
Drill your pilot holes. If you’re in masonry, use a hammer drill and a carbide-tipped bit. Blow out the dust with a compressed air canister or a bulb syringe. Dust prevents screws from seating tightly. Insert your anchors if needed, then screw in the vine eyes. Hand-tighten them first, then give them a final snug turn with pliers. Don’t overtighten, or you’ll strip the hole. If you’re attaching to wood studs, pre-drill to prevent splitting, then drive the screws in firmly. Make sure they are seated deep enough that they won’t pull out under tension.
Now, string the wire. Cut a piece of stainless steel cable a few feet longer than the width of your wall. Thread it through the eye bolts on one end. If you’re using turnbuckles, attach them now. Turnbuckles are amazing because they let you adjust the tension later. As the tree grows and the wire stretches, or as temperatures change, you can tighten things up without taking the whole thing apart. Loop the wire back on itself using a thimble and crimps, or use a wire rope clip. Make sure the loop is secure.
Pull the wire taut. Not guitar-string tight, but firm. It should have a slight give when you press it with your thumb. If it’s too loose, it will sag under the weight of the branches. If it’s too tight, it might pull the eye bolts out of the wall. Find the middle ground. Secure the other end. Repeat for each level. Step back and look at it. Are the lines parallel? Is it level? Now is the time to fix it. Once the tree is planted and tied, adjustments are much harder. Take a photo of your empty framework. You’ll want it for reference later.
Selecting the Right Plants for 2026 Gardens
Not every tree likes being flattened. You need varieties that are flexible and respond well to pruning. Apples and pears are the classics. They have flexible young wood and produce fruit on spurs, which fits the espalier model perfectly. In 2026, disease-resistant varieties are more important than ever. Look for apple cultivars like ‘Enterprise’ or ‘GoldRush’ that resist scab and mildew. Since espaliers are often in confined spaces, air circulation can still be tricky, so starting with resistant stock gives you a head start.
Stone fruits like peaches and nectarines can be espaliered, but they grow faster and require more aggressive pruning. They also tend to be shorter-lived in this form. Cherries are tricky because their wood is stiff and brittle. If you try to bend a cherry branch, it often snaps. Sweet cherries are particularly difficult. Sour cherries are a bit more pliable. If you’re set on cherries, consider a fan shape rather than strict horizontals, giving the branches more natural angles.
Don’t overlook ornamentals. Magnolias, camellias, and even some viburnums can be espaliered. They won’t give you fruit, but they provide stunning flowers and structure. In urban settings, where pollution and heat islands are issues, these hardy shrubs can thrive against a warm wall. The wall radiates heat at night, protecting tender blooms from late frosts. This microclimate benefit is one of the biggest perks of espaliering. It extends your growing season.
Buy young trees. One-year-old "whips" are ideal. They have a single straight stem and no established branch structure to fight against. Older trees with thick, woody branches are nearly impossible to train without causing severe damage. Nurseries often sell pre-trained espalier trees, which are convenient but expensive. Starting with a whip lets you customize the shape from day one. It’s cheaper and more rewarding. Just make sure the rootstock is appropriate for your space. Dwarf or semi-dwarf rootstocks are best. You don’t want a full-sized tree trying to live on a six-foot wire system.
Training and Tying the Branches
This is where the magic happens. Plant your tree in front of the center wire. The trunk should be about 6 inches from the wall. Use a soft tie to loosely attach the trunk to the bottom wire to keep it upright. Now, look at the branches. You want to select the ones that will become your horizontal cordons. Ideally, you pick two branches per level, one going left and one going right. If the tree doesn’t have branches at the right height, you can wait a season or prune the leader to encourage side shoots.
Tying is critical. Never use wire or string that cuts into the bark. Use specialized espalier ties, rubber grafting tape, or even strips of old t-shirt fabric. The goal is to hold the branch in place without strangling it. As the branch grows, it will thicken. If the tie is too tight, it will girdle the branch, cutting off nutrient flow and killing it. Check your ties every few months. Loosen them or replace them with larger ones as needed. There are now biodegradable ties available in 2026 that break down after a year or two, which is handy if you forget to check them.
Bend the branches gently. Don’t force them. If a branch is stiff, you can weigh it down with a small bag of sand or water for a few weeks to soften the angle before tying it to the wire. This prevents snapping. The angle should be slightly below horizontal, about 45 to 60 degrees from the vertical trunk. This encourages fruiting spurs to form along the top of the branch. If the branch points straight up, it will just grow leaves. If it points down, it might weaken. Flat is fantastic.
Prune regularly. In summer, pinch back new growth to keep the tree flat. In winter, do the structural pruning. Cut back side shoots to two or three buds to encourage fruit production. Remove any branches that grow towards the wall or straight out into the yard. You want everything in the plane of the wire. It feels ruthless at first, cutting away so much growth. But remember, you’re directing energy. Every cut tells the tree where to go. Trust the process. The tree wants to survive; it will respond to your guidance.
An espalier support system isn’t a "set it and forget it" project. The wires will loosen over time. The tree will get heavier. Check the tension of your wires twice a year, ideally in spring and fall. Tighten the turnbuckles if needed. Inspect the eye bolts for rust or loosening. If you see movement in the hardware, reinforce it immediately. A falling tree can damage your wall, your patio, or worse, someone standing nearby. Safety is part of gardening.
Feed your tree appropriately. Espaliered trees have limited root space compared to free-standing trees, especially if they’re in containers or raised beds near the wall. They need consistent nutrition to support both growth and fruit production. Use a balanced organic fertilizer in early spring. Mulch around the base to retain moisture and regulate soil temperature. Water deeply and regularly, especially in the first few years. The wall can create a rain shadow, keeping the soil drier than you expect. Don’t assume rain is enough.
Watch for pests and disease. Because the branches are close together, problems can spread quickly. Aphids love the tender new growth on espaliers. Blast them off with a hose or use insecticidal soap. Codling moths are a threat to apples and pears. Use pheromone traps or netting to protect the fruit. Good hygiene helps. Clean up fallen leaves and fruit in the autumn to reduce overwintering sites for pests. A clean garden is a healthy garden.
Enjoy the evolution. Your espalier will change every year. It will get thicker, more complex, and more productive. There will be mistakes. A branch will break. A tie will slip. That’s okay. It’s part of the journey. The imperfections add character. In a few years, you’ll have a living piece of art that produces food. It’s functional beauty. It’s a conversation starter. Neighbors will stop and ask how you did it. Smile, point to the wires, and tell them it’s just patience. And maybe a little bit of wire.
Building an espalier support system is an act of faith in the future. You’re installing hardware for a tree that isn’t fully grown yet. You’re trusting that the sun will shine, the rain will fall, and the roots will take hold. In 2026, in a world that moves fast and changes constantly, there is profound comfort in that slow, steady growth. The wall was once just a barrier. Now, it’s a canvas. And you’re the artist. So grab your drill, get your wire, and start bending. The view from your garden will never be the same.