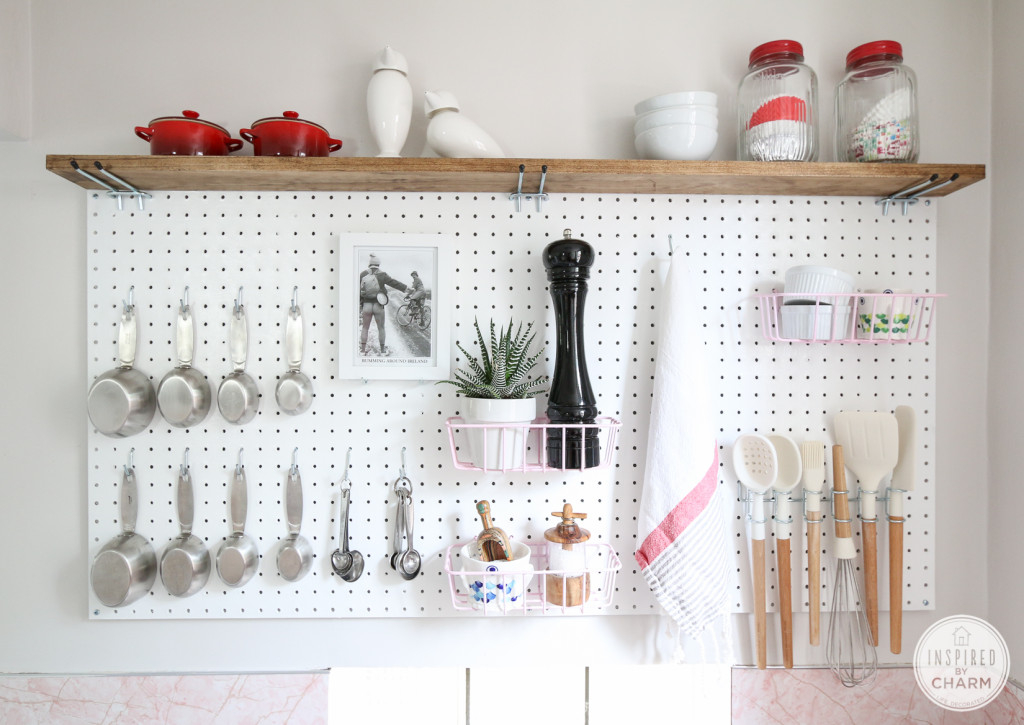
Ever stare at a cluttered countertop and feel that little pang of stress? You’re not alone. We all want a kitchen that feels open, airy, and ready for action, but let’s be real—life happens. Pots pile up. Utensils migrate. The spice rack becomes a mystery box. But what if the solution wasn’t buying more cabinets or tossing out your favorite gadgets? What if it was just… hanging them up?
Enter the kitchen pegboard. It’s not just for garages anymore. In 2026, the pegboard has had a serious glow-up. It’s sleek, it’s customizable, and honestly, it might just be the best thing to happen to small kitchens since the invention of the dishwasher. This isn’t about slapping a piece of perforated hardboard on the wall and calling it a day. It’s about creating a system that works as hard as you do, while looking good enough to leave out when guests drop by. Let’s dive into how you can turn that blank wall into your kitchen’s new best friend.
Why Pegboards Are Having a Moment (Again)
Let’s talk about why everyone is suddenly obsessed with holes in boards. It’s simple: vertical space is the most underused real estate in your home. Most of us focus on countertops and cupboards, forgetting that the walls are just sitting there, judging our mess. A pegboard system flips the script. It takes the things you use every day—the spatula, the scissors, the heavy cast iron skillet—and puts them right where you need them. No more digging through drawers. No more knocking over stacks of pans.
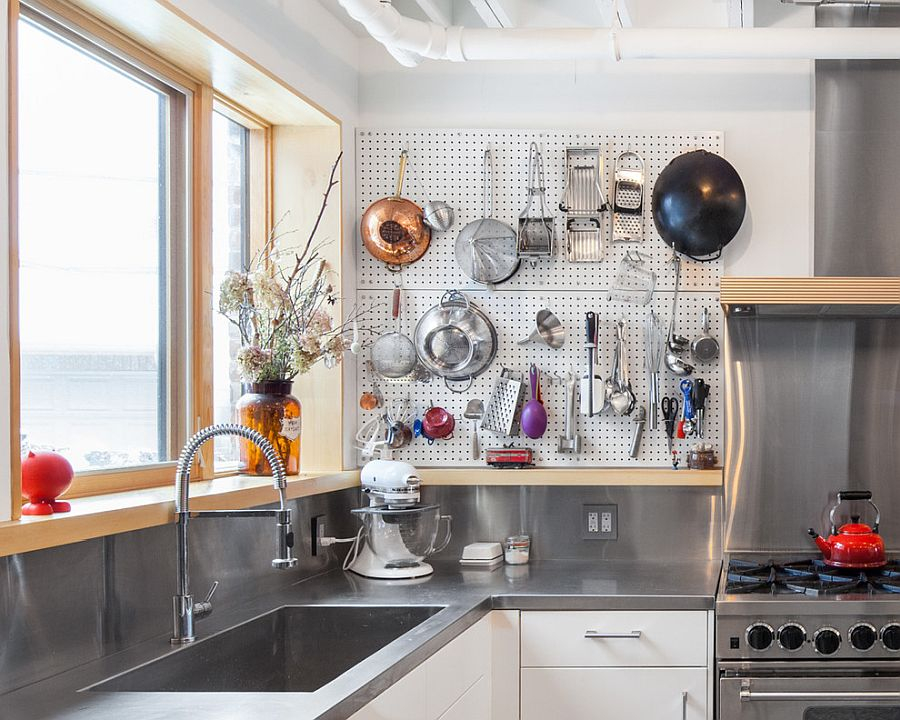
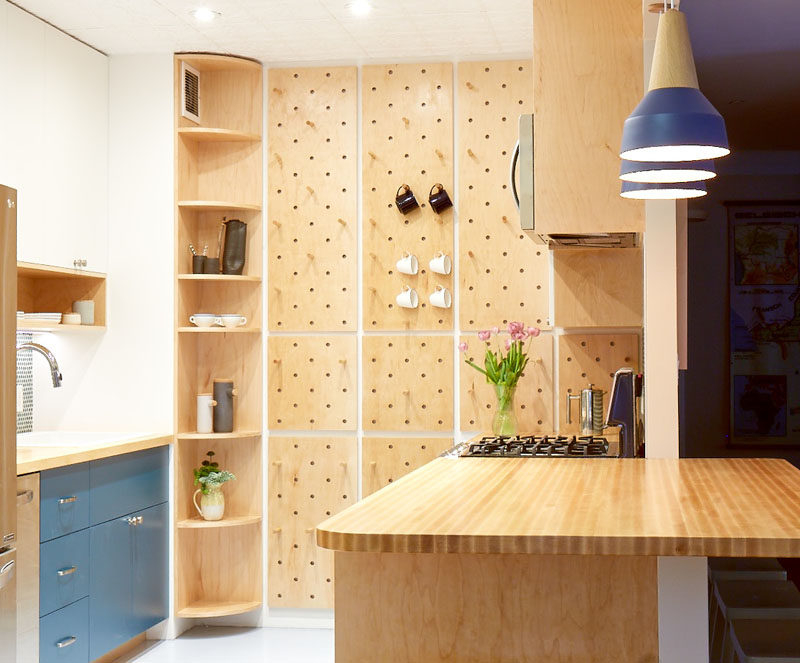
But it’s not just about function. There’s a aesthetic shift happening too. Modern pegboards aren’t that flimsy, beige stuff from the seventies. We’re talking powder-coated steel, warm woods, and matte finishes that blend seamlessly with contemporary decor. According to recent trends in 2025 and 2026, homeowners are looking for "visible organization." They want their tools to be part of the design, not hidden away. It adds character. It shows off your personality. Are you a serious baker? Hang those whisks and rolling pins like art. Love cooking big meals? Display those ladles and tongs. It turns utility into style.
Plus, it’s incredibly forgiving. If you mess up the layout, you just move a hook. Try doing that with a built-in shelf. This flexibility is huge for renters or anyone who likes to change things up. You can swap out accessories seasonally. Maybe in the summer, you hang more grilling tools. In the winter, it’s all about soup ladles and slow cooker inserts. The board stays; the function evolves. It’s a low-commitment, high-reward upgrade that doesn’t require a contractor or a massive budget.
Choosing the Right Material and Mounting System
So, you’re ready to buy. But wait—what kind of pegboard? This is where people get tripped up. The classic Masonite (hardboard) is cheap and easy to cut, but it’s not great for heavy items unless you reinforce it. And in a kitchen, humidity can be an issue. If you’re near the sink or stove, you’ll want something more durable. Metal pegboards, like those from Wall Control or similar brands, are becoming the gold standard for 2026. They’re slim, strong, and often come with magnetic options, which is a game-changer for holding spice tins or knife strips.
Then there’s the mounting. This is crucial. You can’t just screw the board flat against the wall. If you do, the hooks won’t fit. You need "standoffs" or mounting strips that create a gap—usually about half an inch to three-quarters of an inch—between the board and the drywall. This space allows the hook stems to slide in and lock. Some modern systems have integrated spacers, which look cleaner and are easier to install. If you’re going the DIY route with a hardware store board, don’t skimp on the furring strips. Use wood strips that are straight and true.
Installation matters for safety, too. Kitchen tools are heavy. A cast iron pan isn’t going to stay put with a single drywall anchor. You need to hit the studs. If your board is wide, find at least two studs to anchor into. If you can’t hit a stud where you need a hole, use heavy-duty toggle bolts. It’s better to spend ten extra minutes finding the right spot than to have your entire collection crash down while you’re making breakfast. Take the time to level it. Use a laser level if you have one. A crooked pegboard will drive you crazy every time you walk into the room.
Layout Strategy: Zoning Your Wall
Before you hammer a single nail, grab a pencil and paper. Or use an app. Plan your zones. Think about how you actually cook. Do you prep veggies at the counter below? Then that’s your "prep zone." Hang your knives, cutting boards, and measuring cups there. Do you have a coffee station nearby? That’s your "beverage zone." Hooks for mugs, a shelf for beans, and a holder for the tamper. Grouping items by task makes your kitchen flow smoother. It reduces the steps you take while cooking, which sounds minor but adds up to a less stressful experience.
Consider the "prime real estate" of the board. The area between eye level and waist height is where you want your most-used items. These are the tools you grab ten times a day. Save the top corners for lightweight, rarely used items like seasonal cookie cutters or fancy serving platters. The bottom section is great for heavier things, provided the hooks are secure, because it’s easier to lift a heavy pot slightly up and off a hook than to reach high and pull it down. Gravity is your friend here, but also your enemy if you’re not careful.
Don’t forget about negative space. You don’t need to fill every hole. In fact, leaving some empty space makes the board look intentional and styled, rather than chaotic. It gives the eye a place to rest. A common mistake is overcrowding. Start with the essentials. Live with it for a week. See what you’re missing. Then add more. It’s easier to add than to subtract. And remember, symmetry isn’t always necessary. A balanced asymmetrical look can be more dynamic and interesting. Just make sure the visual weight is distributed so one side doesn’t look like it’s about to tip over.
Accessories and Hooks: The Devil is in the Details
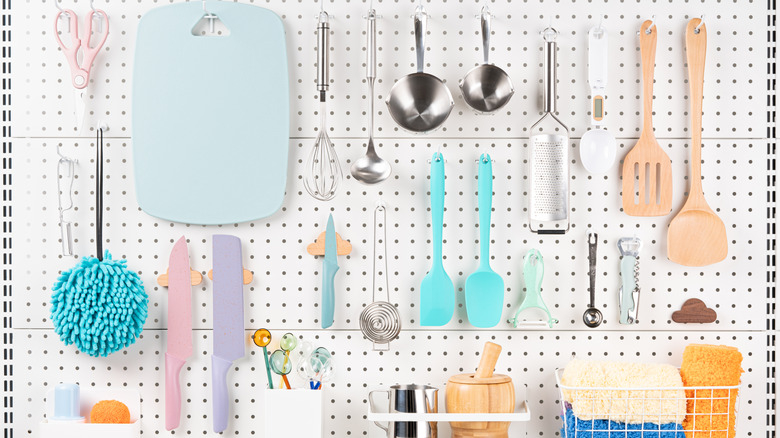
The board is just the canvas; the hooks are the paint. And boy, are there a lot of colors to choose from. In 2026, the variety of pegboard accessories is staggering. You’ve got your standard J-hooks for utensils. But you also have baskets for sponges and scrubbers. Shelves for oils and vinegars. Paper towel holders. Even specialized racks for wine glasses or pot lids. The key is to mix and match. Don’t just use one type of hook. Use a basket for loose items like garlic and onions. Use a rail with S-hooks for things that need to swing freely.
Material consistency helps tie the look together. If you chose a black metal board, stick with black or matte brass hooks. Mixing metals can work, but it’s tricky. If you’re unsure, monochrome is safe and sophisticated. Also, think about the shape of the items you’re hanging. Long-handled tools look great on single hooks. Wide items, like colanders, might need a wider bracket or a shelf. For pots and pans, consider using two hooks per item to distribute the weight and keep them stable. You don’t want your favorite sauté pan swinging around like a pendulum every time you bump the counter.
One pro tip: label nothing. Seriously. The beauty of a pegboard is visual identification. You should know where everything is by looking at it. If you find yourself needing labels, your system might be too complex. Simplify. However, if you have similar-looking items, like different sizes of measuring spoons, grouping them on a single ring or clip keeps them together. Small bins are amazing for tiny things like twist ties, bag clips, or tea bags. Keep the small stuff contained so it doesn’t look like clutter. A tidy pegboard is a happy pegboard.
Styling Tips for a Cohesive Look
Let’s be honest: nobody wants a kitchen that looks like a hardware store exploded. You want it to look curated. How do you achieve that? Color coordination is a big one. If your kitchen is white and wood, a natural wood pegboard with white hooks looks stunning. If you have a moody, dark kitchen, a black or charcoal board blends in beautifully. You can also paint a standard hardboard pegboard. Just make sure to paint it before you hang it. Painting it on the wall is a recipe for drips and frustration. Use a roller for the flat parts and a small brush for the edges.
Lighting plays a huge role too. A pegboard in shadow is hard to use and can look dreary. Consider adding a small LED strip light along the top edge of the board or under the cabinet above it. This highlights your tools and makes the whole setup feel premium. It also helps you see what you’re grabbing when you’re prepping dinner in the evening. Good lighting makes the textures pop—the gleam of stainless steel, the grain of wood, the matte finish of silicone handles.
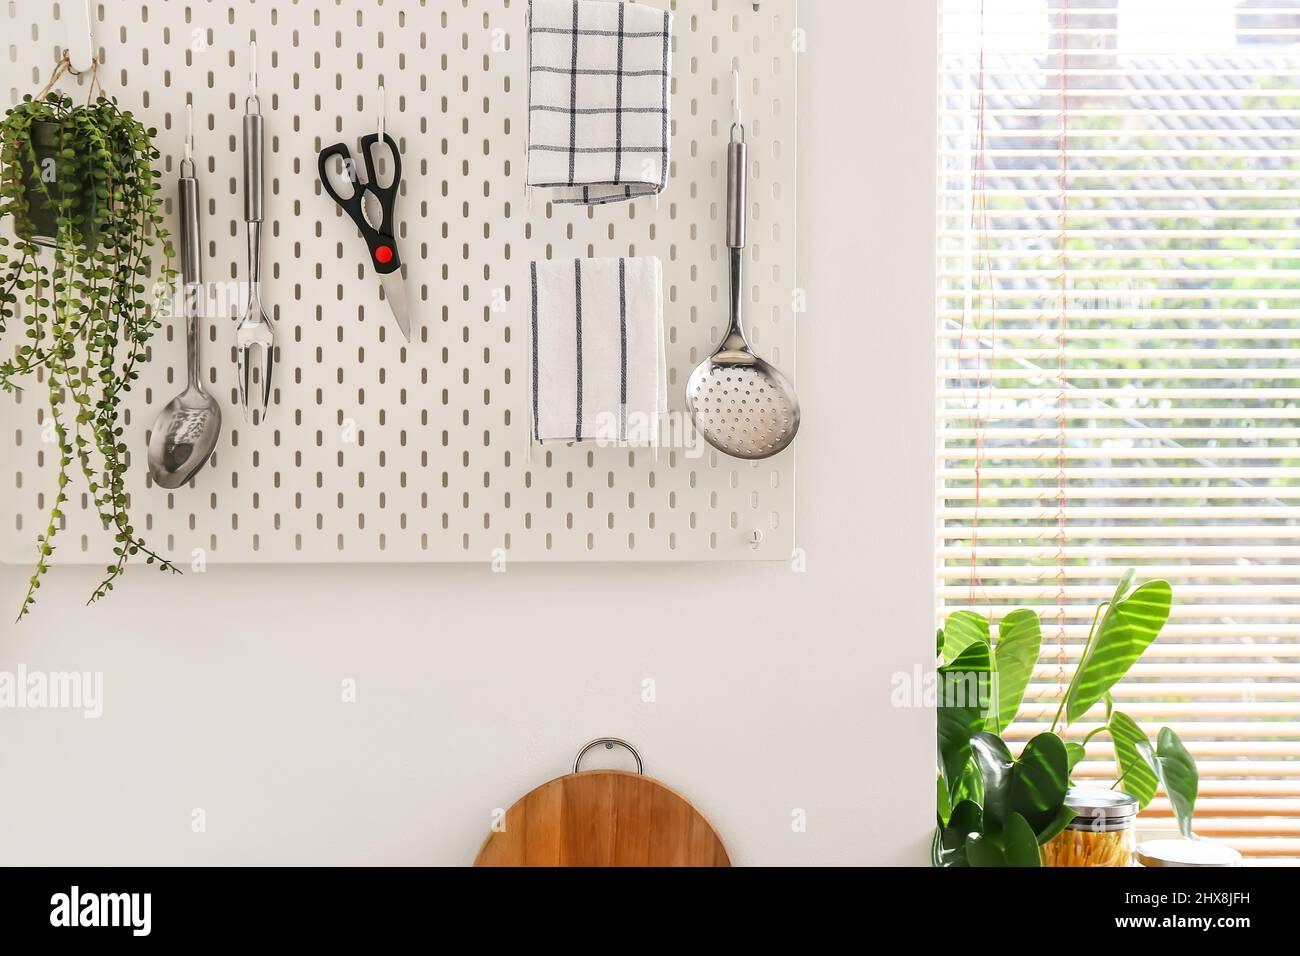
Add a touch of green. A small hanging planter with herbs like basil or thyme works perfectly on a pegboard. It’s functional for cooking and adds life to the wall. Just make sure the pot is lightweight and secure. You can also intersperse non-kitchen items if they fit the vibe. A small framed print, a vintage timer, or a decorative towel can break up the utilitarian feel. But keep it minimal. The focus should remain on the functionality. Remember, less is more. If it doesn’t serve a purpose or bring you joy, take it off. The goal is calm, not chaos.
Okay, so you’ve got it up. It looks great. Now, how do you keep it that way? Kitchens are greasy, dusty places. Over time, your pegboard and hooks will accumulate a layer of grime, especially if they’re near the stove. Regular cleaning is essential. For metal boards, a quick wipe-down with a mild degreaser once a month keeps them shining. For wood or painted boards, use a damp cloth and gentle soap. Avoid abrasive scrubbers that can scratch the finish. If you have fabric baskets, toss them in the wash occasionally.
Check the tightness of your mounts every few months. Houses settle. Vibrations from slamming drawers or doors can loosen screws over time. Give the board a gentle tug. If it moves, tighten it up. It’s a five-minute job that prevents a disaster. Also, reassess your layout seasonally. As mentioned before, your needs change. Maybe you bought a new air fryer and need space for its accessories. Maybe you stopped baking bread and don’t need the dough scraper front and center anymore. Be willing to edit. The system should serve you, not the other way around.
Finally, resist the urge to overload it. Just because you can hang something doesn’t mean you should. If the board starts looking cluttered again, it’s time to purge. Donate the gadgets you haven’t used in a year. Store the seasonal items elsewhere. Keep the pegboard for the daily drivers. This discipline is what keeps the system functional and stylish long-term. It’s not a storage dump; it’s a command center. Treat it with respect, and it will make your daily kitchen routine infinitely smoother.
So, there you have it. The pegboard isn’t just a trend; it’s a practical, stylish solution to the eternal problem of kitchen clutter. It’s about taking control of your space and making it work for you. Whether you’re in a tiny studio apartment or a sprawling suburban home, the principles are the same: plan well, choose quality materials, and keep it simple. It’s a small change that can have a big impact on how you feel in your kitchen. And really, isn’t that what home is all about? Feeling good in the spaces where we live, cook, and connect. Go ahead, give it a try. Your walls are waiting.